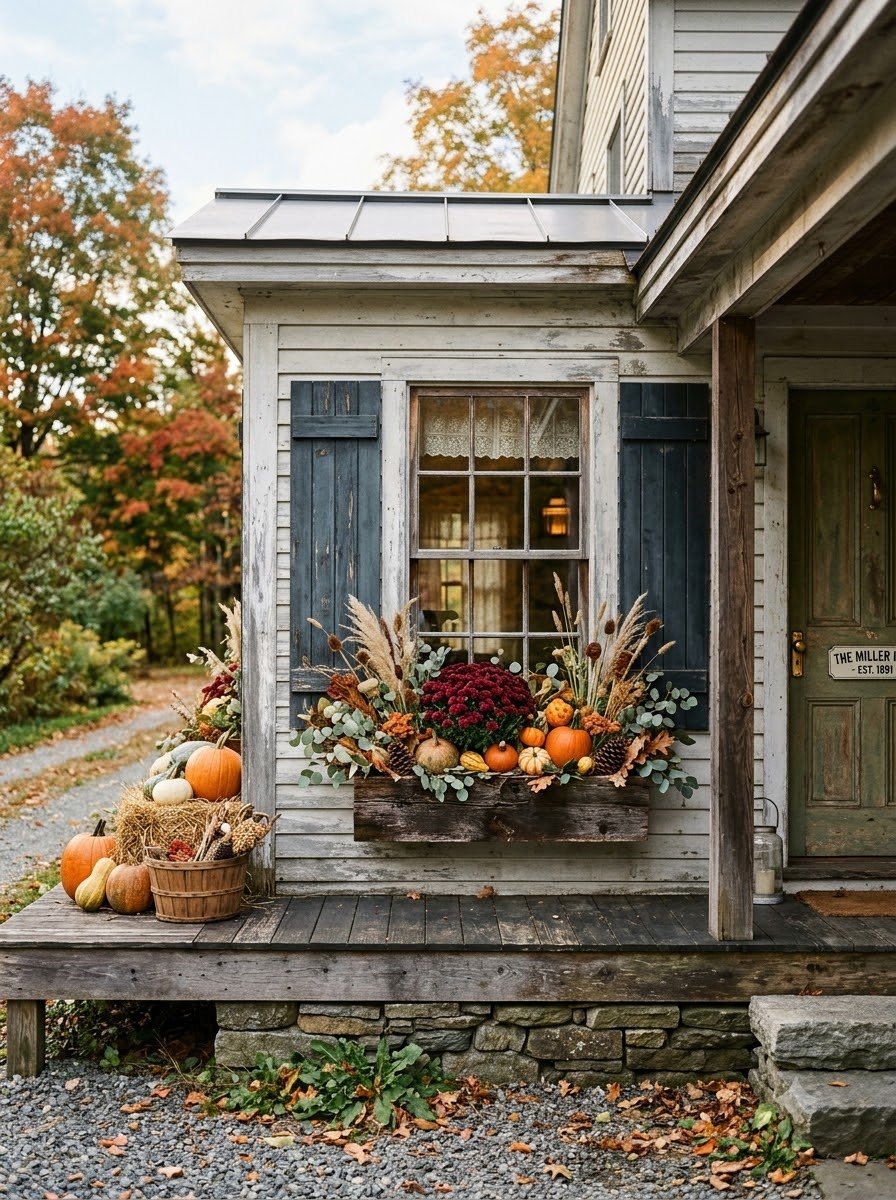
The first year I decorated my window boxes for fall, I honestly had no idea what I was doing.
I remember standing outside with a couple of tired-looking mums, a few mini pumpkins, and a bag of potting soil, wondering how people managed to make their window boxes look so effortlessly beautiful. Mine looked more like I had stopped at the garden center five minutes before closing. Which, to be fair, was pretty close to the truth.
But after a little experimenting, I realized that gorgeous fall window boxes don’t have to be complicated. A few mums, some pumpkins, trailing greenery, and the right mix of textures can completely change the look of a house.
And there’s something especially nice about decorating the windows for autumn. You see the display from inside while you’re washing dishes or drinking your morning coffee, but neighbors and visitors get to enjoy it from the street too.
So if your window boxes are looking a little forgotten now that summer flowers are fading, here are 21 fall window box ideas I’ve tried, loved, borrowed, or tucked away for the next decorating season.
1. Classic Mums and Mini Pumpkins
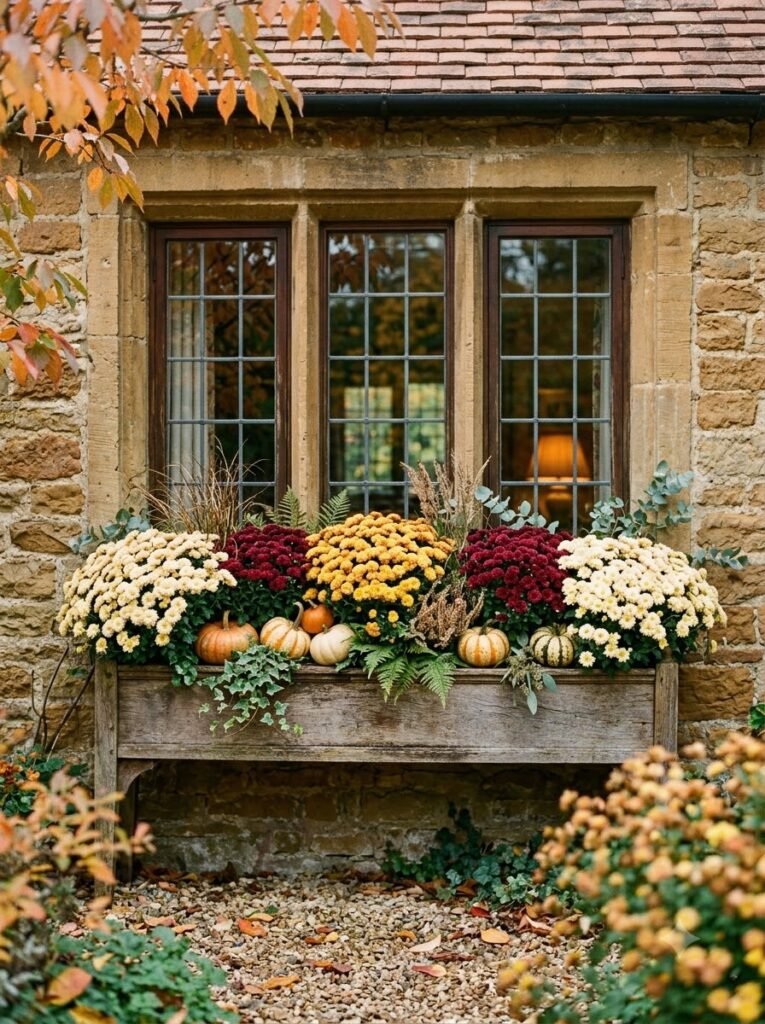
This is probably where I’d start if you’re new to fall window boxes.
I like using two or three colors of mums rather than filling the entire box with one shade. Cream, golden yellow, and deep burgundy look especially pretty together.
Then I tuck small pumpkins between the plants. The pumpkins don’t need to be perfect. In fact, I prefer the slightly crooked ones because they make the arrangement feel less store-bought.
For a fuller look, add a little faux or real greenery around the edges.
2. White Pumpkins with Dusty Mums
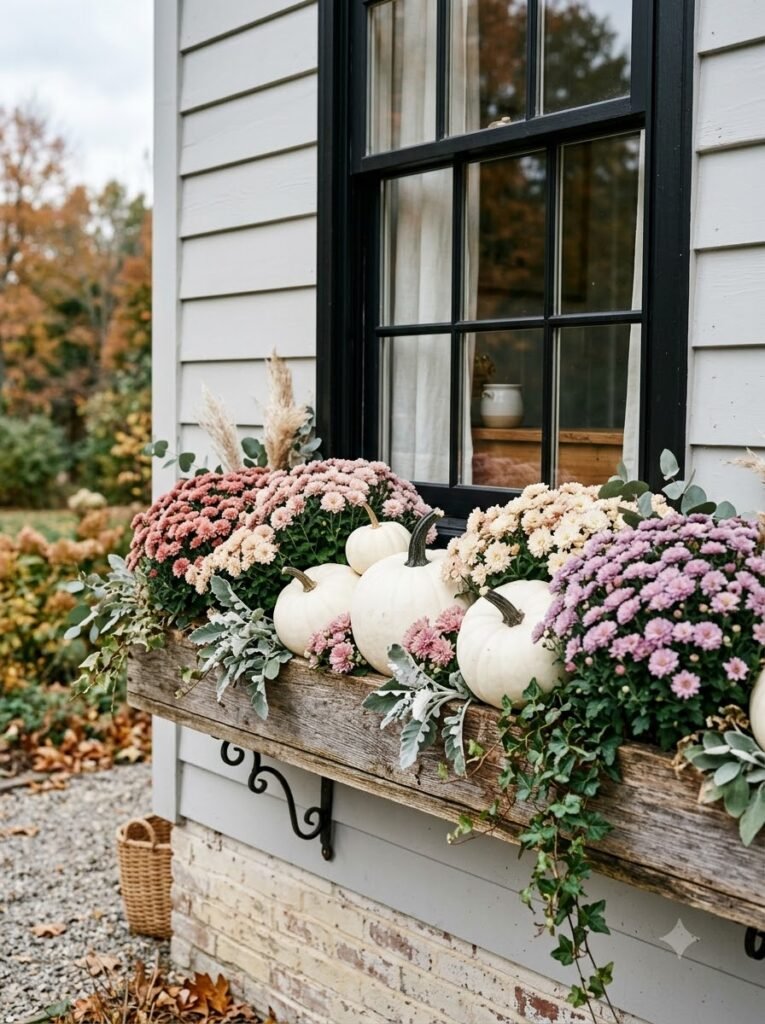
White pumpkins are one of my favorite ways to get that soft farmhouse look without making the window box feel too Halloween-ish.
I usually pair them with dusty rose, blush, cream, or muted purple mums. The result is much quieter than traditional orange-and-yellow fall decorating.
This works particularly well against:
- White or gray siding
- Black window frames
- Natural wood
- Pale brick
- Farmhouse-style exteriors
If your home already has a lot going on visually, this softer combination can be surprisingly pretty.
3. A Rustic Farmhouse Window Box
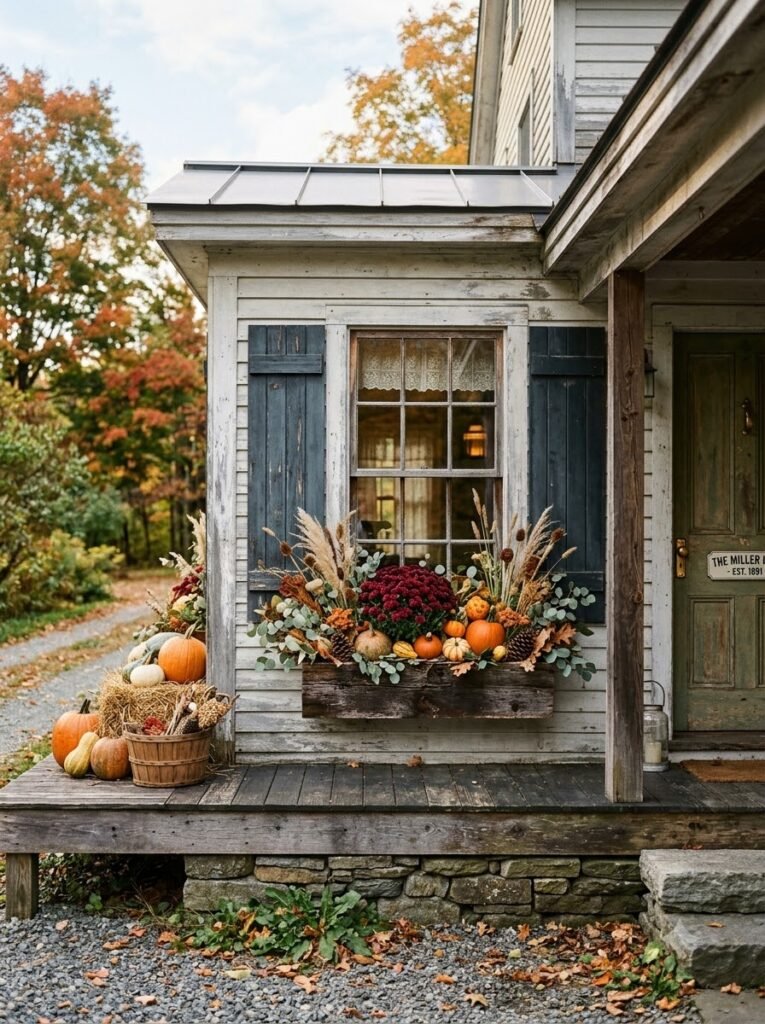
This is the kind of window box I picture on an old farmhouse with peeling wood shutters and a big front porch.
I would use burgundy mums, small orange pumpkins, dried grasses, eucalyptus-colored greenery, and maybe a few pinecones.
The trick here is not making everything match. I actually like when the pumpkins vary slightly in size and color and the greenery looks a little loose.
One year I used an old wooden crate as part of a larger porch arrangement, and that same slightly weathered look worked beautifully around my window boxes too.
4. Orange Mums with Heirloom Pumpkins
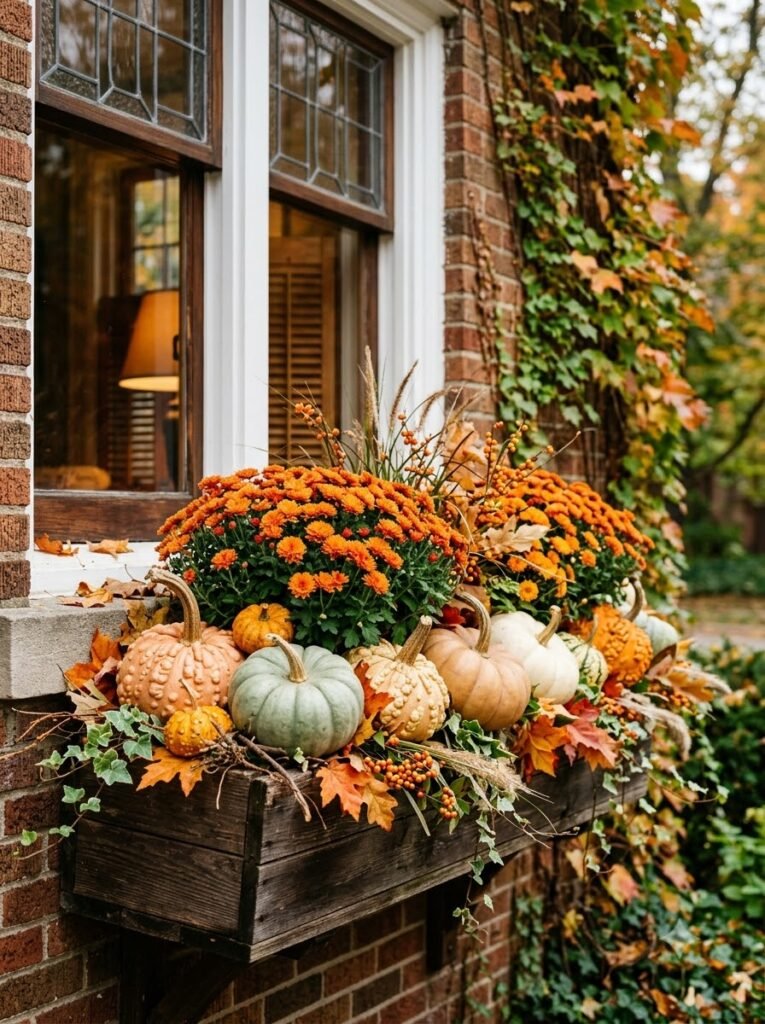
If you’re a traditional fall person, lean into it.
Bright orange mums with little heirloom pumpkins create that unmistakable autumn feeling. I like adding pumpkins in shades of pale orange, green, and cream so everything doesn’t become one giant block of orange.
Look for pumpkins with unusual shapes. Those little squat, bumpy varieties add so much personality.
5. Add Trailing Ivy or Creeping Jenny
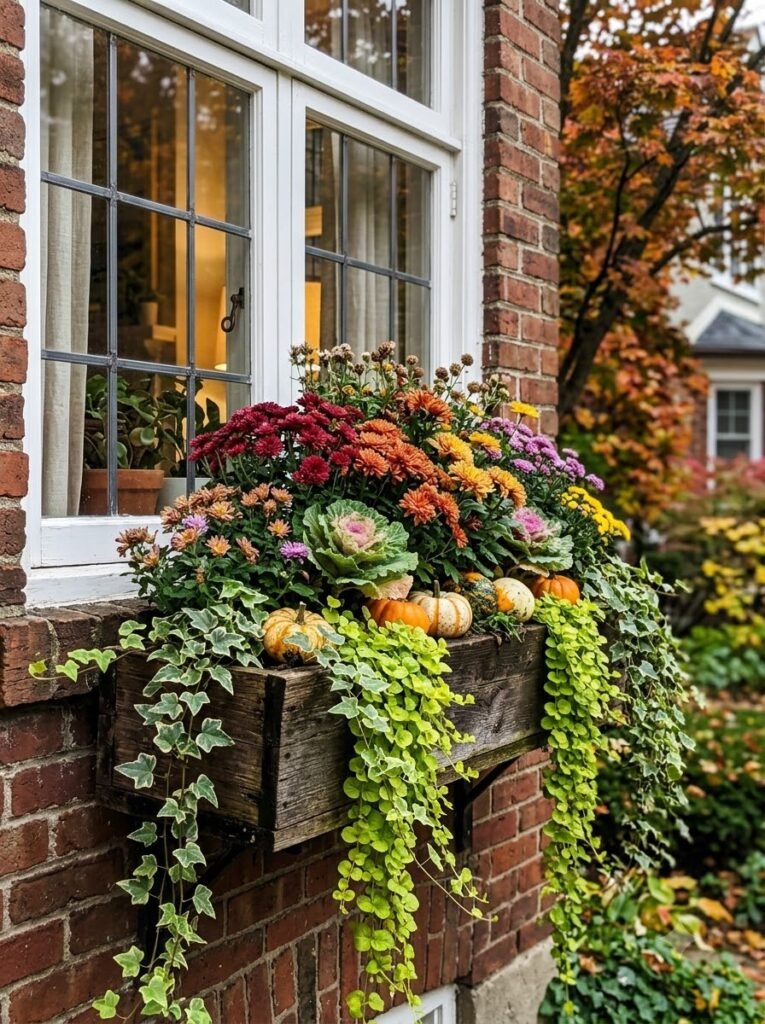
One thing I learned pretty quickly is that a window box can look flat if everything grows straight upward.
Trailing plants fix that.
I like letting ivy, creeping Jenny, or another trailing plant spill gently over the front edge. Even just a few strands can soften the hard line of the planter.
For me, this is one of those tiny details that makes an arrangement look much more finished.
A little tip
Don’t completely bury the trailing plant behind your mums. Let some of it drape naturally over the edge so you can actually see the shape.
6. Go Moody with Burgundy and Plum
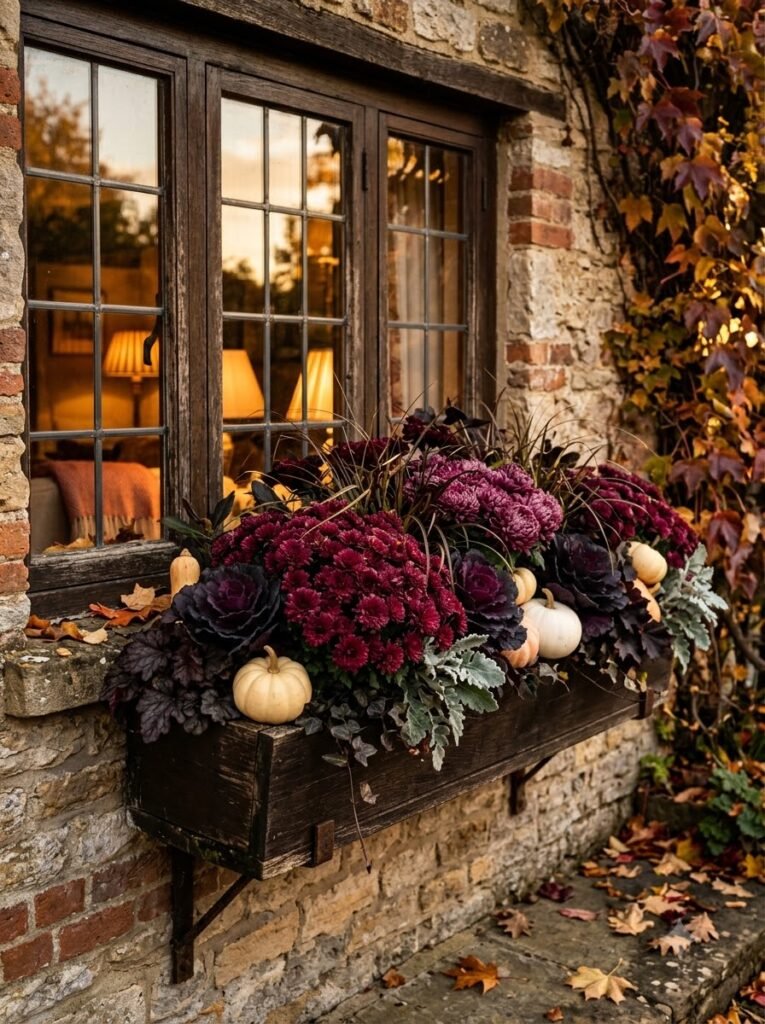
Not every fall display needs bright orange.
For a moodier look, I love burgundy mums mixed with deep purple flowers, dark foliage, and a few pale pumpkins.
It looks especially nice in the late afternoon when the sunlight starts getting lower. The darker colors almost seem to glow against the window.
I would keep the pumpkins fairly simple here. Too many colors can take away from that rich, cozy feeling.
7. Add Ornamental Cabbage and Kale
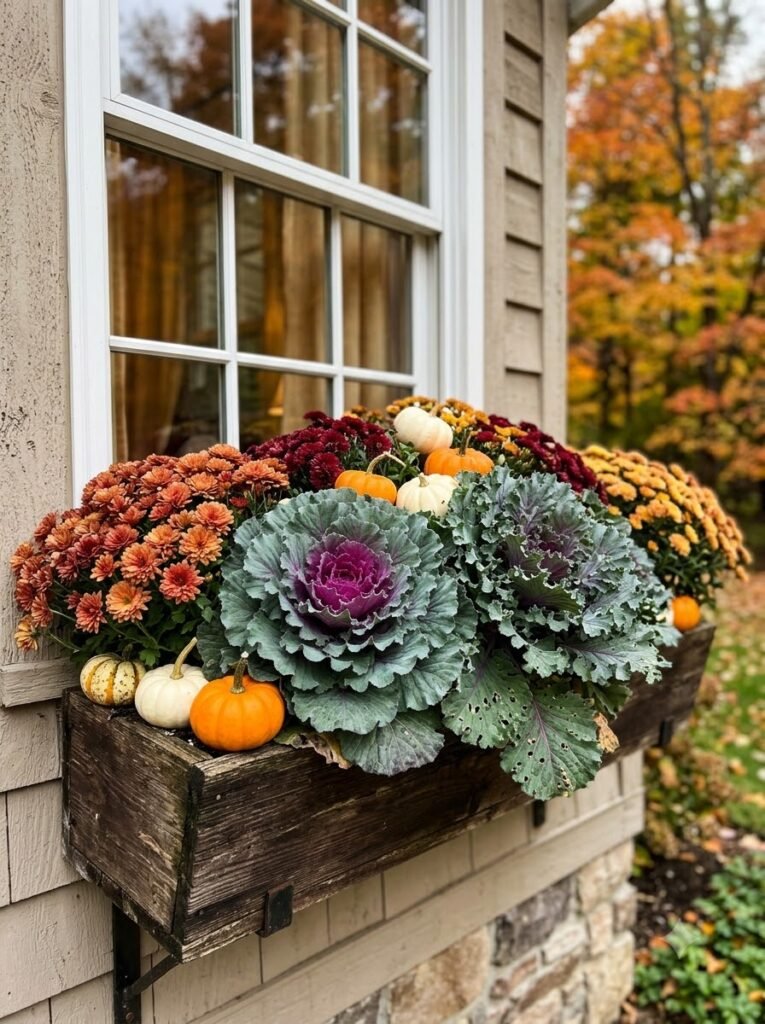
Ornamental cabbage and kale are fantastic for fall window boxes because they bring a completely different texture to the arrangement.
Their ruffled leaves look beautiful beside round pumpkins and soft mums.
I usually put the cabbage or kale toward the front or center of the box and let the mums fill in around it.
And honestly, I don’t mind if they start looking a little weathered later in the season. Fall decorating doesn’t need to stay perfectly polished.
8. The Simple Three-Color Window Box
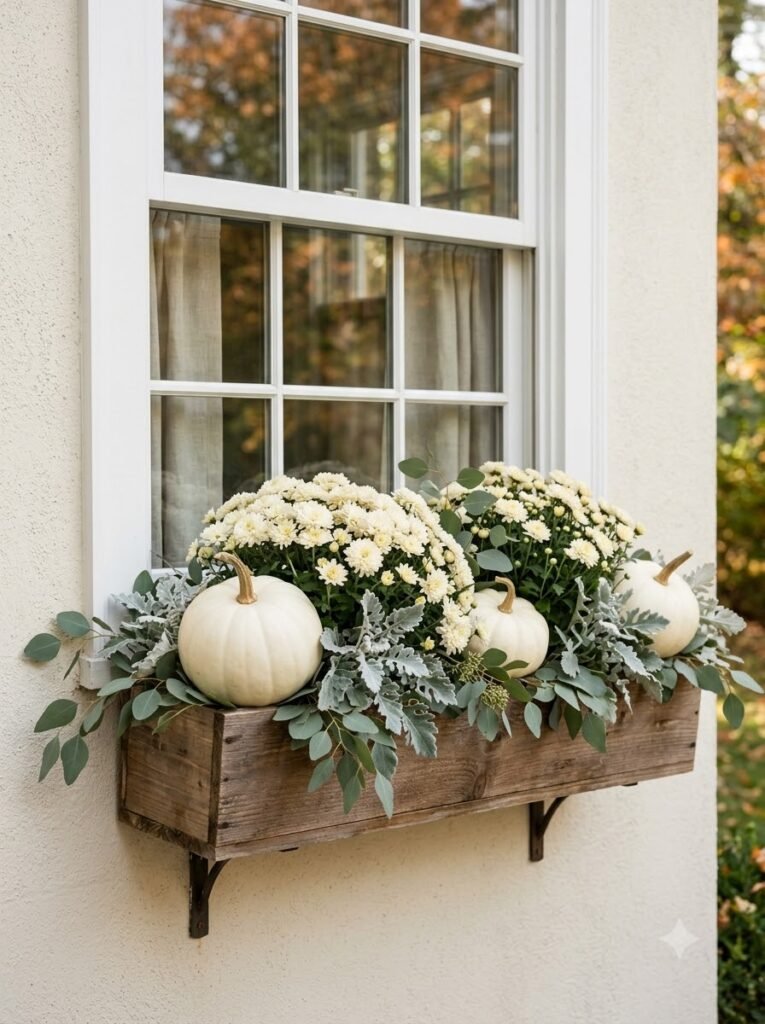
Sometimes simpler really is better.
For an easy arrangement, pick:
- One flower color
- One greenery or foliage color
- One pumpkin color
For example, cream mums + green foliage + white pumpkins.
That’s it.
I use this approach when I’m decorating several windows at once because it keeps the house looking cohesive without making every box identical.
9. Add Corn Husks for Texture
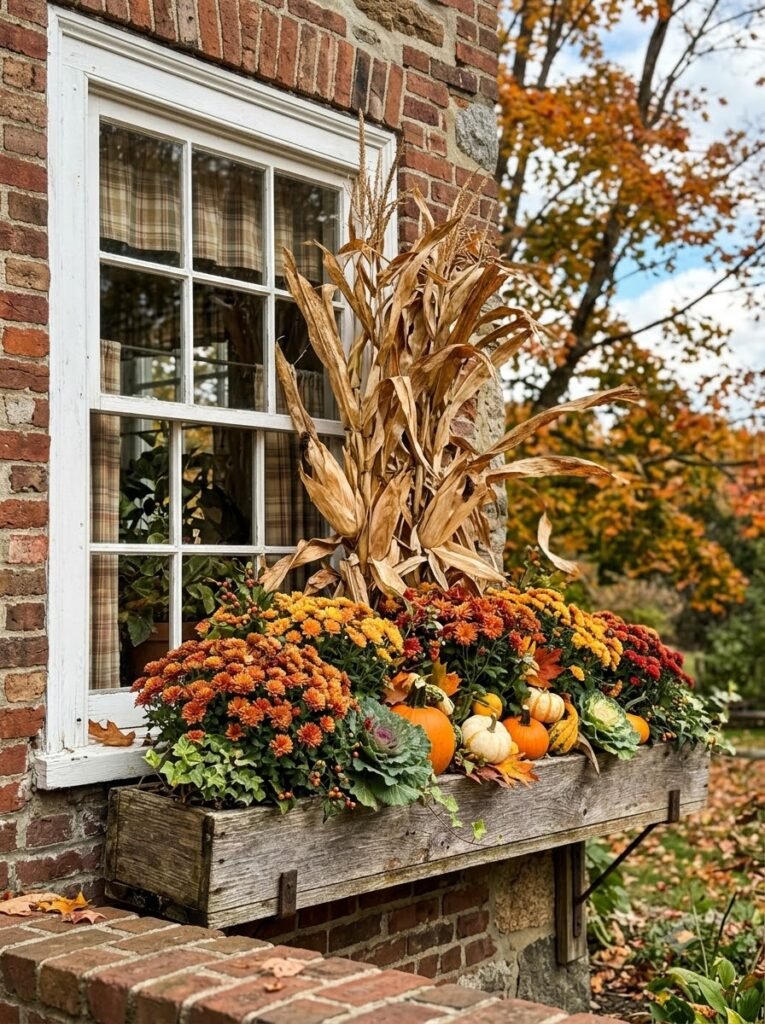
Corn husks instantly make a window box feel more rustic.
I like placing a few dried corn stalk pieces toward the back of the box so they rise above the flowers. They add height without needing a huge arrangement.
You can find dried fall materials at craft stores, garden centers, farmers markets, or sometimes even use pieces from your own garden.
Just secure everything well if your house gets windy. I learned that one the hard way.
10. Mums, Pumpkins, and Faux Eucalyptus
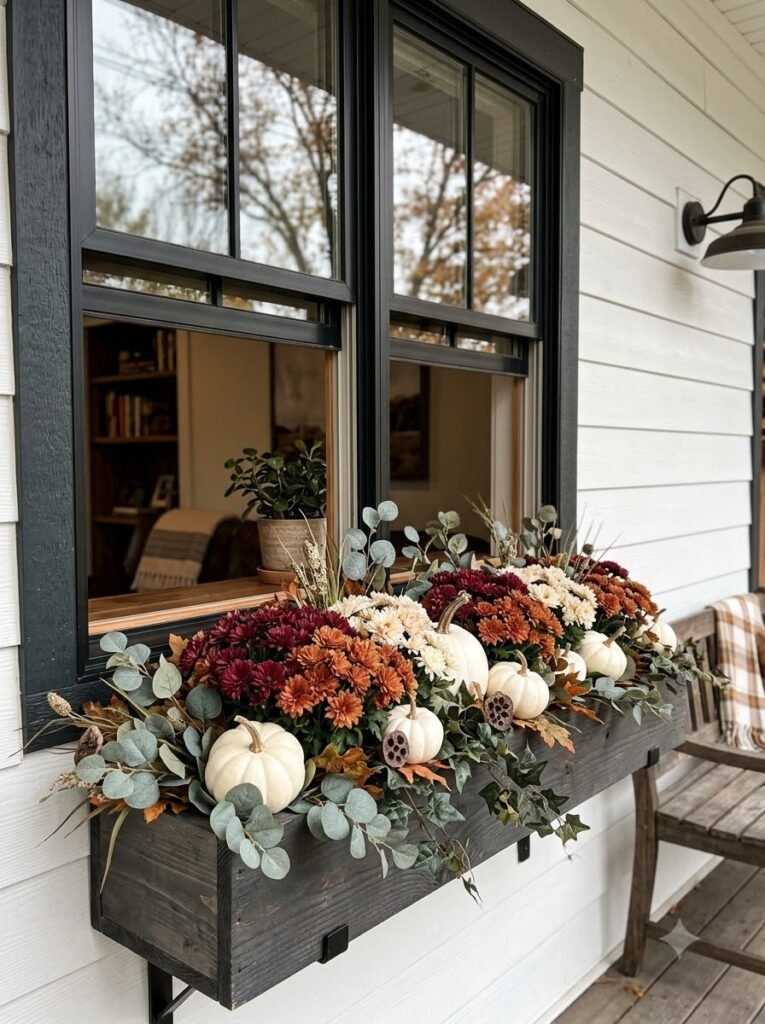
If you’re looking for something that lasts longer than fresh greenery, faux eucalyptus is an easy addition.
I use realistic-looking stems sparingly, tucked around the mums rather than filling the whole planter with artificial greenery.
The gray-green color works beautifully with white pumpkins and neutral mums, especially if you’re going for that modern farmhouse style.
And once the mums are finished, you can pull them out and reuse the faux greenery in another seasonal arrangement.
11. A Cozy Cottage-Style Display
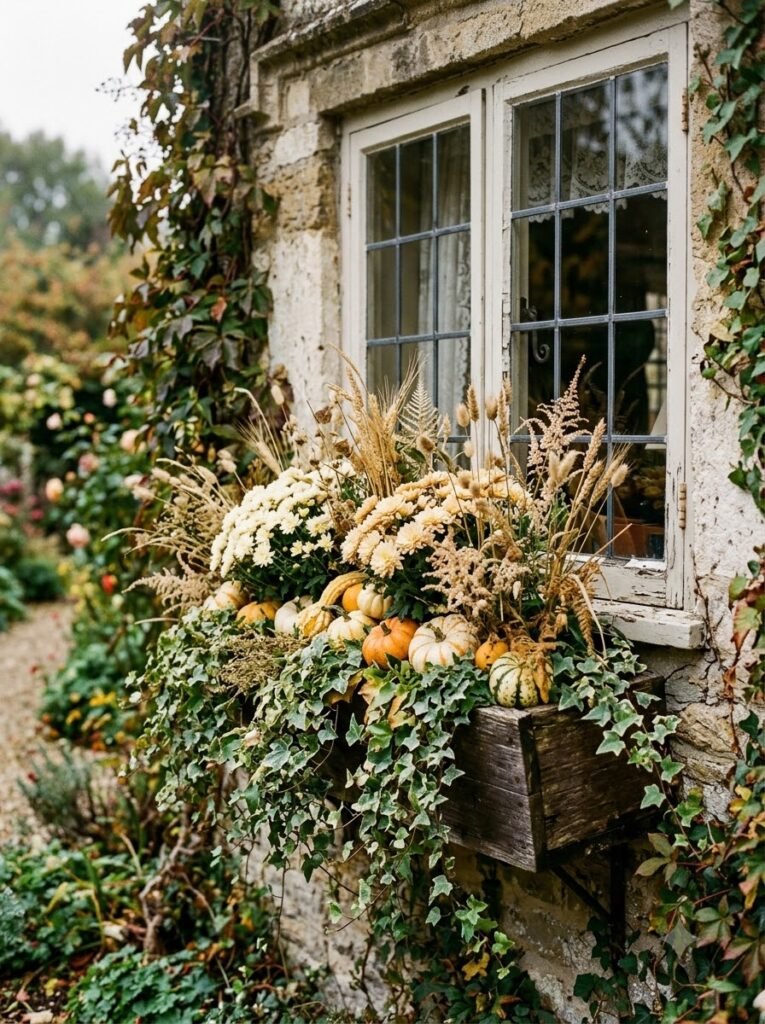
For a cottage feel, I like mixing delicate flowers with slightly wild-looking greenery.
Think cream or pale yellow mums, small pumpkins, ivy, dried grasses, and a few sprigs of something feathery.
I wouldn’t worry about making this one symmetrical.
A slightly uneven arrangement often looks more natural, especially on an older home where everything isn’t perfectly straight anyway.
12. Use Gourds Instead of Lots of Pumpkins
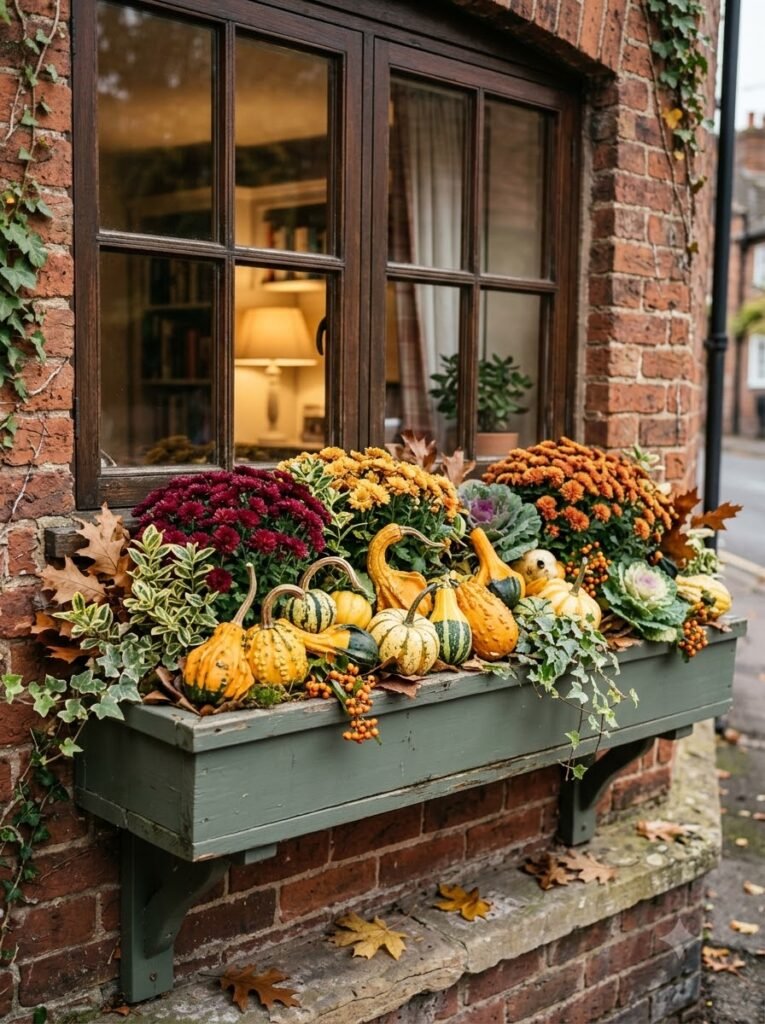
Pumpkins get most of the attention, but gourds can be just as charming.
I like using a handful of small gourds in different shapes and colors. Some are smooth, some are bumpy, and some have those funny little curved stems.
They fill awkward spaces between flowers without making the planter feel crowded.
They’re also usually inexpensive, which is a nice bonus if you’re decorating on a budget.
13. Create a Neutral Fall Window Box
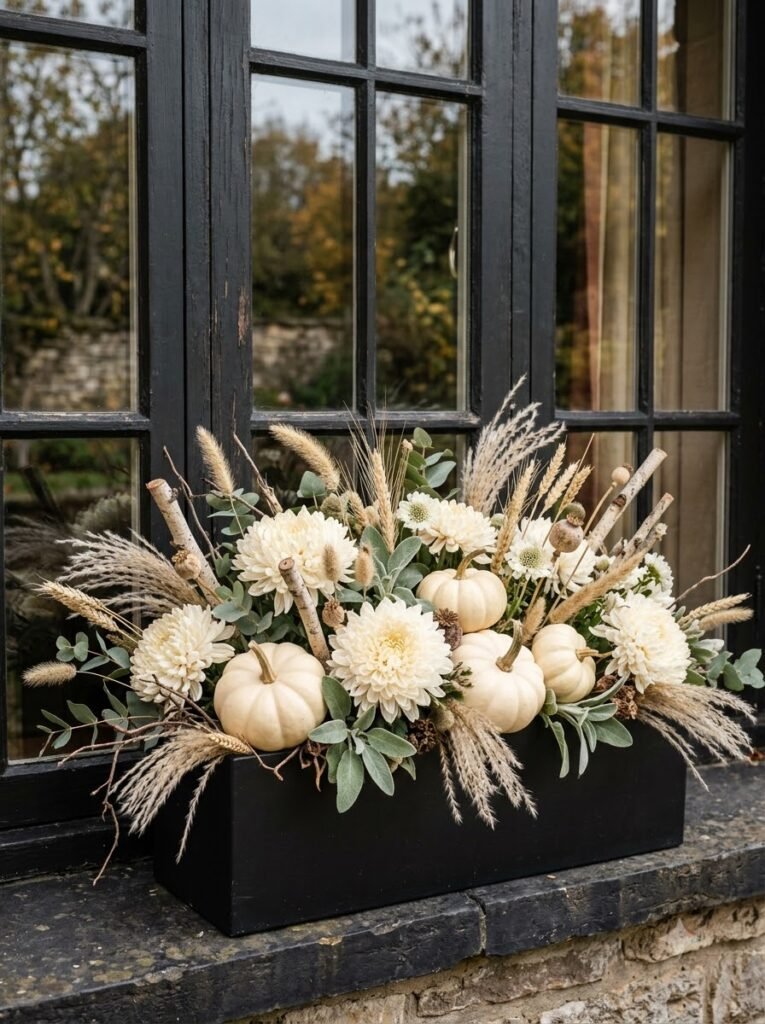
If orange isn’t your thing, don’t force it.
A neutral autumn display can be just as seasonal. I would combine:
- White or cream mums
- Ivory pumpkins
- Beige dried grasses
- Green-gray foliage
- Natural twigs
This look feels especially pretty with a black planter or dark window trim.
I’ve found that neutral fall decorating also transitions nicely into Thanksgiving without needing to change everything.
14. Try a Red and Copper Color Palette
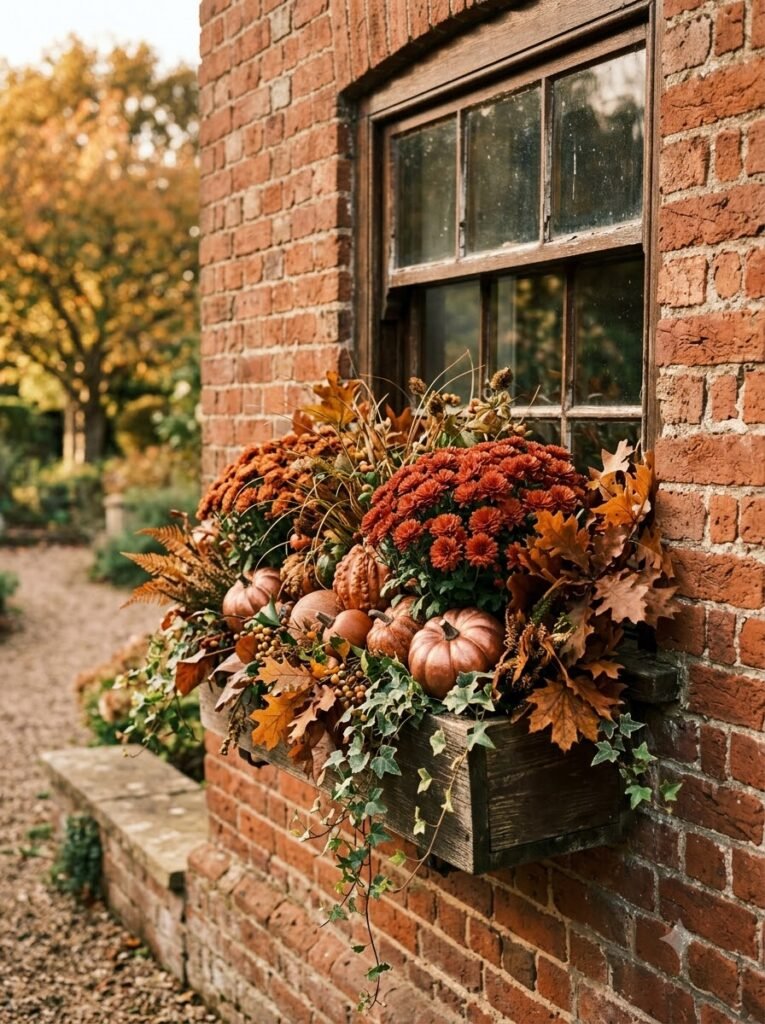
For something warmer, combine rusty red mums with copper-colored pumpkins and bronze foliage.
I love this look on brick houses because the warm colors seem to blend naturally with the exterior.
You don’t need actual copper decorations, either. A few pumpkins in rusty shades can give you the same effect.
15. Add Pinecones
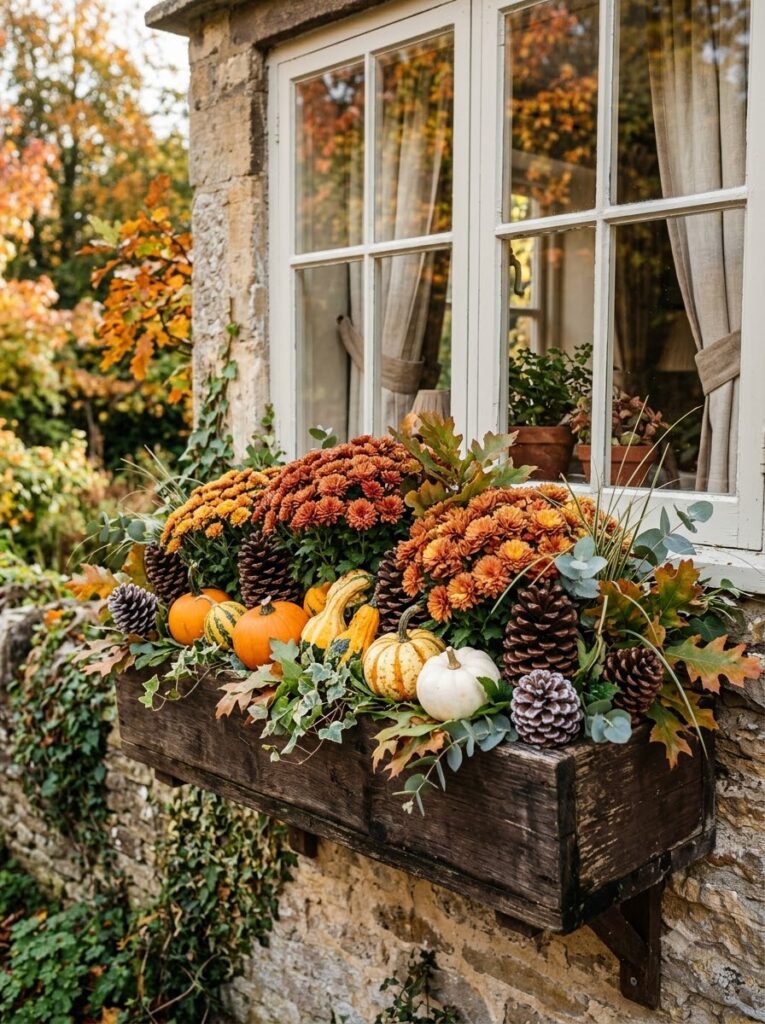
Pinecones are one of those decorations I almost always have around during fall.
They’re inexpensive, natural, and practically impossible to mess up.
I like tucking a few large ones between the plants. You can leave them completely natural or use lightly frosted ones later in the season.
If you have children, collecting pinecones together can actually be part of the decorating project. My favorite decorations tend to be the ones that have a little story attached to them.
16. Make a Small Window Box Look Fuller
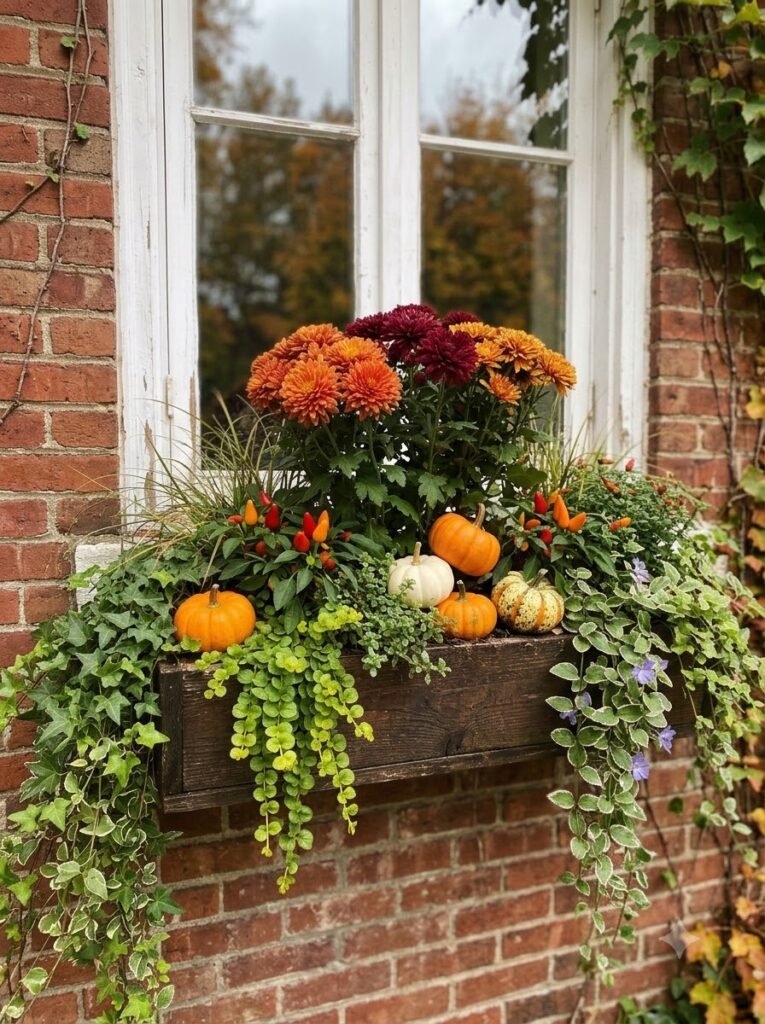
If your window box is narrow, don’t cram it with plants.
Instead, concentrate the height toward the middle and use trailing greenery along the edges. A few pumpkins can fill the little gaps.
Another trick I use is grouping plants in odd numbers. Three mums generally look more natural than four perfectly spaced ones.
You can also elevate a small pumpkin slightly with an overturned nursery pot hidden underneath it. Nobody sees the pot, but suddenly the pumpkin has some height.
17. Add a Tiny Fall Sign
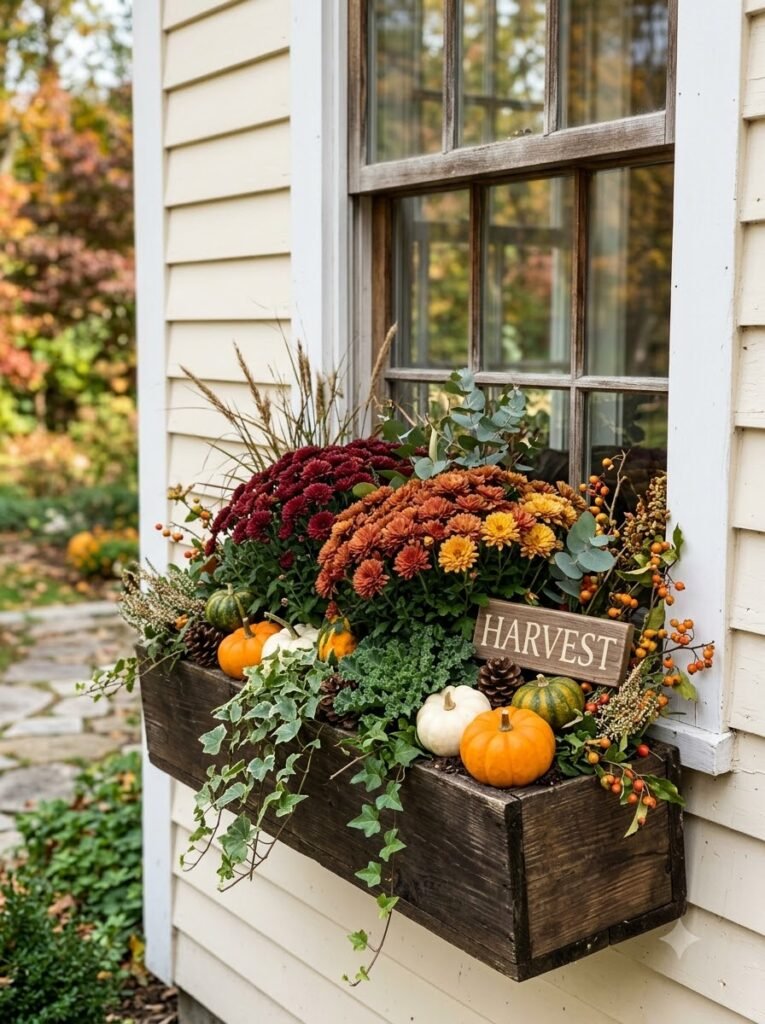
For a more decorative farmhouse-inspired look, tuck a small wooden sign behind the plants.
Something simple like “Harvest” or “Hello Fall” can work, but I actually prefer understated signs without too much lettering.
Make sure the sign isn’t so large that it blocks your flowers or window. The greenery should still be the star.
18. Use Wheat or Dried Grasses
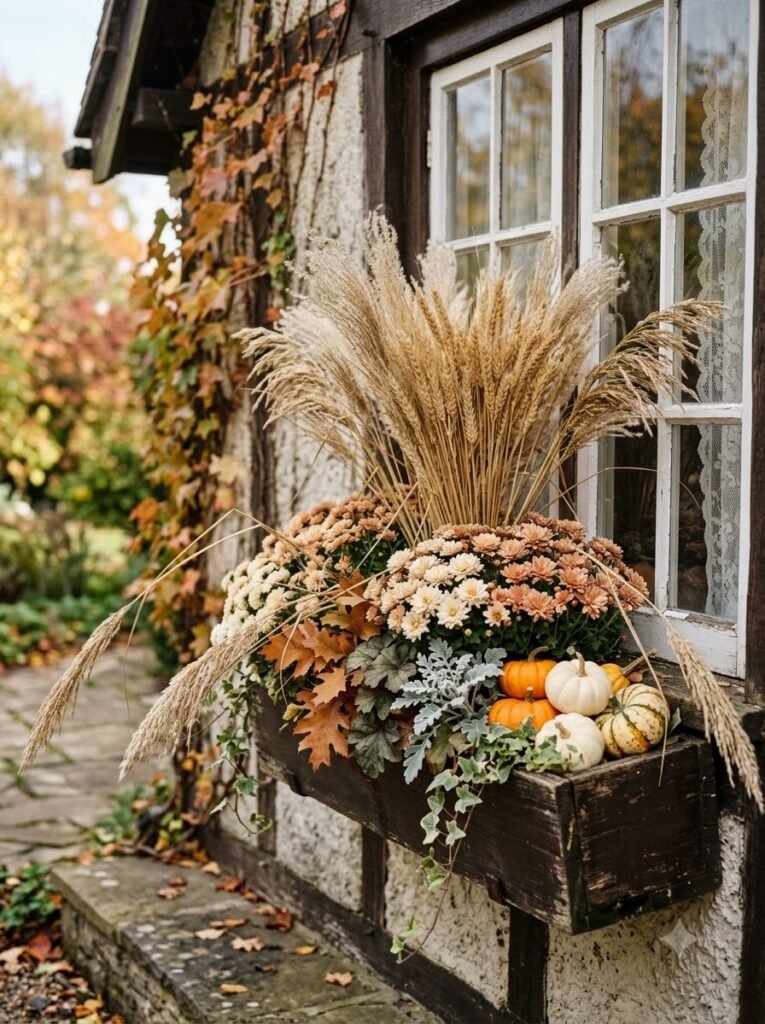
Dried wheat gives a fall window box that wonderful golden, slightly windswept appearance.
I like putting a small bundle toward the back and allowing a few stems to lean outward naturally.
This is particularly nice if your flowers are mostly neutral because the wheat adds warmth without introducing another strong color.
And unlike fresh flowers, dried materials can stick around for weeks.
19. A Woodland-Inspired Window Box
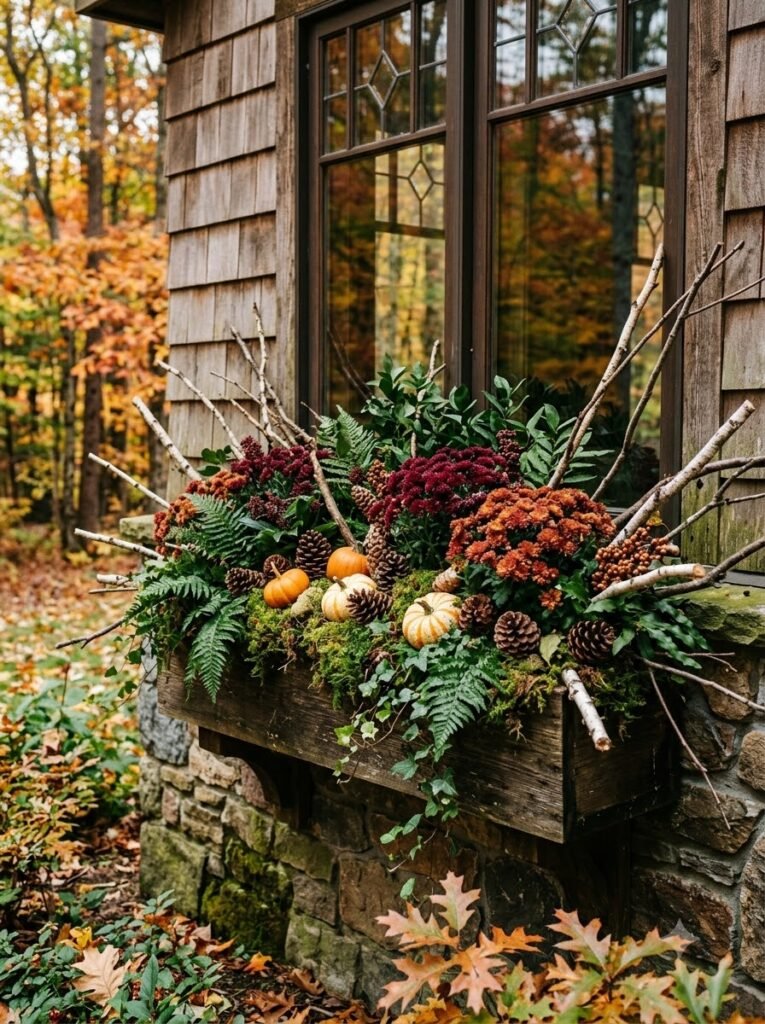
For something a little different, bring in the feeling of a walk through the woods.
I would combine:
- Small pumpkins
- Pinecones
- Moss
- Ferns
- Dark greenery
- Natural branches
- Burgundy or rust-colored flowers
The goal isn’t to make it look overly arranged. Let some branches stick out at different angles.
This style feels especially cozy beside stone, cedar siding, or a natural wood exterior.
20. Mix Real and Faux Decorations
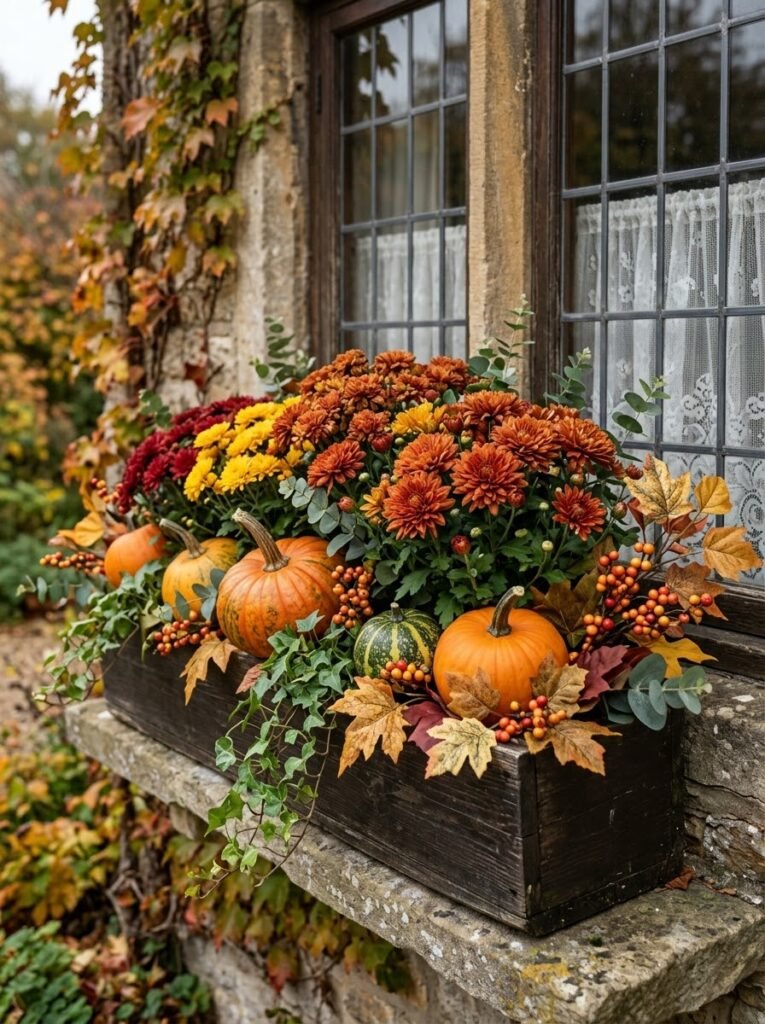
I don’t think everything has to be real.
In fact, mixing the two can make fall decorating much easier.
Use real mums and pumpkins for the things people notice first, then fill gaps with faux leaves, artificial berries, or reusable greenery.
I’ve done this when I knew I wouldn’t have time to constantly water and rearrange everything. There is absolutely no shame in making your seasonal decorating a little easier on yourself.
21. Let the Window Box Evolve Through Fall
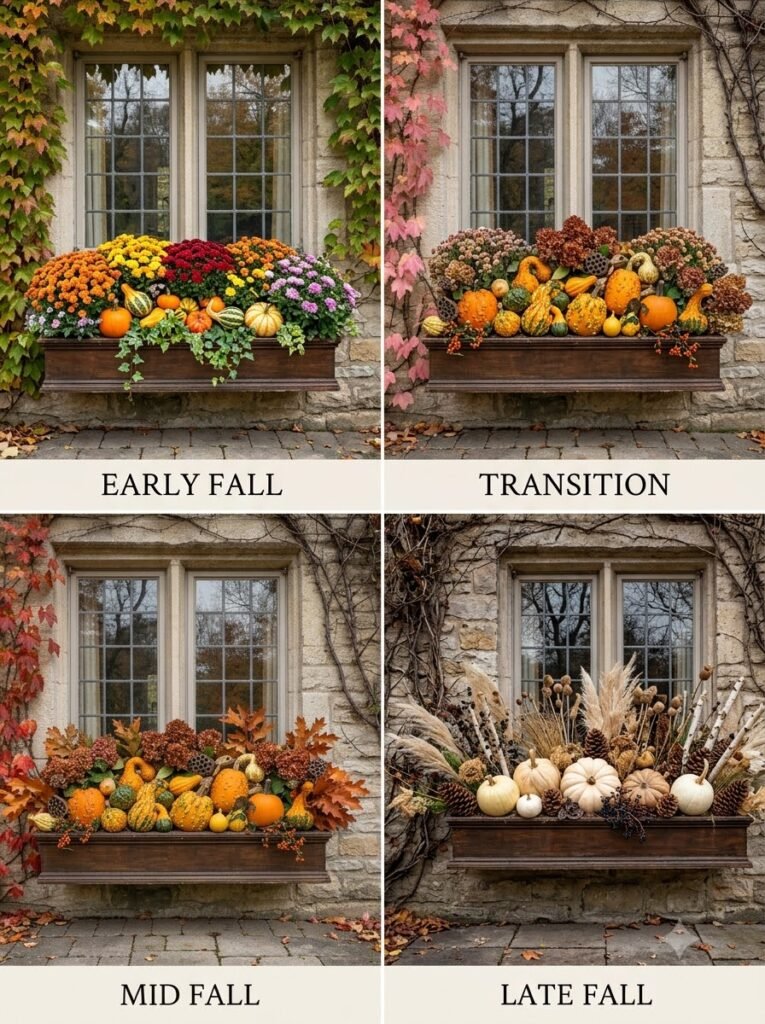
This might be my favorite idea of all because it takes some pressure off.
Your window box doesn’t have to look exactly the same from September through Thanksgiving.
Early in fall, I might use bright mums and small pumpkins. As October passes, I add darker foliage and a few more gourds. By November, I lean toward cream pumpkins, dried grasses, pinecones, and warm neutral tones.
It’s almost like letting the planter tell the story of the season.
And when the weather starts getting cold, I remove anything that’s struggling rather than trying to keep a tired arrangement alive just because it looked good six weeks earlier.
How I Put Together a Fall Window Box
If you’re standing in the garden center feeling overwhelmed, here’s the simple formula I use.
Start with a “thriller”
Choose one taller plant or material for the back of the box. Mums, ornamental grasses, dried wheat, or upright foliage can all work.
Add “fillers”
These are your main flowers and foliage. I usually choose two or three varieties rather than buying one of everything.
Trailing greenery goes along the front edge and sides.
Finish with “spillers”
Then I add the pumpkins and little decorative touches last.
This order makes it much easier to see where you have empty spaces.
A Few Practical Things I Wish I’d Known
Pretty is important, but so is keeping the window box alive.
Before planting, I always check that the container has good drainage. Fall can bring plenty of rain, and soggy roots can become a problem surprisingly quickly.
I also avoid putting too many heavy pumpkins into one box. A few small pumpkins look adorable; a whole pile can make the planter unnecessarily heavy.
A few other things that have helped me:
- Water newly planted mums thoroughly.
- Check the soil before watering rather than following a strict schedule.
- Remove dead flower heads when needed.
- Keep pumpkins from sitting directly against delicate foliage if they’re getting wet.
- Secure tall dried stems in windy areas.
- Use lightweight faux pumpkins if your window boxes are mounted high.
- Check the weight capacity of mounted boxes before adding lots of decorations.
Most importantly, don’t try to copy someone else’s window box exactly. The amount of sun, the size of the planter, your climate, and even the color of your house will change how the finished display looks.
My Favorite Fall Window Box Formula
If I had to decorate a window box tomorrow and wanted something pretty without spending a fortune, I’d probably grab three medium mums, a small ornamental cabbage, two or three mini pumpkins, a trailing plant, and a bundle of dried grasses.
I’d arrange the mums toward the back, tuck the cabbage toward the front, let the greenery spill over the edge, and then wedge the pumpkins into the open spaces.
Nothing fancy.
But when the afternoon light hits the flowers and you can see those little pumpkins through the window from inside the house, it feels like enough.
Final Thoughts
I’ve come to realize that fall decorating isn’t really about having the most impressive display on the block. For me, it’s those little seasonal touches that make home feel different as the weather changes.
A few mums can do it. So can a handful of pumpkins, some dried grasses, or even a couple of pinecones gathered on a walk.
The best fall window boxes I’ve made haven’t been the most expensive ones. They’ve been the ones that feel natural to the house — a little full, a little imperfect, and warm enough to make me smile every time I come home.
So start with what you already have. Add a few mums, tuck in some pumpkins, let the greenery spill over the edge, and don’t worry too much about making every stem behave.
Autumn is one season where a little messiness actually makes everything prettier.