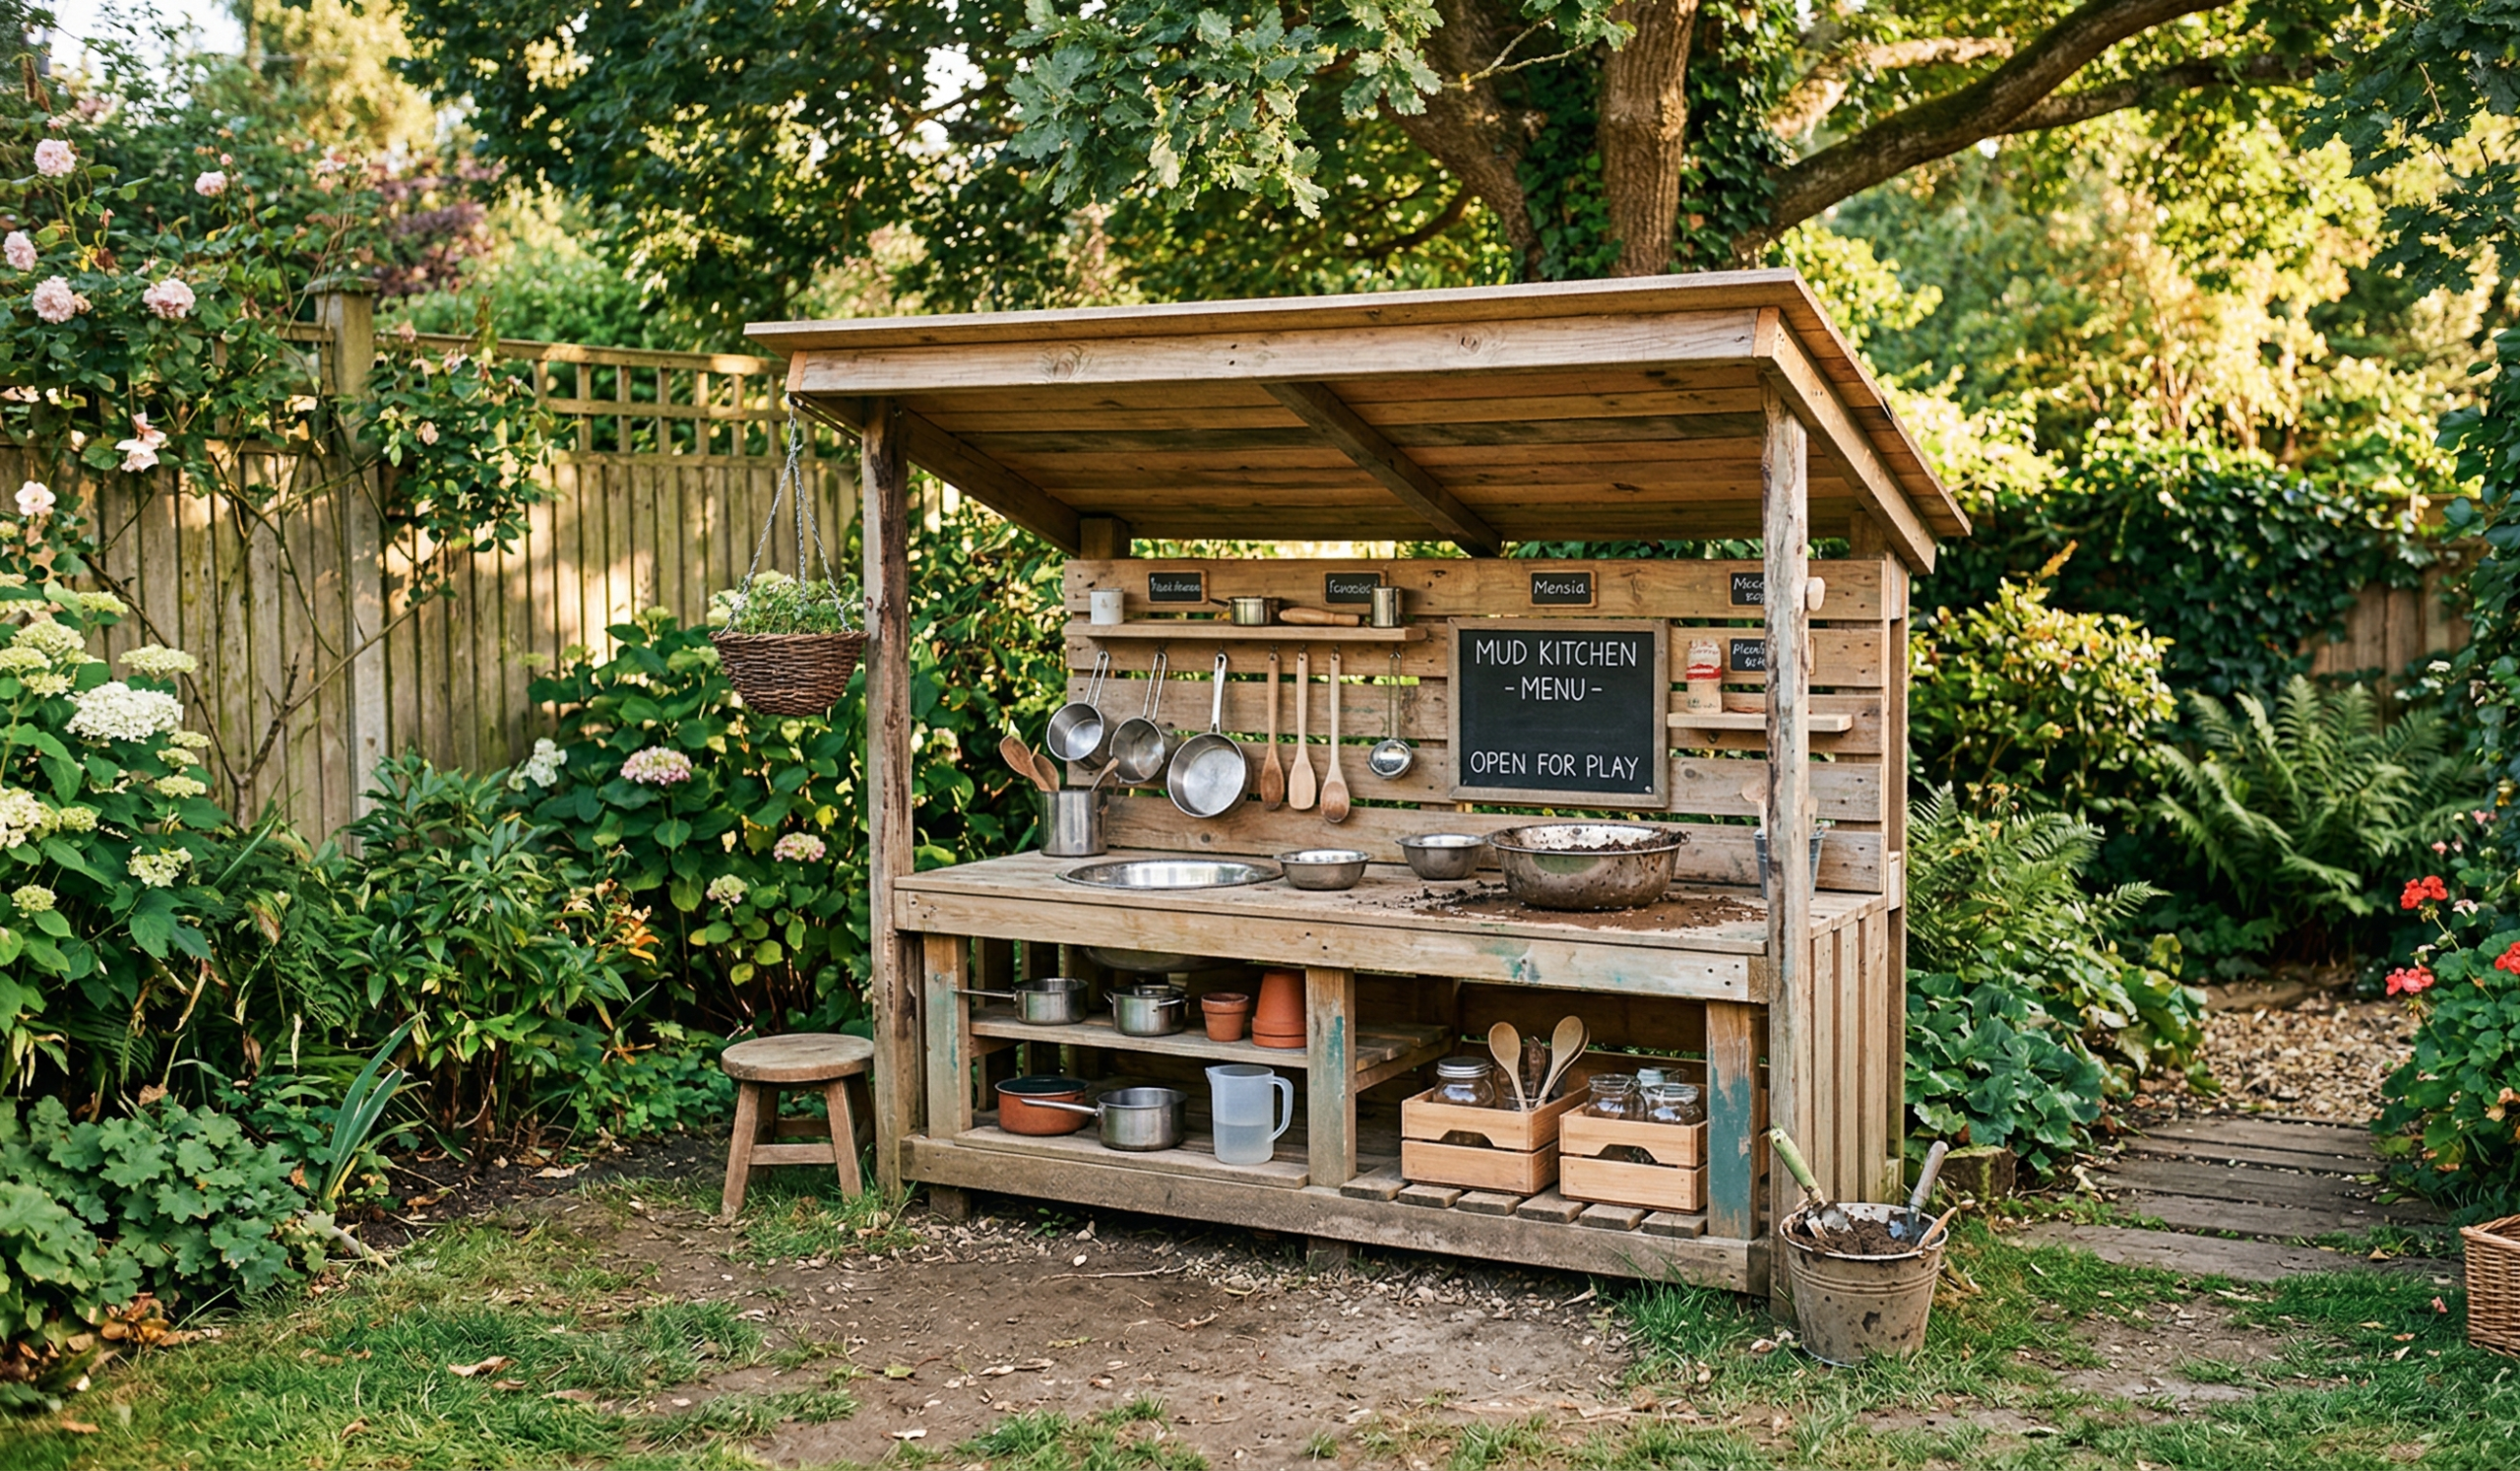
There was a point when my backyard felt… unfinished. Not messy, not neglected—just kind of lacking something that made it feel alive. The plants were there, the seating was fine, but it didn’t invite anyone to actually use the space.
That changed the day I noticed a pile of old pallets sitting near a construction site. Not in a dramatic, life-changing way—but enough to spark an idea I hadn’t really considered before: what if I built something for the kids instead of just decorating for adults?
That’s how the whole mud kitchen thing started.
And honestly, once I saw how much joy something so simple could bring, I wished I had done it sooner.
If you’ve got some scrap wood lying around—or even if you don’t and just like the idea of building something meaningful—these pallet mud kitchen ideas might give you that little push to start.
Why I Love Pallet Mud Kitchens (More Than I Expected)
Before getting into the ideas, I’ll say this: I underestimated how impactful something like this could be.
It’s not just a “play area.”
It becomes:
- A creativity zone
- A mess-friendly outlet (which is a relief, trust me)
- A reason for kids to spend more time outside
And the best part? It doesn’t need to look perfect.
In fact, the slightly rough, handmade look actually adds to the charm.
1. The Simple Two-Pallet Starter Kitchen
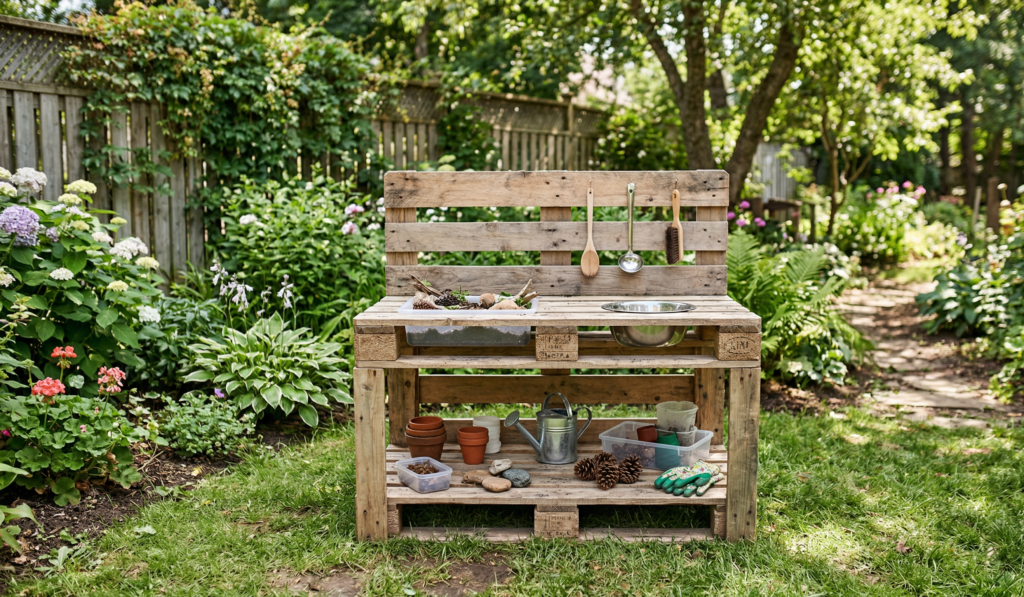
This is where I began.
Two pallets, one stacked on top of the other, and suddenly you’ve got:
- A countertop
- A little storage space underneath
I didn’t overthink it. Sanded it down just enough so there were no splinters, added a basic shelf, and left the wood mostly natural.
Sometimes the simplest builds end up being the most used.
2. Painted Pastel Mud Kitchen
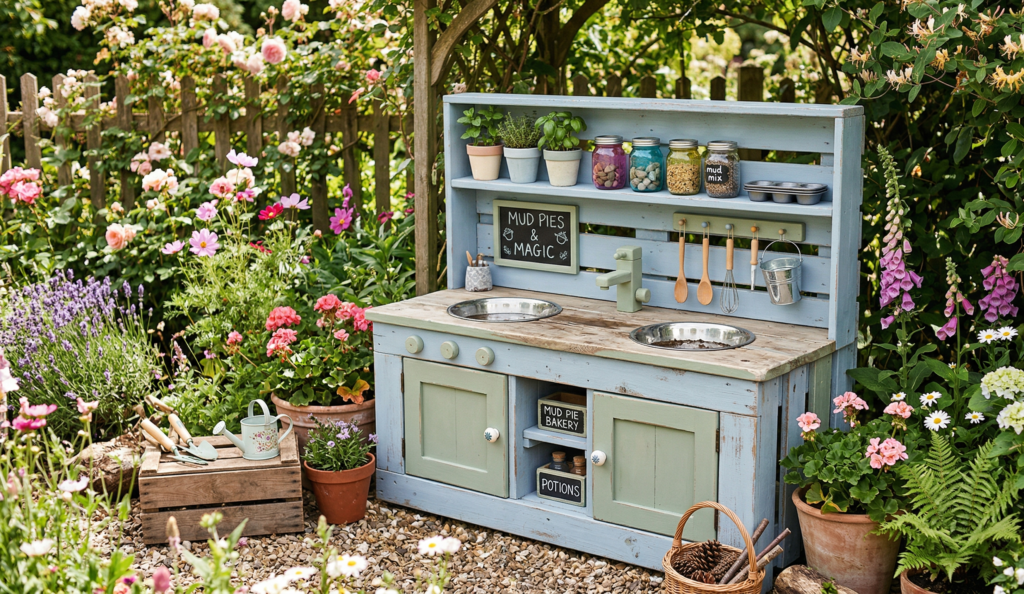
After a while, I noticed the raw wood started blending into the background.
So I tried painting one.
Soft pastel shades—like muted green or light blue—completely changed the vibe. It started feeling more like a “real” kitchen instead of just a wood structure.
A quick tip:
- Use outdoor-safe paint
- Don’t aim for perfection—slightly uneven strokes actually look nice
3. Pallet Kitchen with a Real Sink Bowl
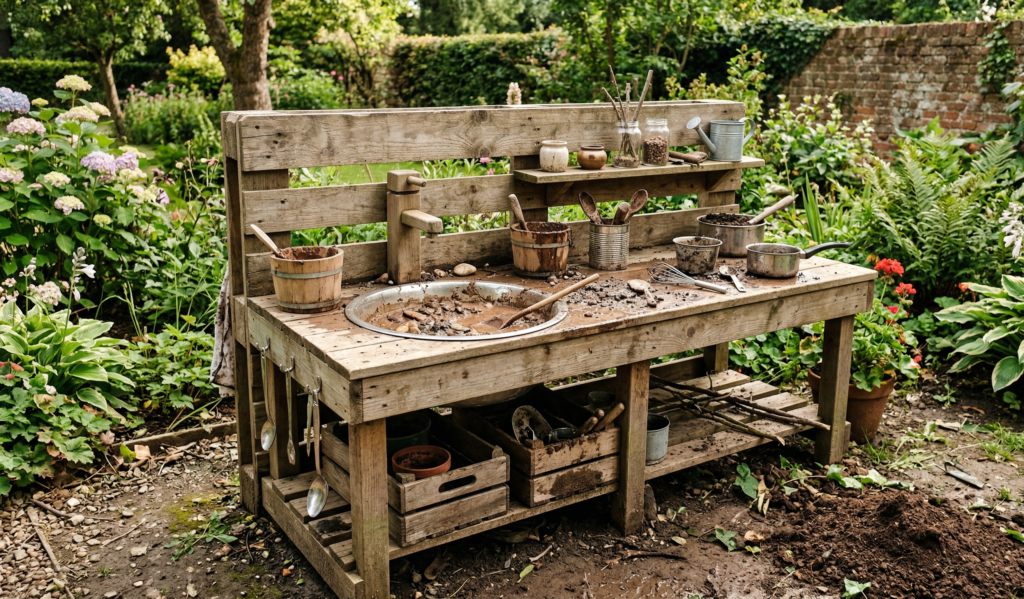
This one was a game changer.
I cut a hole in the top plank and dropped in an old metal bowl. That’s it. No plumbing, nothing complicated.
But somehow, that tiny addition made it feel interactive.
Kids love:
- Pouring water
- Mixing mud (a lot of mud…)
- Pretending they’re cooking something important
4. Rustic Farmhouse-Style Mud Kitchen
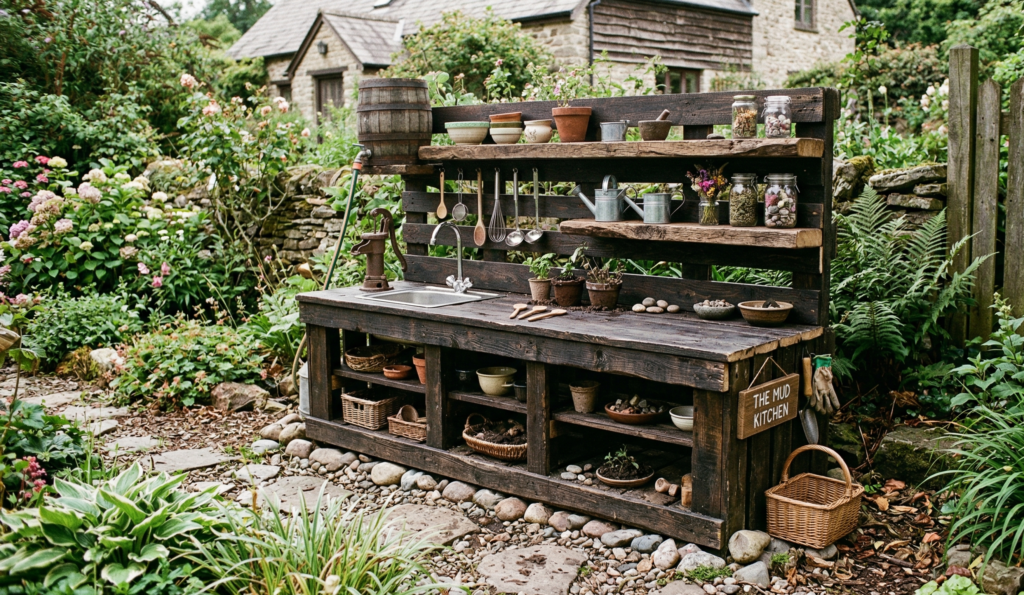
At some point I leaned into the rustic look instead of trying to clean it up.
Think:
- Dark stained wood
- Chunky shelves
- Slightly uneven edges
It blends beautifully into gardens, especially if you already have natural elements like stones or plants nearby.
5. L-Shaped Corner Mud Kitchen
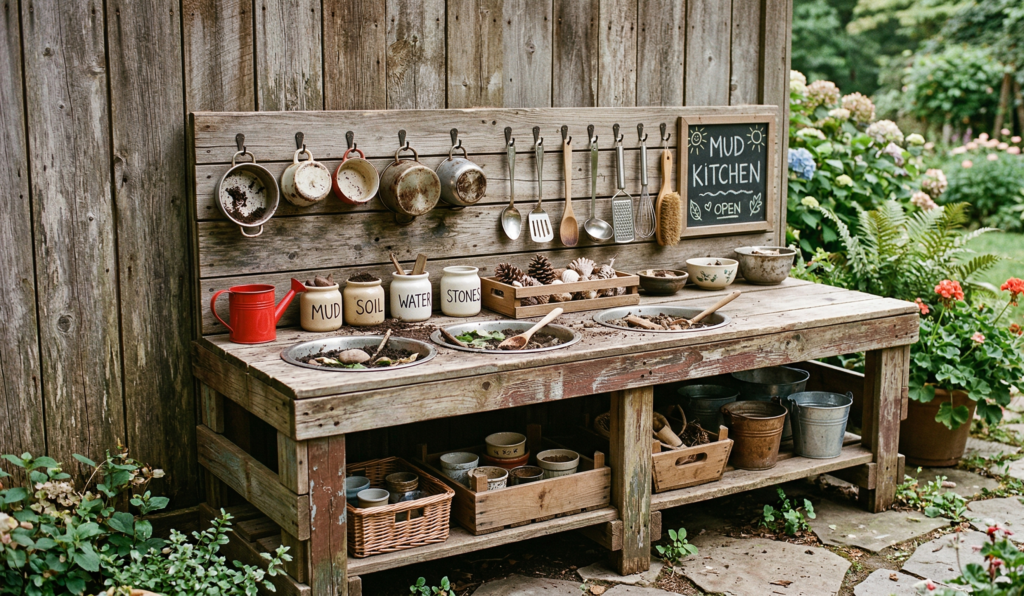
If you’ve got a corner in your yard that’s not really being used, this works surprisingly well.
I joined two pallet sections at a right angle and suddenly it felt more spacious.
It also naturally creates:
- Separate “work zones”
- More surface area for play
6. Mud Kitchen with Hanging Hooks
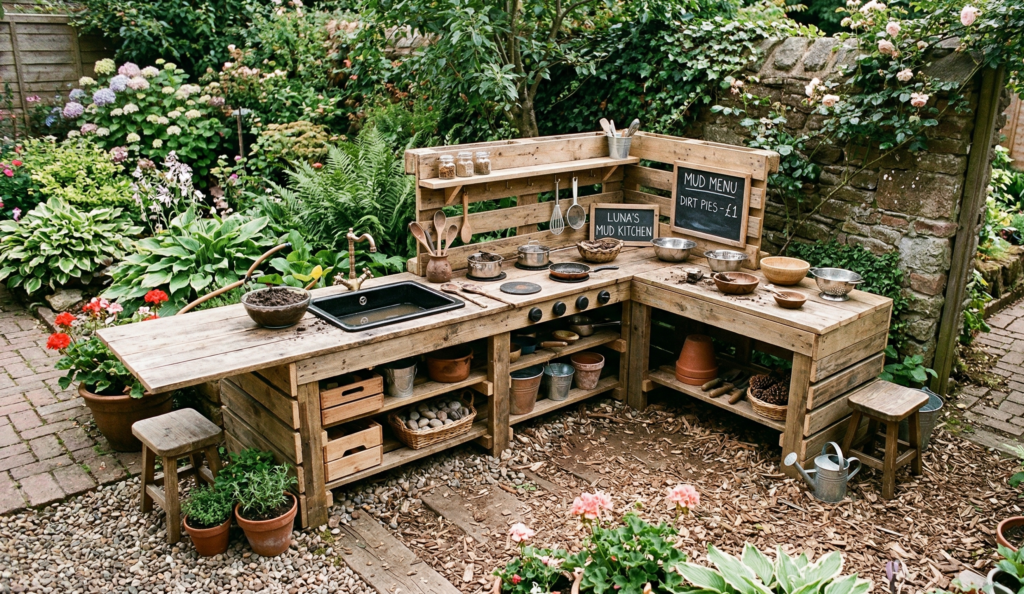
This was one of those small additions that made a big difference.
I added a few hooks along the back panel to hang:
- Old spoons
- Tiny pots
- Random kitchen tools
It adds movement, sound, and a bit of realism to the whole setup.
7. Chalkboard Backsplash Kitchen
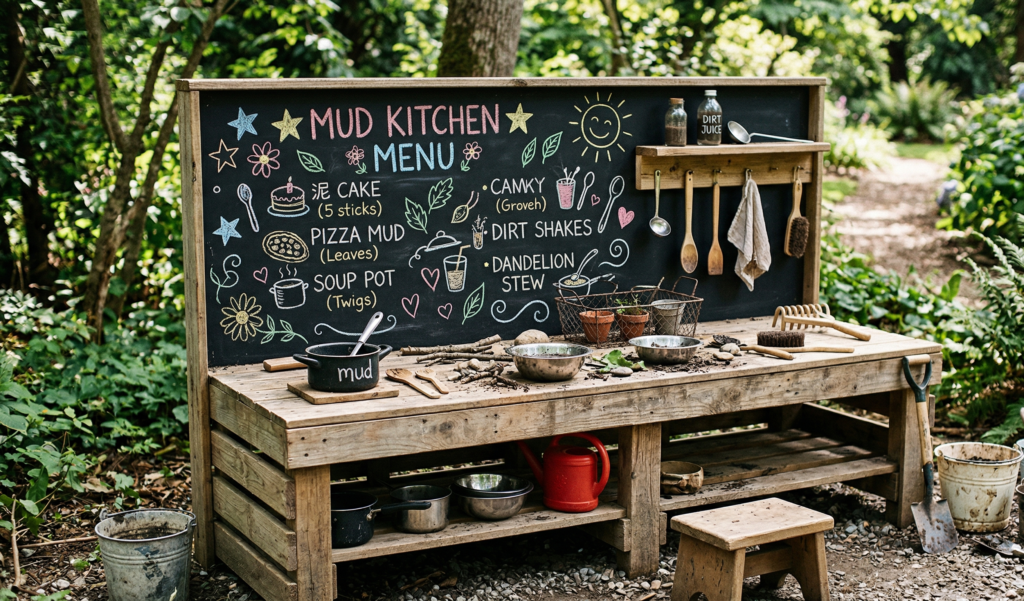
I wasn’t sure about this one at first, but it turned out to be one of my favorites.
A simple chalkboard panel attached to the back:
- Kids draw menus
- Scribble recipes
- Or just doodle endlessly
It adds a creative layer beyond just mud play.
8. Multi-Level Play Kitchen
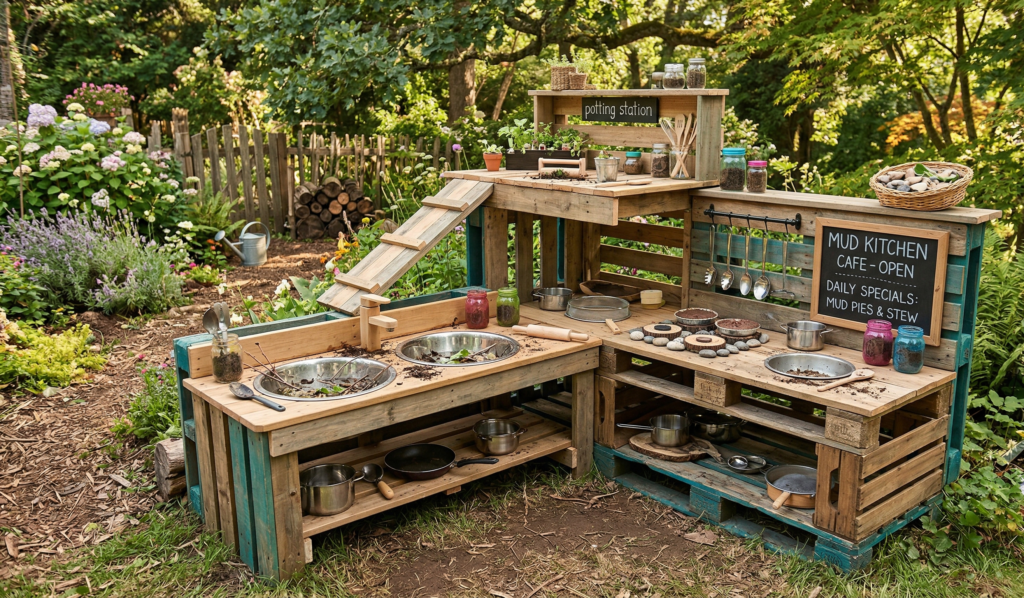
Instead of keeping everything flat, I experimented with different heights.
A raised section here, a lower one there.
It feels more dynamic and:
- Helps younger kids reach easily
- Keeps things visually interesting
9. Pallet Kitchen with Storage Crates
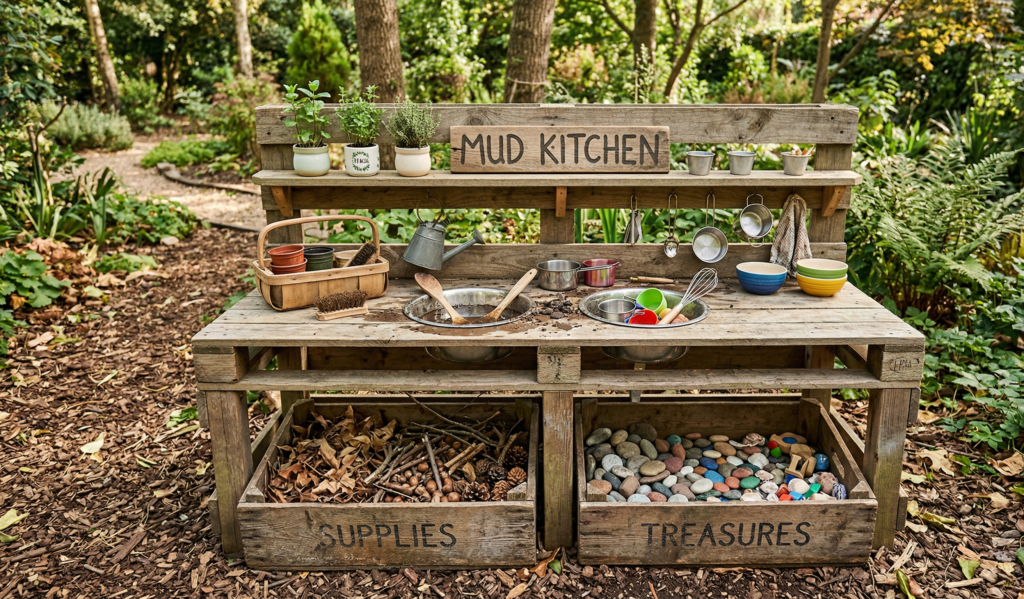
Storage became necessary pretty quickly.
So I slid a few wooden crates underneath:
- One for tools
- One for random “ingredients” (leaves, stones, etc.)
It keeps things from turning into total chaos… most of the time.
10. Mini Herb Garden Kitchen Combo
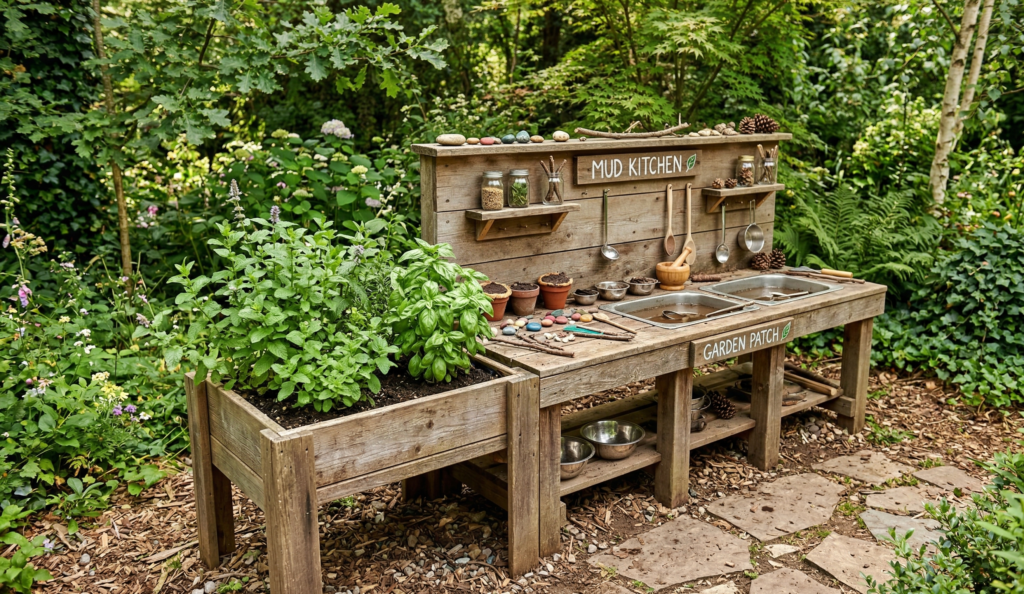
This one felt oddly satisfying to build.
I attached a small planter box to the side and added:
- Mint
- Basil
- A couple of hardy herbs
Now it’s not just pretend cooking—there’s something real involved.
11. Covered Mud Kitchen with a Tiny Roof
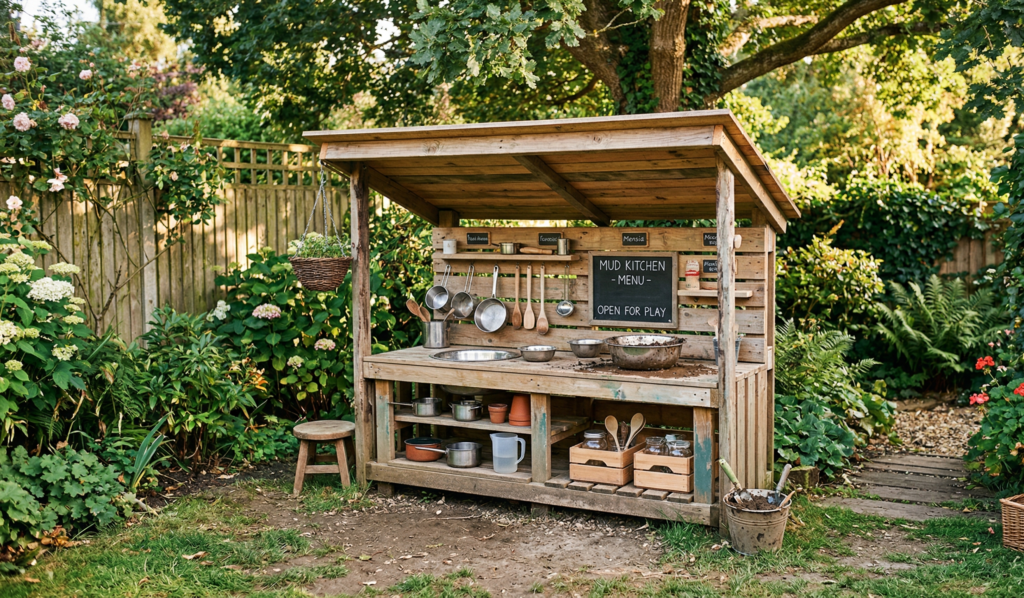
There was a stretch of days where rain kept interrupting playtime.
So I added a simple slanted roof using leftover wood.
Nothing fancy. But it:
- Protects the structure
- Makes it feel like a tiny outdoor “room”
12. Industrial Style Pallet Kitchen
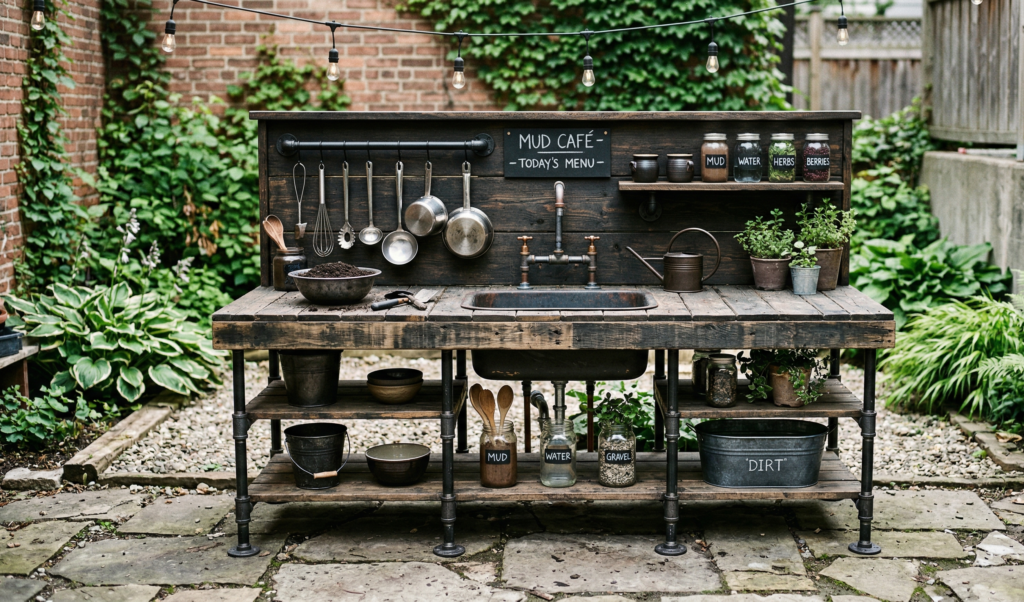
This was more of an experiment.
I combined:
- Pallet wood
- Metal pipes (for hooks and structure)
The result had a slightly industrial feel. Not for everyone, but it looked pretty unique.
13. Bright Color Pop Kitchen
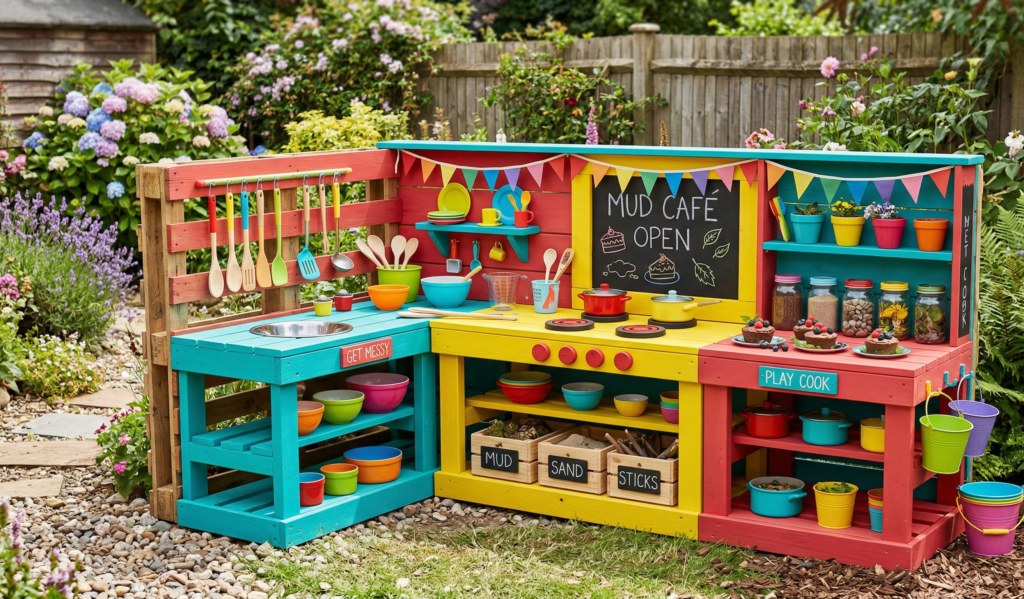
At one point, I went the complete opposite of rustic.
Bold colors:
- Yellow
- Red
- Even a bit of teal
It instantly made the space feel more playful and energetic.
14. Compact Mud Kitchen for Small Spaces
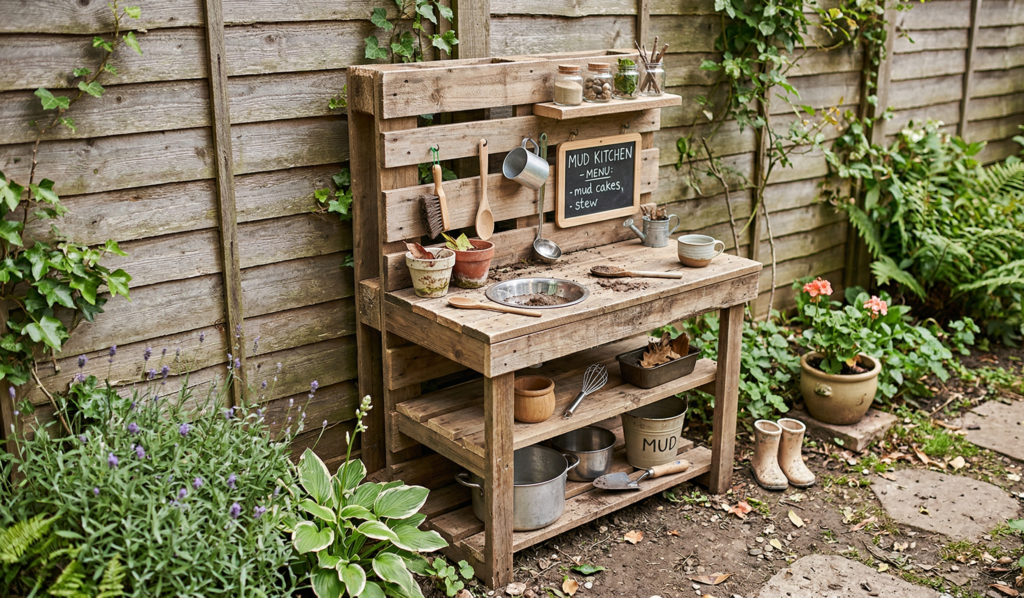
Not everyone has a big yard.
I built a narrower version that fits along a wall. Still functional, just scaled down.
If space is tight:
- Focus on vertical storage
- Keep the depth minimal
15. Pallet Kitchen with Real Faucet (No Plumbing)
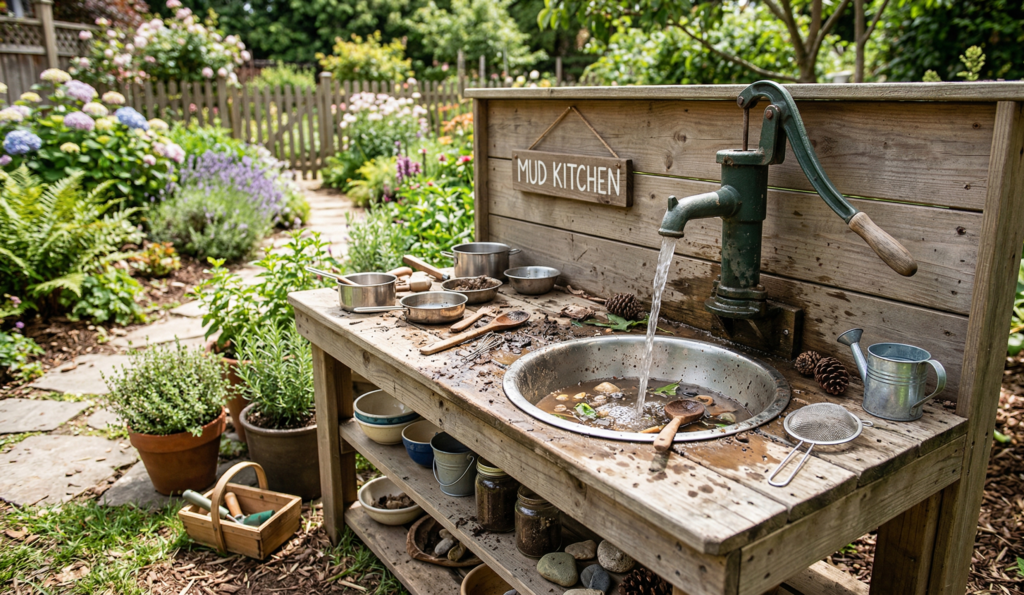
This sounds complicated, but it’s not.
I attached a simple hand pump or even a water dispenser-style setup.
Kids can press and get water flowing—no pipes needed.
And yes… they will use it nonstop.
16. Nature-Blended Mud Kitchen
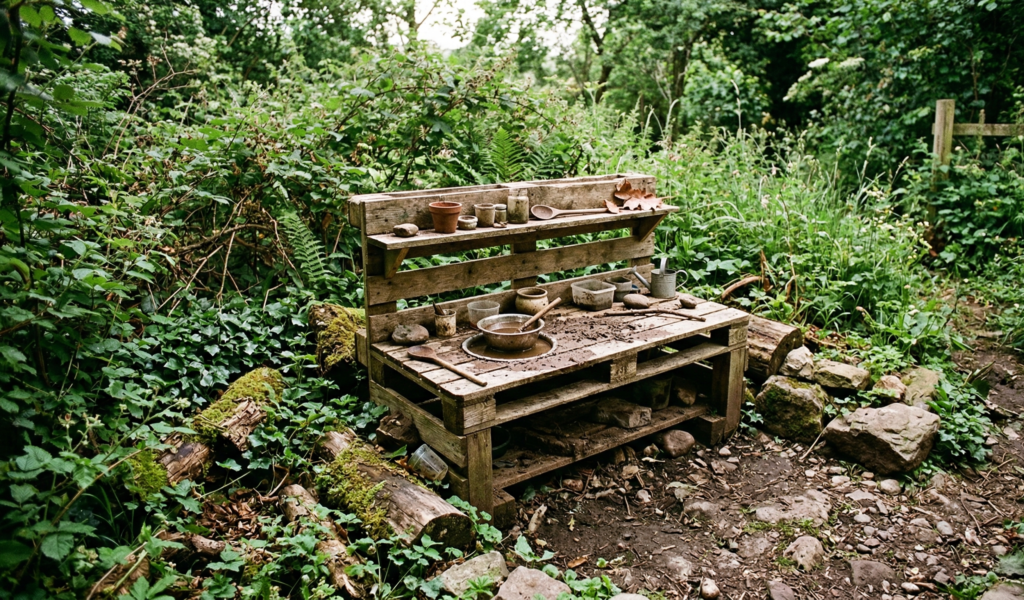
This one kind of happened naturally.
I placed the kitchen near:
- Bushes
- Stones
- A slightly wild patch of garden
Over time, it blended into the surroundings.
It stopped looking like something I built and started looking like something that belonged there.
17. Fully Customized “Little Chef” Station
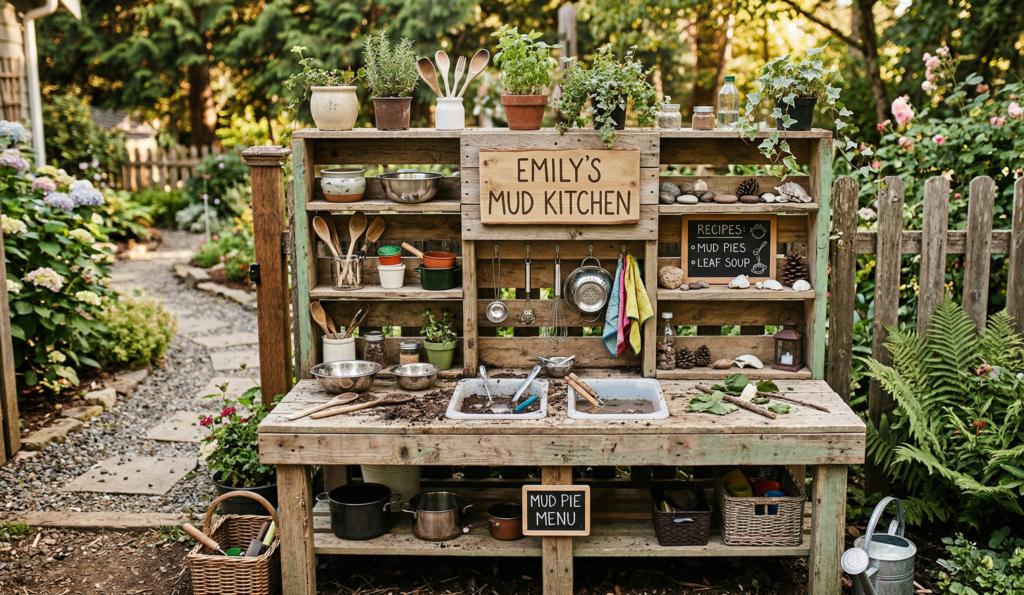
By this point, I realized something important.
There’s no “final version.”
Each kitchen evolves.
So I started adding:
- A name sign
- Small decorations
- Random upgrades over time
And honestly, that’s probably the best part of all this.
Things I Learned Along the Way (That Might Help You)
A few practical things I wish I knew earlier:
- Sanding matters more than aesthetics
Splinters will ruin the experience quickly - Weatherproofing is worth it
Even a basic sealant helps extend the life - Don’t overbuild it
Kids don’t need perfection—they need freedom - Let it get messy
That’s literally the point - Use what you already have
Old bowls, spoons, containers—everything can be reused
A Quick Step-by-Step If You’re Starting From Scratch
If you’re feeling inspired but unsure where to begin, here’s a simple path:
- Find 1–3 pallets
- Clean and sand them
- Decide on height (usually waist-level for kids)
- Stack or secure them
- Add a flat surface
- Optional: cut space for a sink bowl
- Paint or leave natural
- Add hooks or shelves
That’s it. Really.
Final Thoughts (From Someone Who Didn’t Expect This to Matter So Much)
I didn’t think a small DIY project would change how our outdoor space felt.
But it did.
Not because it looked amazing. Not because it was perfectly built.
But because it gave the space a purpose.
It created little moments—messy, loud, sometimes chaotic—but real.
And maybe that’s what makes something like a pallet mud kitchen worth building.
Not the structure itself… but what happens around it.