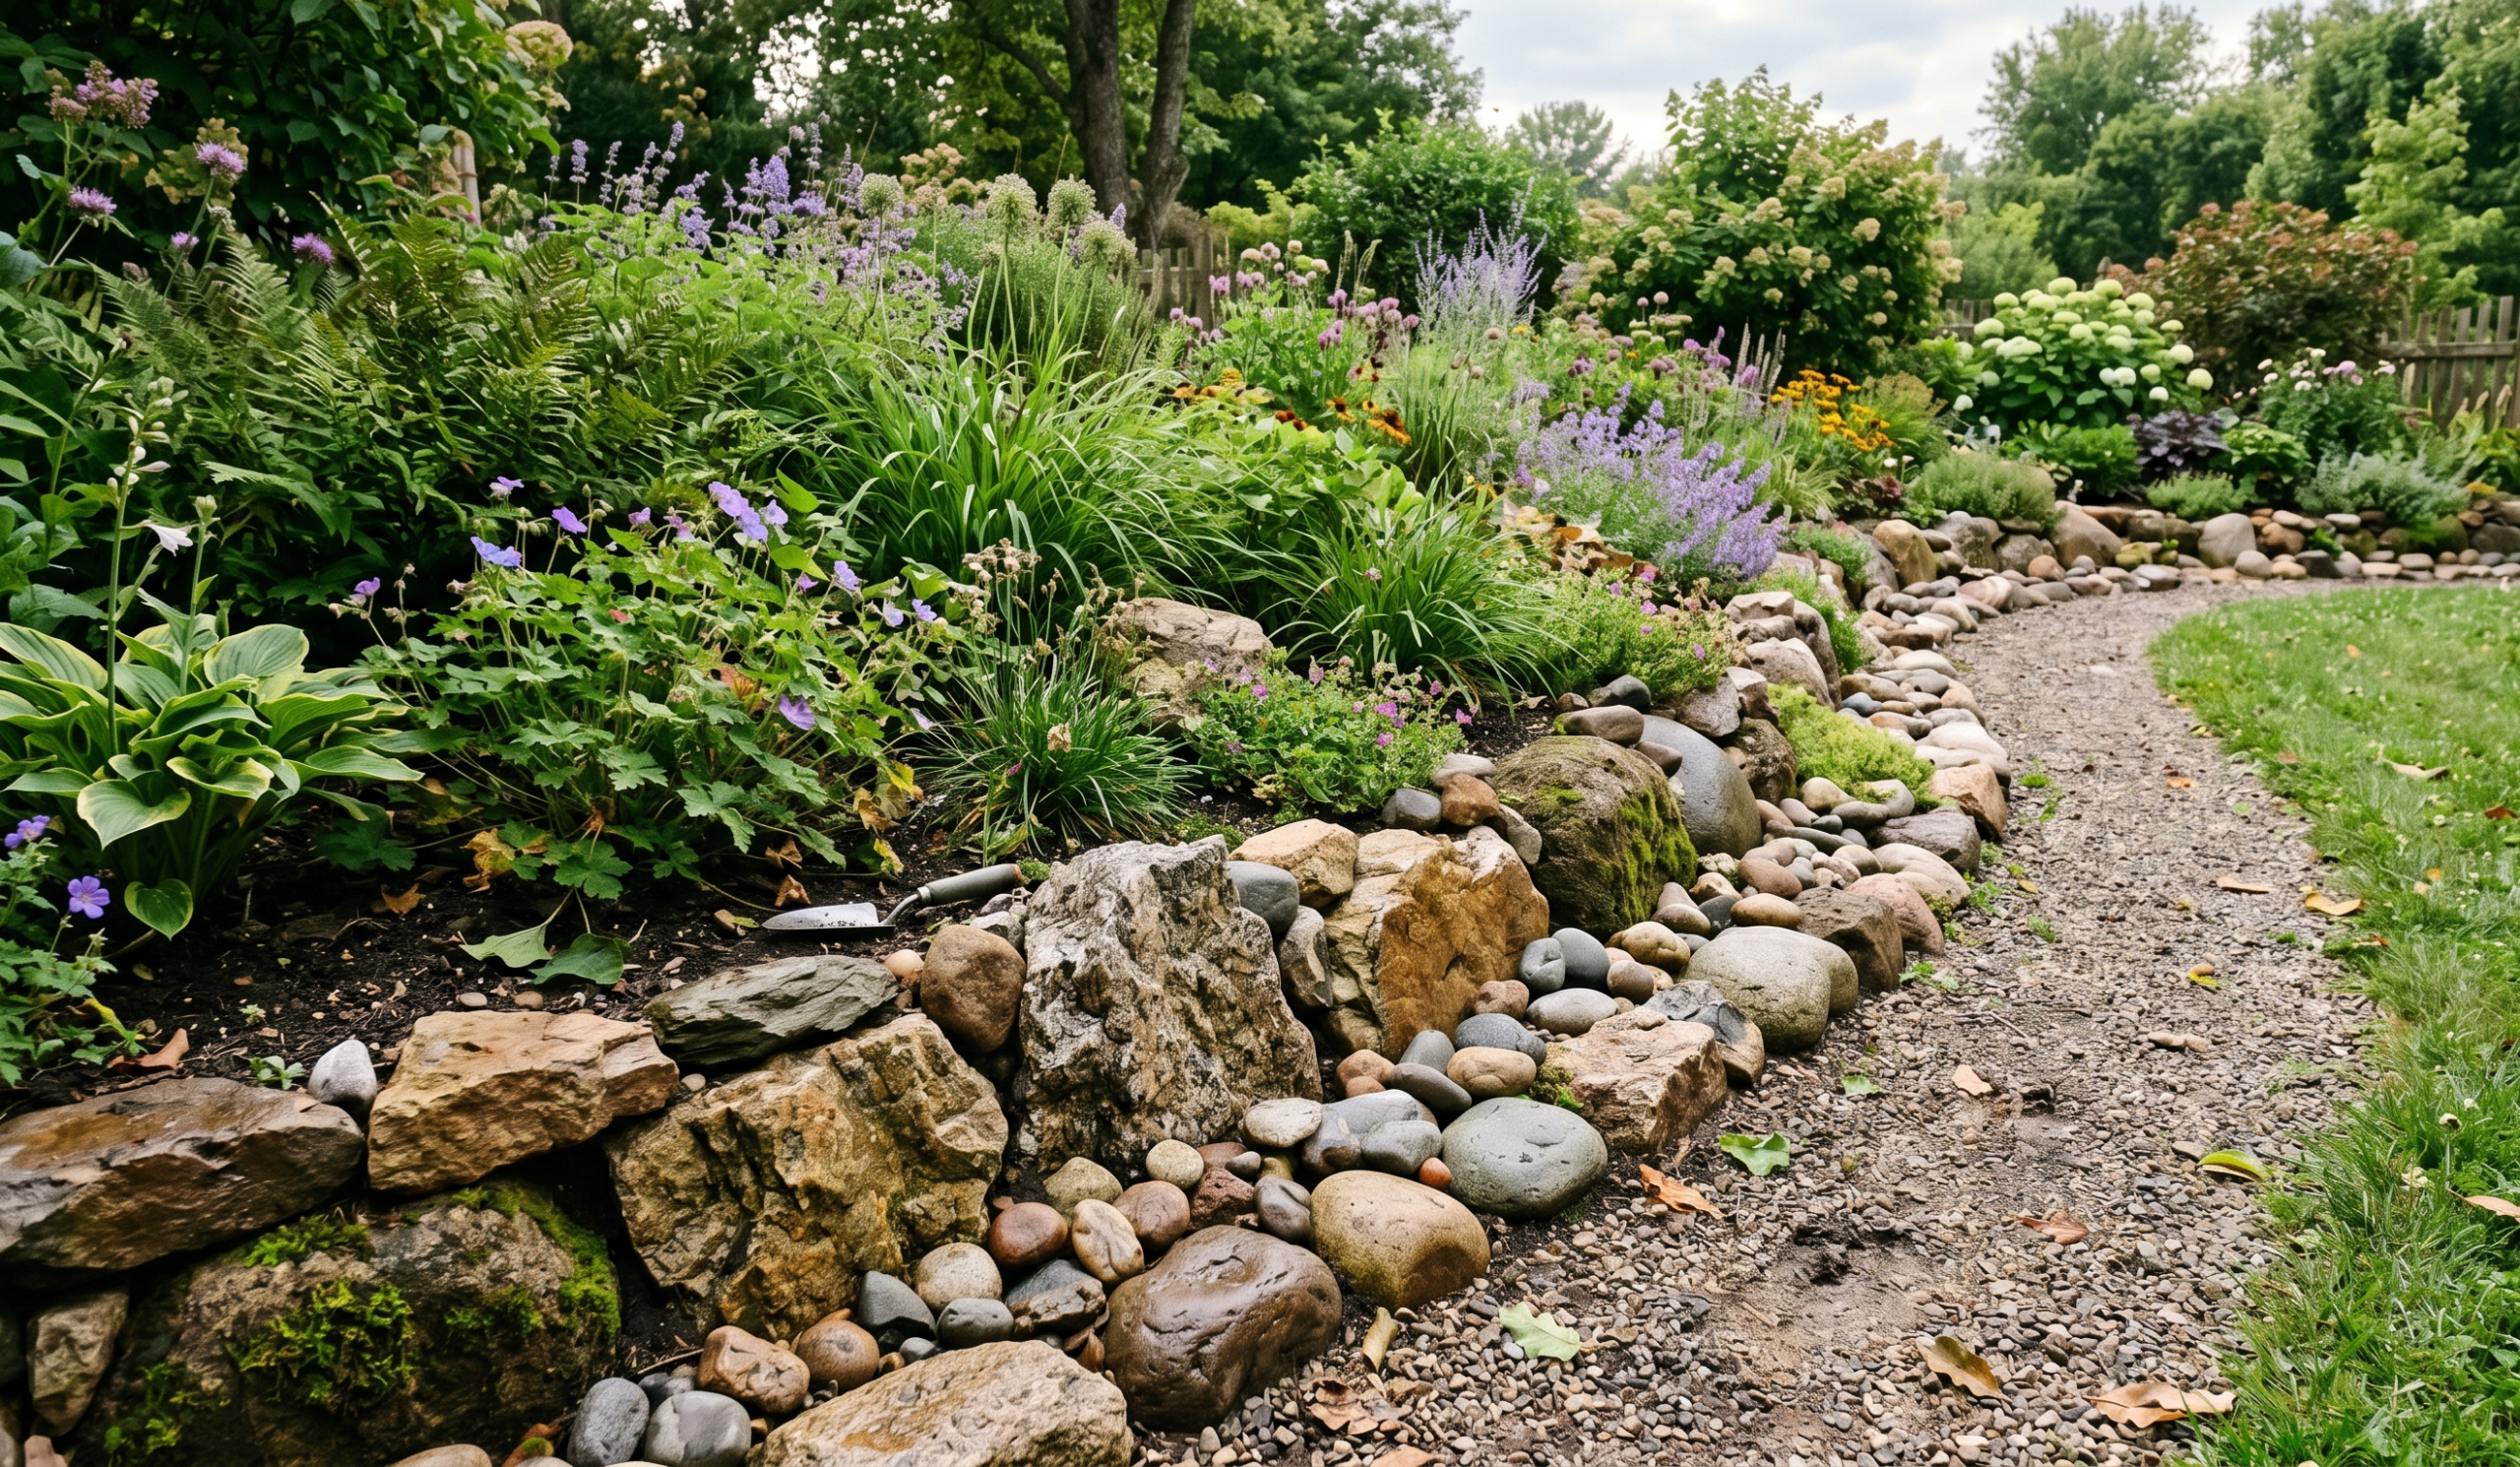
It started with a messy edge I couldn’t ignore anymore…
I didn’t plan on caring about garden edging.
Honestly, for the longest time, my yard kind of worked. Plants were alive, things were green-ish, and from a distance… it looked fine. But one afternoon, while watering, I noticed how everything just sort of blended into everything else. Soil spilling into the lawn, gravel drifting into the flower beds, no real boundaries.
It didn’t look bad exactly. Just… unfinished.
That’s when I realized something small but surprisingly powerful — edging isn’t just a detail. It’s what makes a garden look intentional.
And once I started experimenting with rock edging? It changed everything.
So if your garden feels a little “almost there,” this might be the missing piece.
Why Rock Edging Makes Such a Big Difference
Before jumping into ideas, this part is worth mentioning — because I didn’t fully get it at first.
Rock edging does three things really well:
- Creates clean visual boundaries (everything suddenly feels organized)
- Prevents soil and mulch from spilling
- Adds texture and contrast without needing expensive materials
And the best part? You don’t need a huge budget or professional help. A lot of these can be done slowly, piece by piece. That’s exactly how I approached it.
1. Natural River Stone Border (Soft and Flowing)
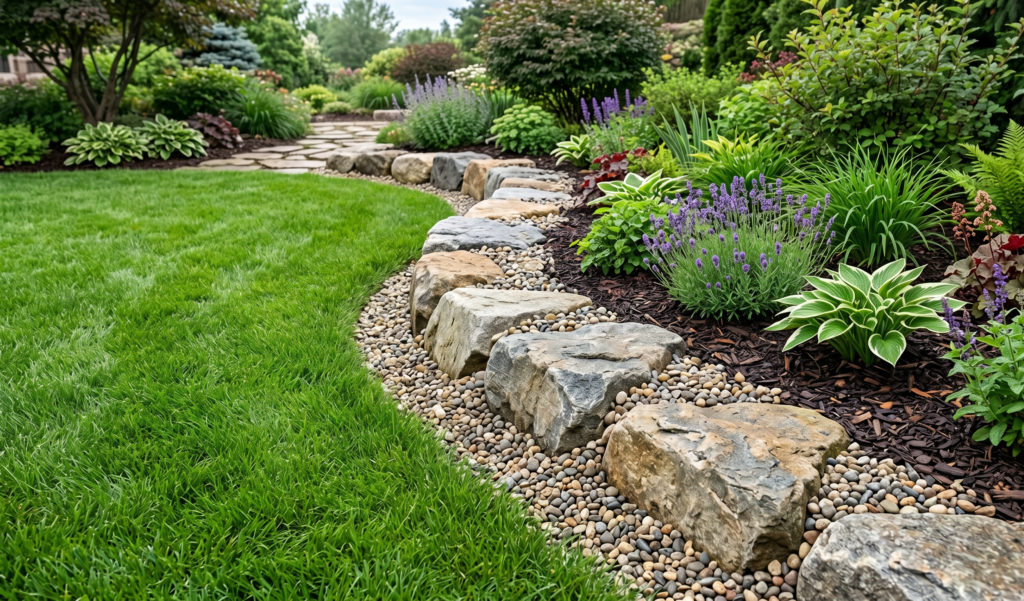
This was the first one I tried — mostly because river stones were easy to find.
What I loved instantly was how organic it looked. Nothing too perfect. Just soft curves that followed the shape of the garden.
What worked for me:
- I used medium-sized stones so they didn’t get lost visually
- Slightly buried them for stability (this matters more than you think)
- Let the line be imperfect — it actually looked better that way
If your garden leans more natural than modern, this is a safe and beautiful starting point.
2. Stacked Flat Stones (A Bit More Structured)
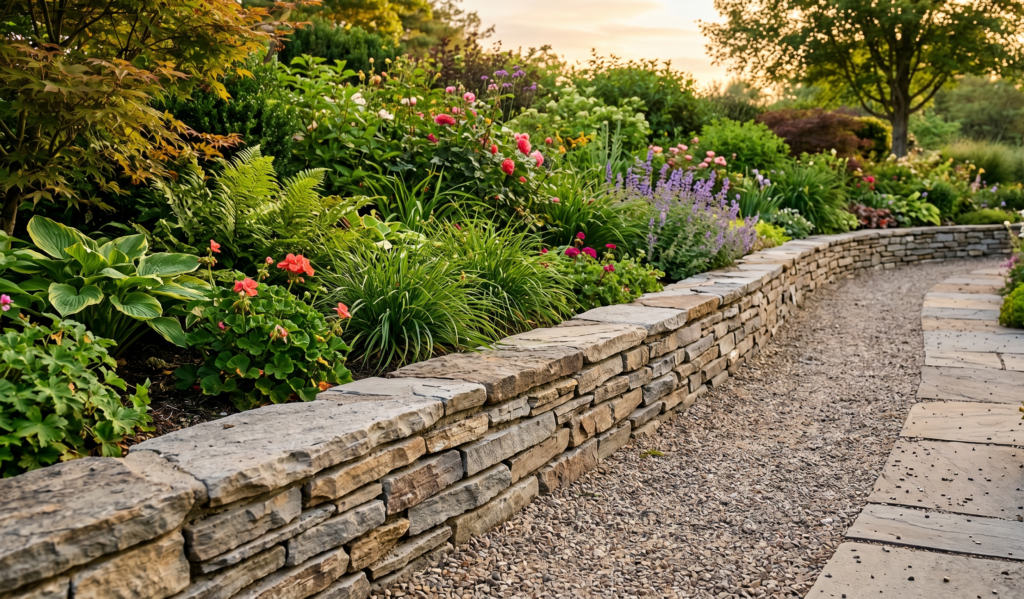
This one feels more “designed.”
I tried this along a small pathway, stacking flat stones like a mini wall. Not too high — just enough to define the space.
A few things I learned the hard way:
- Keep the base wide for stability
- Mix stone sizes for a natural stacked look
- Don’t rush — this takes patience
It’s slightly more effort, but it gives that polished, almost professional finish.
3. Gravel + Large Stone Combo (Layered Look)
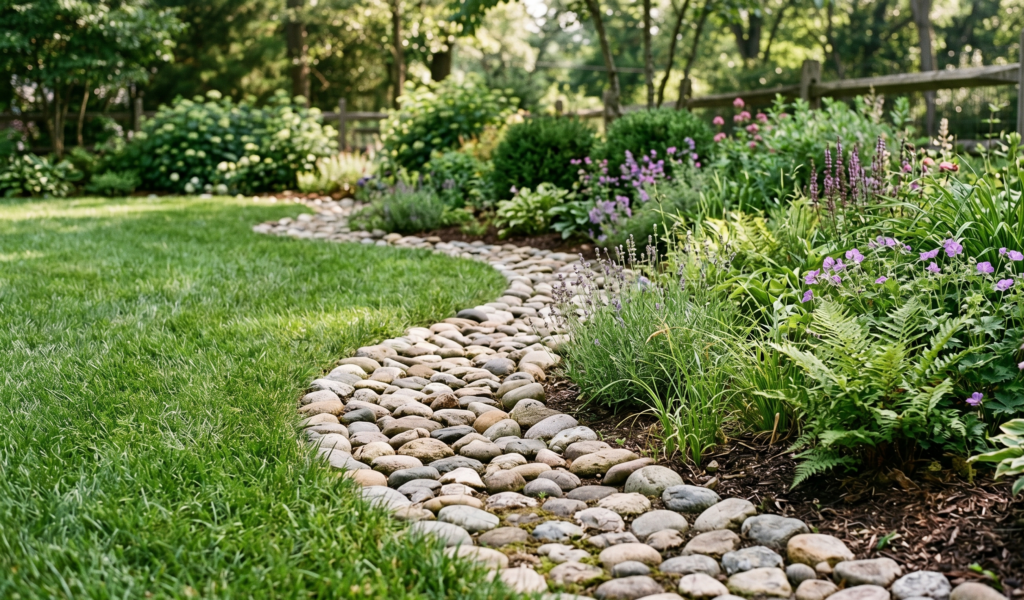
This one surprised me.
Instead of using just one type of rock, I combined large stones for structure and gravel to fill gaps. It created depth without looking cluttered.
Simple approach:
- Lay larger stones as the main border
- Fill gaps with smaller gravel
- Add a weed barrier underneath (trust me, do this)
It looks more “designed” than it actually is.
4. White Pebble Edging (Clean and Modern)
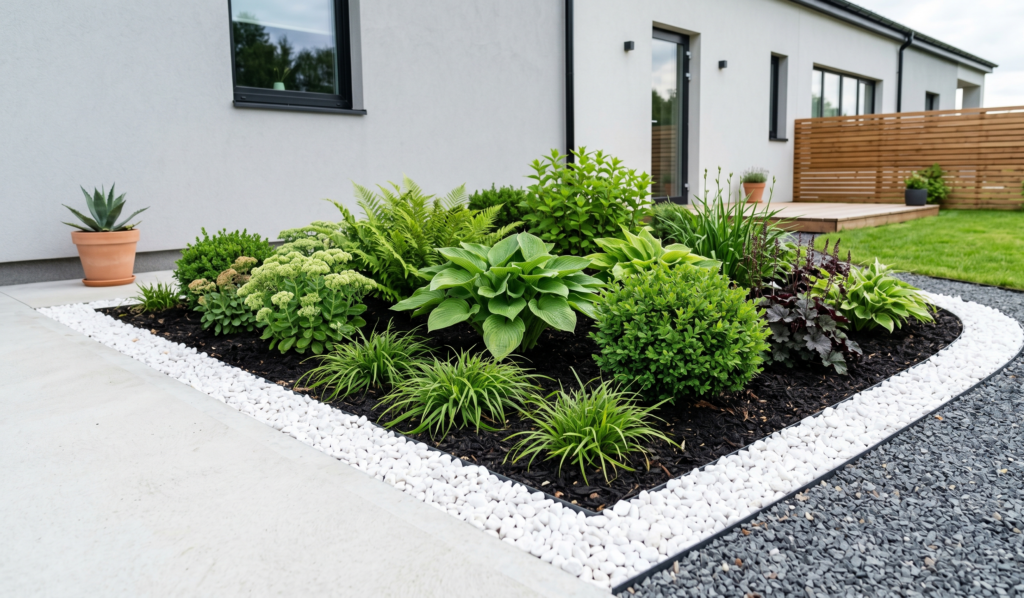
If your space feels a bit dull, this brightens things instantly.
I tested white pebbles around a small plant bed, and suddenly everything popped — especially green plants.
Quick tips:
- Use edging strips underneath to keep them contained
- Expect a bit of maintenance (they can get dusty)
- Works best in smaller sections for impact
It’s simple but has that “Pinterest-perfect” feel.
5. Large Boulder Edging (Bold and Dramatic)
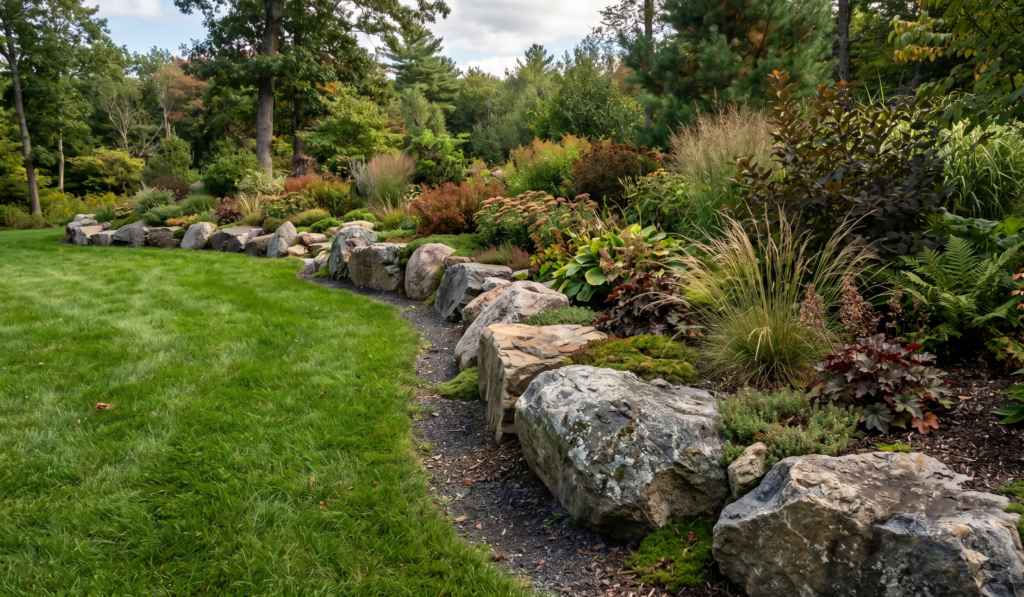
I didn’t think I’d like this… until I saw it in person.
Using larger rocks or boulders creates a strong visual edge. It’s not subtle — but that’s the point.
Best for:
- Bigger yards
- Rustic or natural landscapes
- Areas where you want a focal point
Even adding just a few bigger stones can completely shift how the space feels.
6. Brick + Rock Mix (Budget-Friendly Trick)
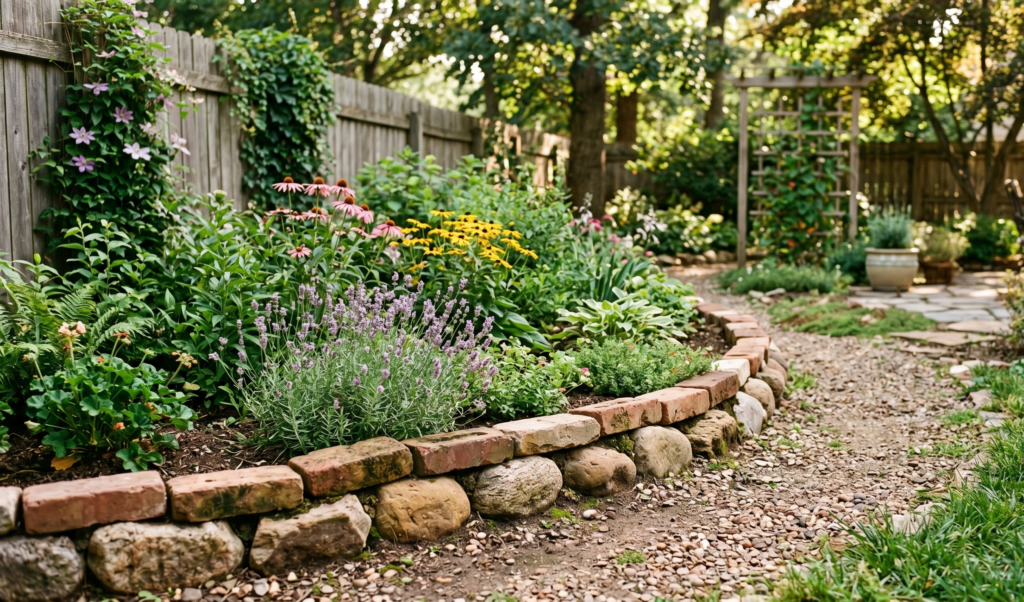
This came from trying to save money, honestly.
I had leftover bricks and combined them with stones — alternating them along the edge. It added contrast without buying more materials.
Why it works:
- Breaks monotony
- Uses what you already have
- Adds a slightly rustic charm
Sometimes the “imperfect” combos end up being the most interesting.
7. Curved Rock Edging (Softens the Space)
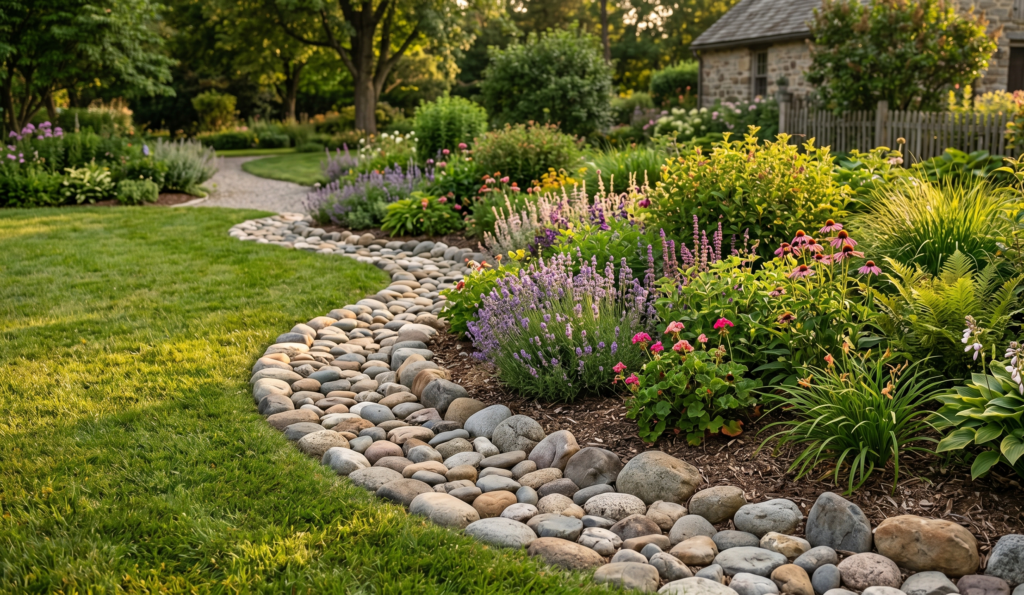
Straight lines feel formal. Curves feel relaxed.
I reshaped one of my edges into a gentle curve and used small rocks to follow that line. The difference? The space felt more inviting… less rigid.
Easy way to plan curves:
- Use a rope or hose to map the shape first
- Step back and adjust before placing stones
That little step saved me from redoing everything later.
8. Raised Rock Edge for Flower Beds
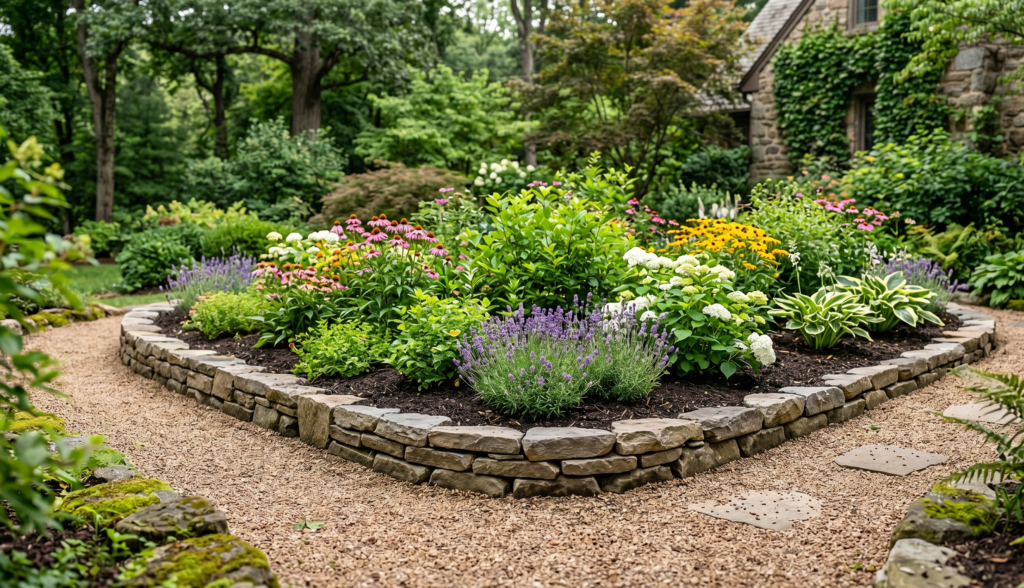
If your plants tend to spill over or soil washes away (mine did during monsoon), raising the edge slightly helps.
Not a full wall — just a few inches higher than ground level.
Benefits I noticed:
- Better soil control
- Clearer plant boundaries
- Slightly elevated, “designed” look
It’s subtle, but it adds structure.
9. Dark Stone Edging for Contrast
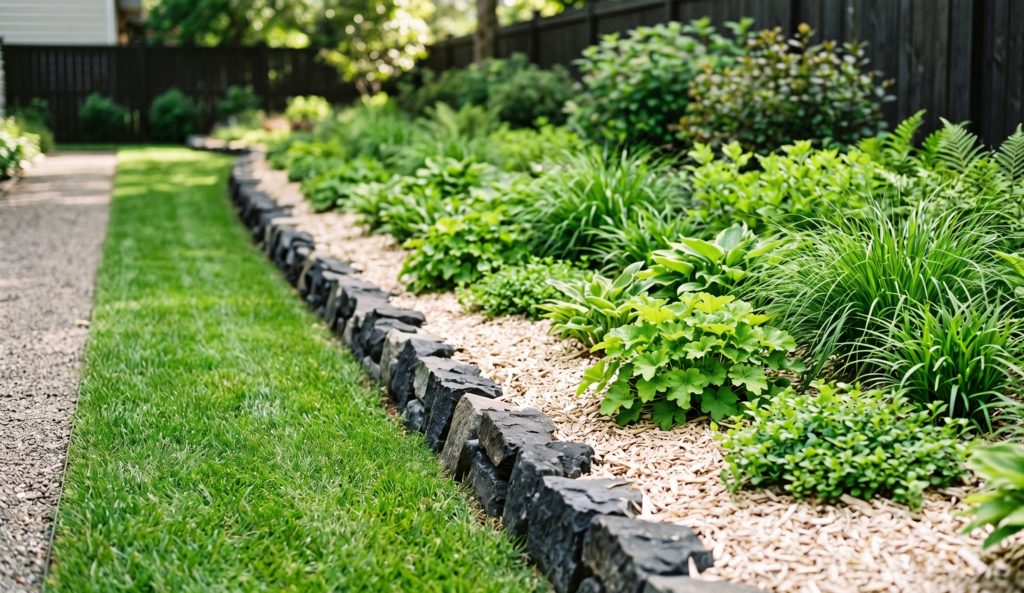
I once switched from light stones to darker ones in one corner… and wow.
Dark rocks make plants look greener. It’s a simple contrast trick, but very effective.
Works best with:
- Bright flowers
- Light-colored mulch
- Minimalist spaces
Sometimes it’s not about adding more — just choosing the right tone.
10. Dry River Bed Edge (Decorative + Functional)
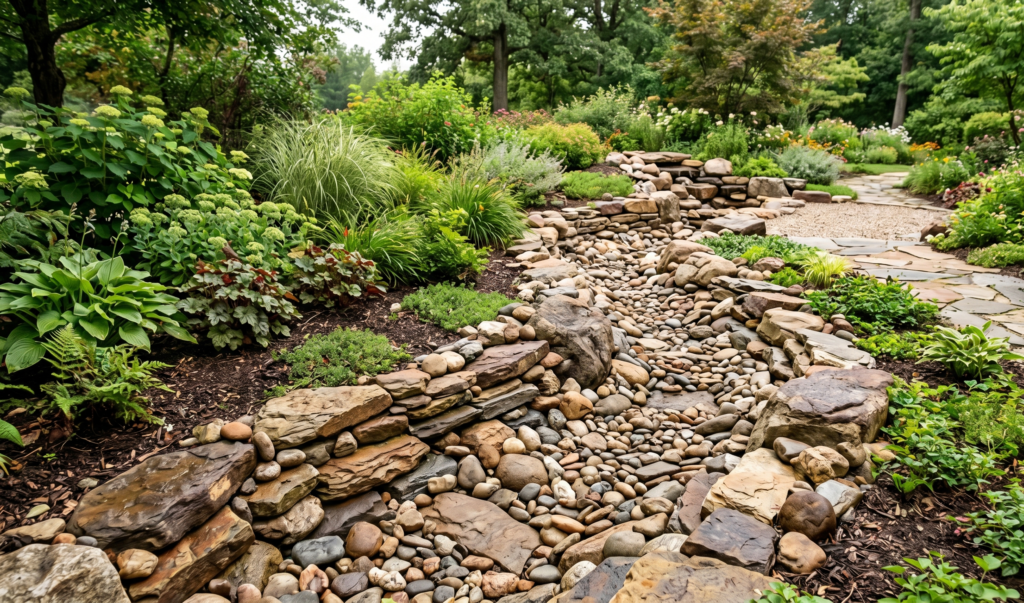
This one is both practical and beautiful.
I created a shallow “dry river” using rocks where water used to collect. Now it actually looks intentional instead of messy.
Basic idea:
- Dig a shallow path
- Line with landscape fabric
- Fill with mixed stones
It handles drainage and looks like a feature.
11. Minimalist Single-Line Rock Border
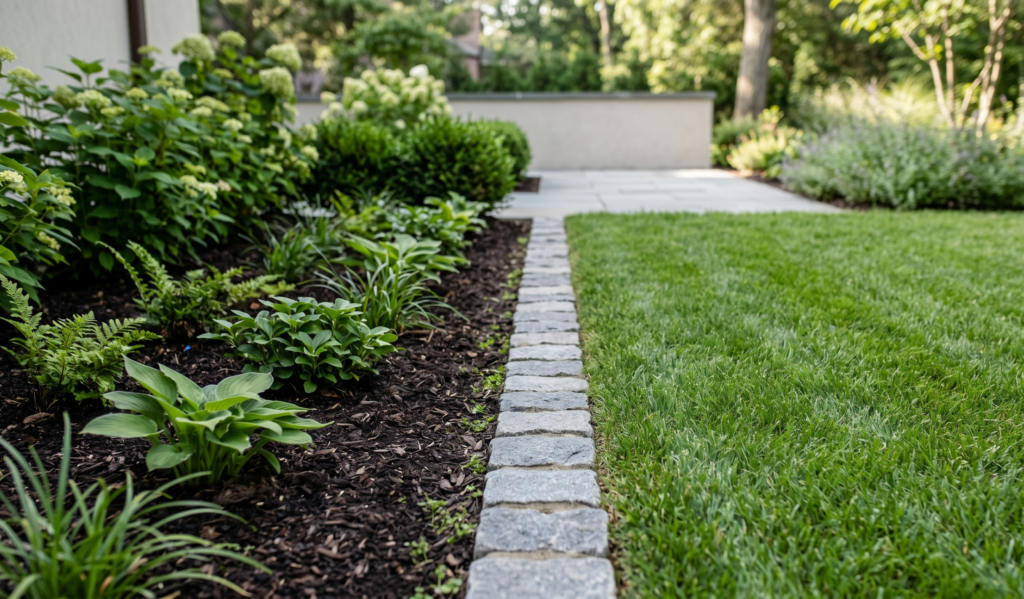
Sometimes less really is more.
A simple single row of evenly spaced stones can look incredibly clean. I used this along a narrow walkway, and it felt neat without trying too hard.
Perfect if you don’t want a heavy or busy look.
12. Mixed Texture Edging (Rough + Smooth)
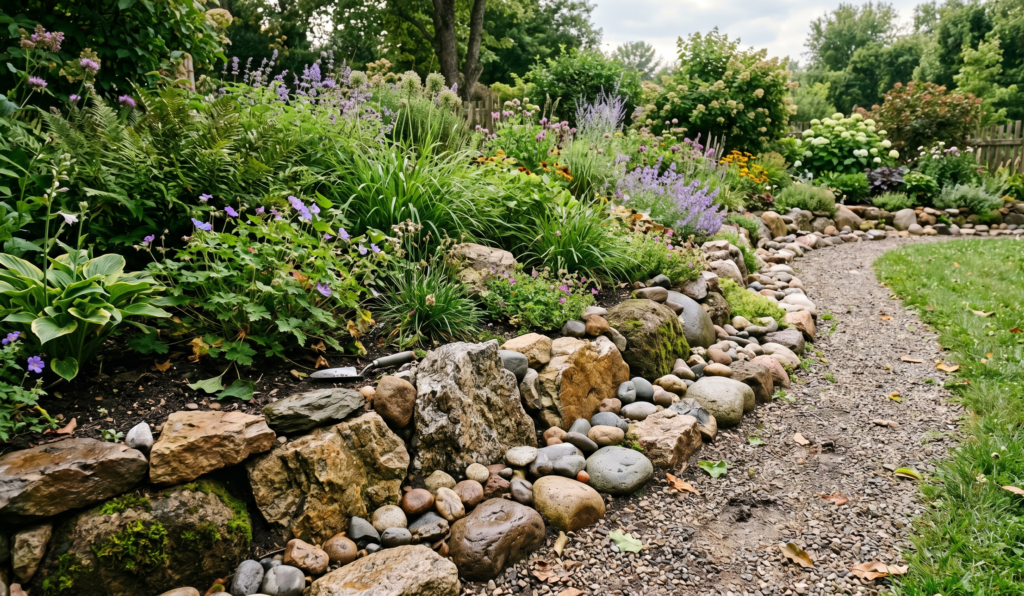
Combining rough stones with smooth ones adds subtle interest.
I didn’t overthink this — just mixed what I had. The variation made the edge feel more natural, almost like it had always been there.
13. Sunken Rock Edge (Almost Invisible, But Effective)
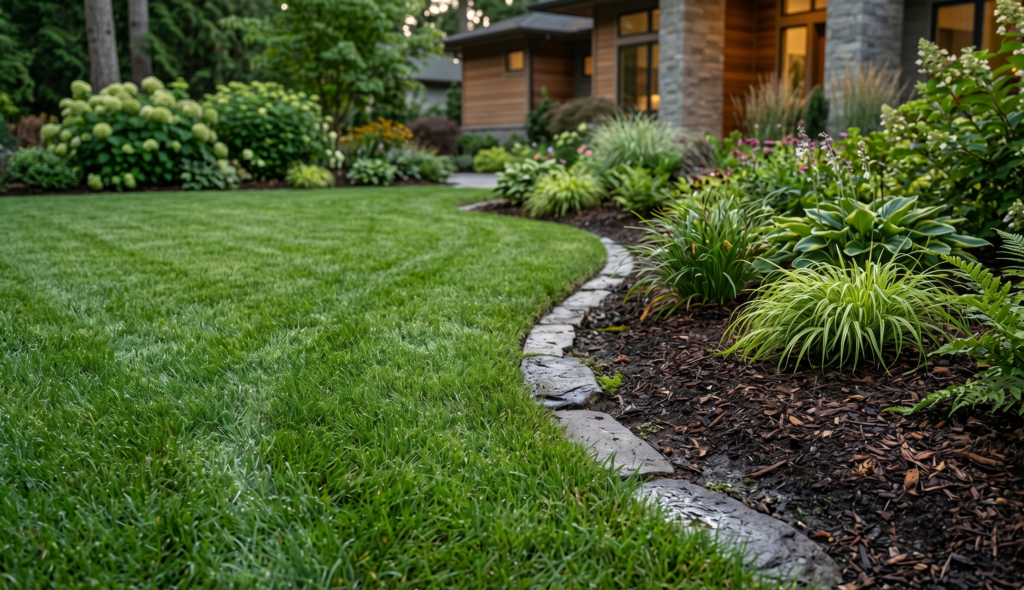
This is one of those “you don’t notice it, but it works” ideas.
Instead of raising the rocks, I set them slightly into the ground. It kept everything contained but didn’t visually interrupt the space.
Great if you want a clean lawn-to-bed transition.
14. Rock + Plants Combo Border
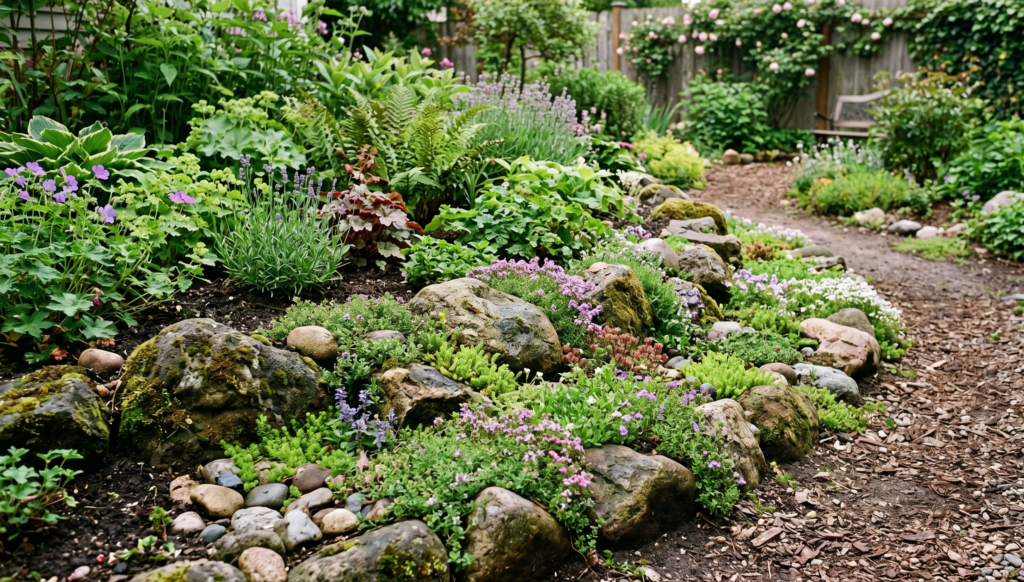
This became one of my favorites.
Instead of just rocks, I tucked small ground cover plants between them. Over time, the plants softened the edges and made everything feel more alive.
Good options:
- Creeping thyme
- Moss (in shaded areas)
- Small succulents
It takes patience… but it’s worth it.
15. Symmetrical Rock Edging (For a More Formal Look)
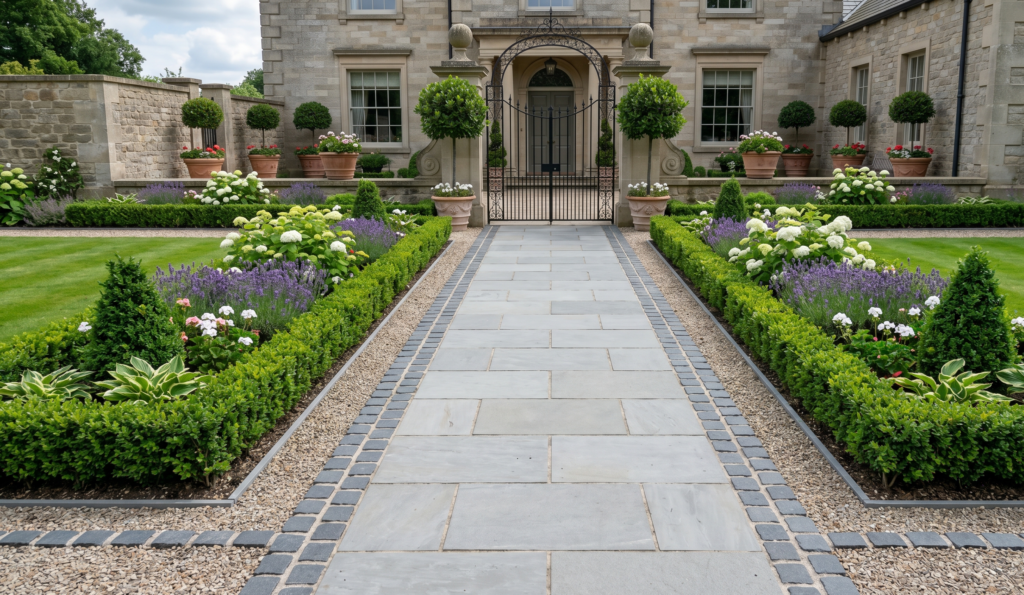
If your home has a more structured design, symmetry works beautifully.
I tried this near the entrance — evenly spaced stones, straight lines, balanced layout. It instantly made that area feel more “put together.”
A Few Practical Tips I Wish I Knew Earlier
Before you start, these small things can save you time (and frustration):
- Always level the ground first — uneven edges look messy fast
- Use landscape fabric underneath to reduce weeds
- Don’t rush placement — step back often and adjust
- Mix sizes slightly for a more natural look
- Start small — one section at a time
I made mistakes early on mostly because I tried to finish everything in one go.
Final Thoughts: It’s Not Just Edging… It’s the Finishing Touch
Looking back, edging felt like such a small detail. Something I could ignore.
But now? It’s the thing that pulls everything together.
It’s what turns a garden from “just plants” into something that feels designed — even if you did it yourself, slowly, over a few weekends.
And the best part is, you don’t need perfection.
Some of my favorite sections are slightly uneven, a little improvised… but they feel real. Lived-in. Mine.
So if your yard feels close but not quite there, maybe start with the edges.
You might be surprised how much it changes everything.