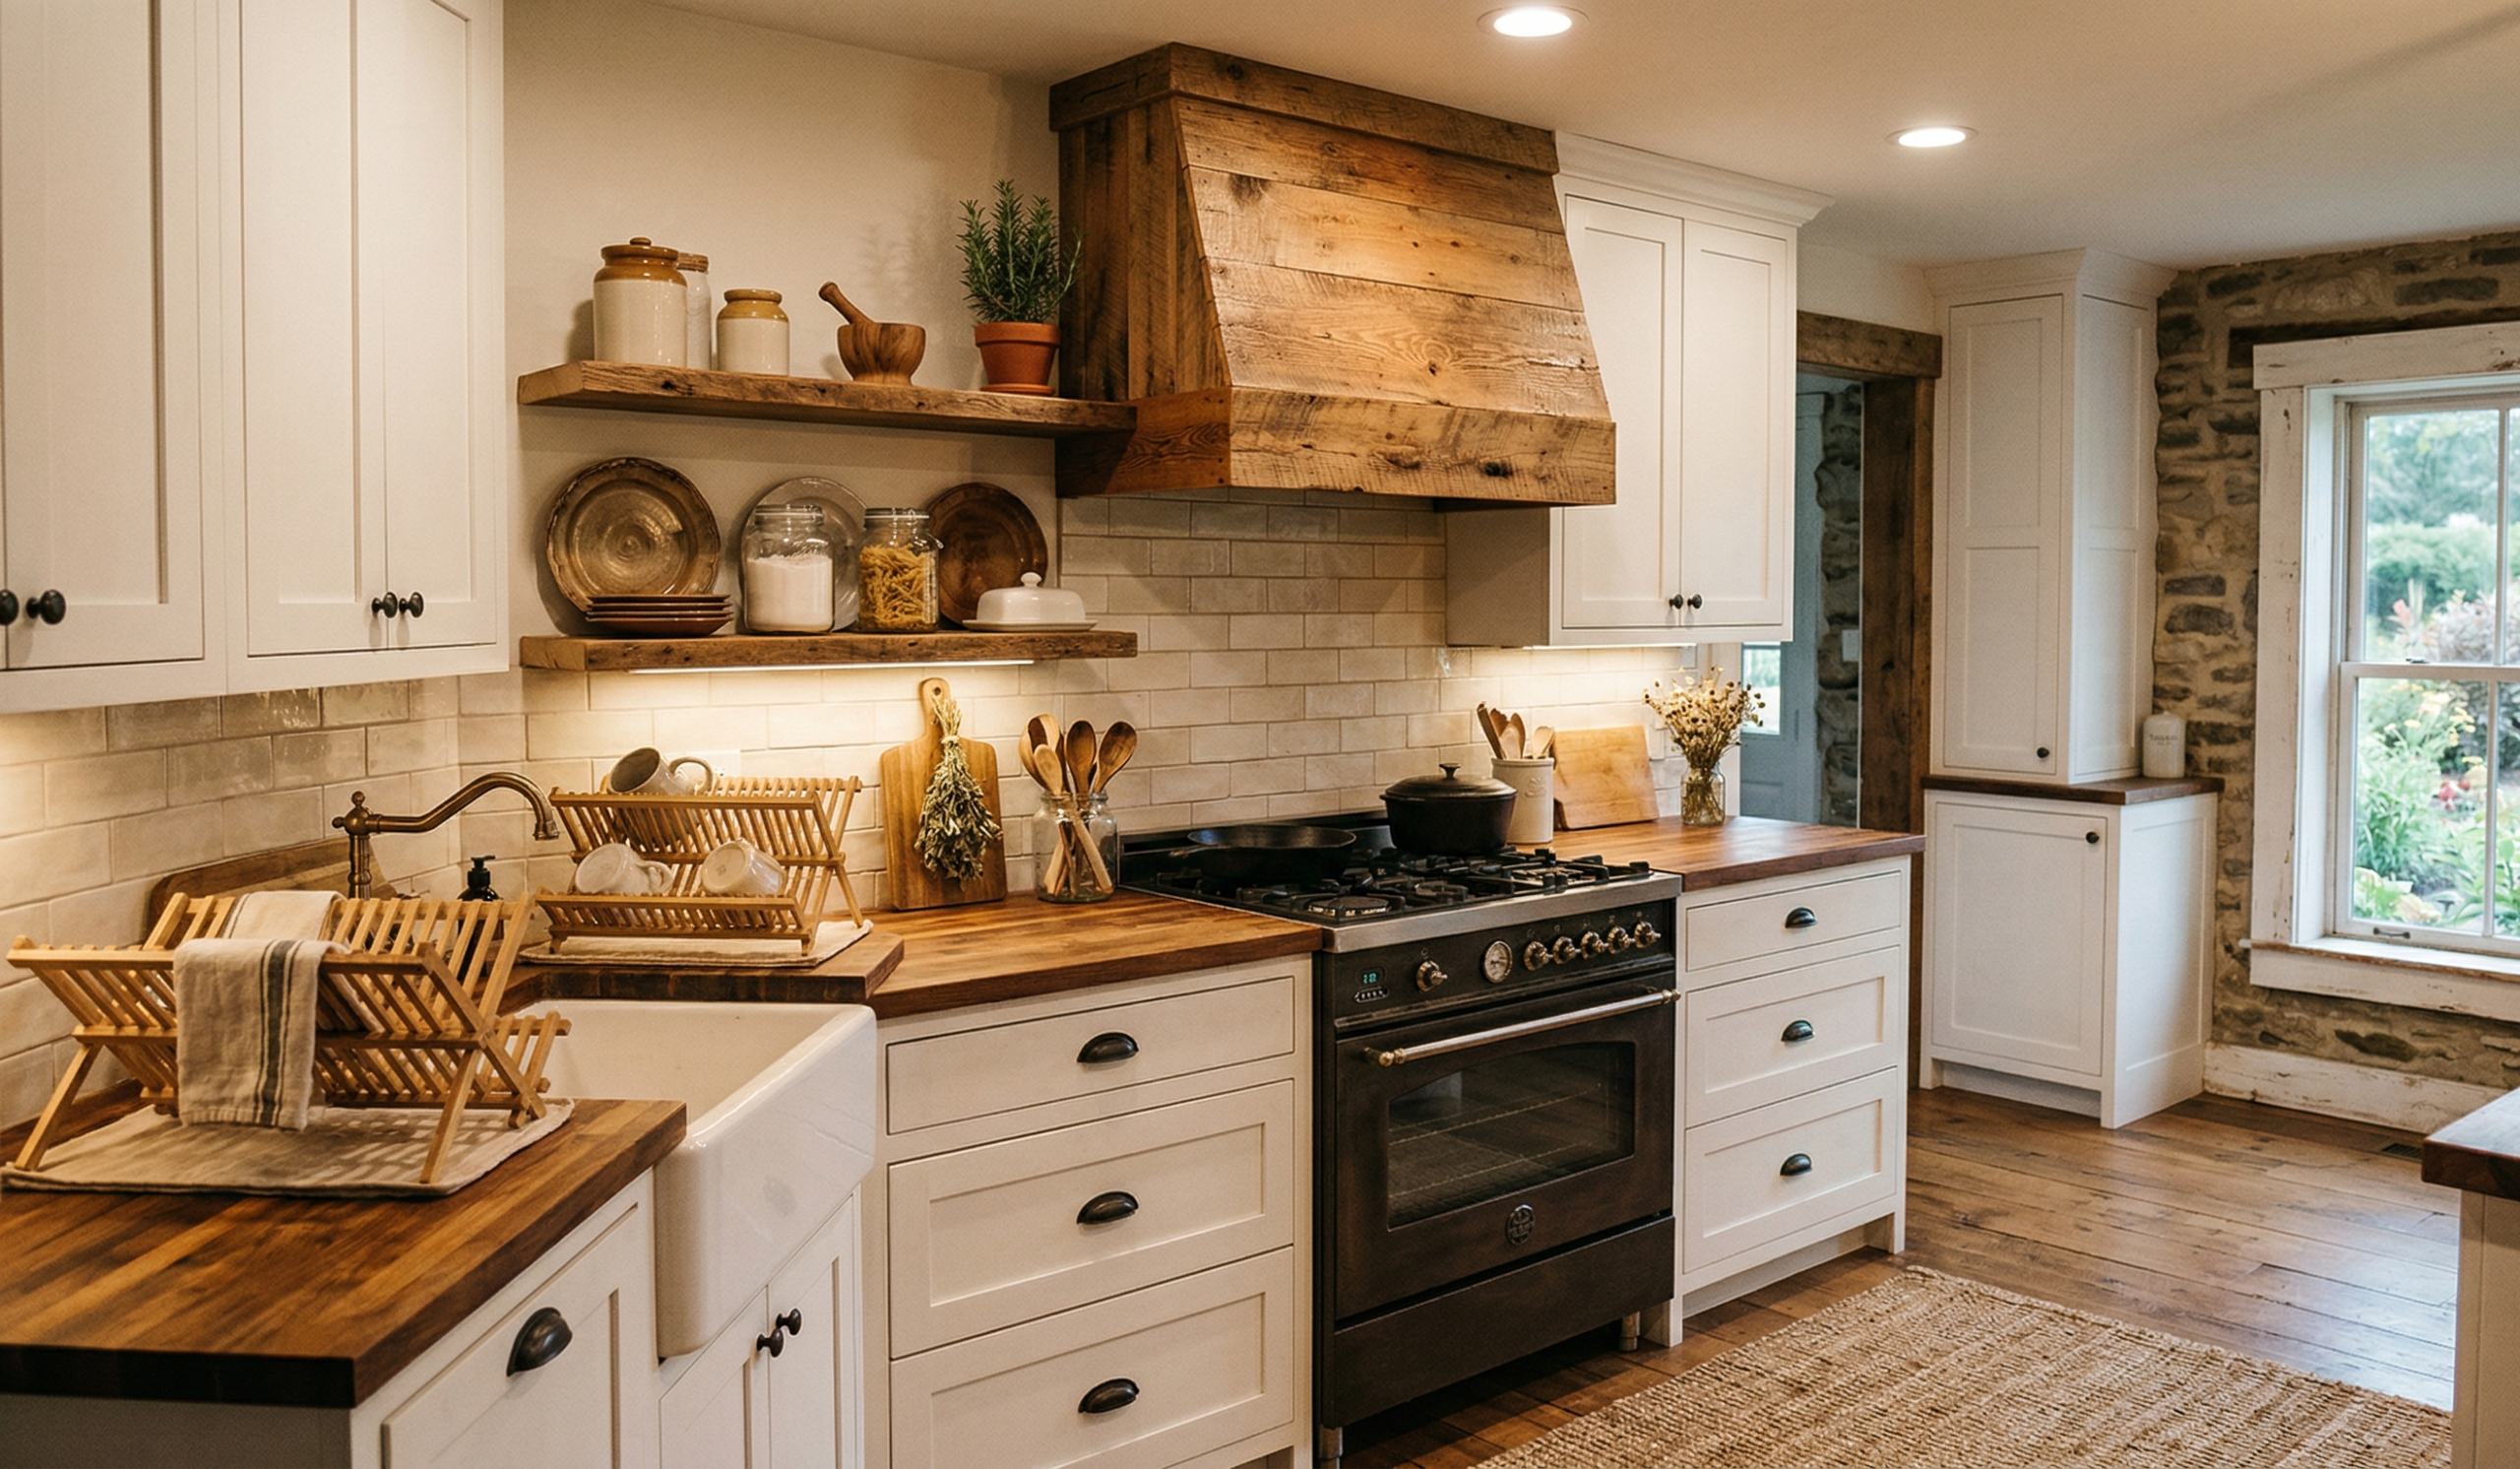
The moment I realized my kitchen needed something.
I didn’t plan on building a vent hood cover.
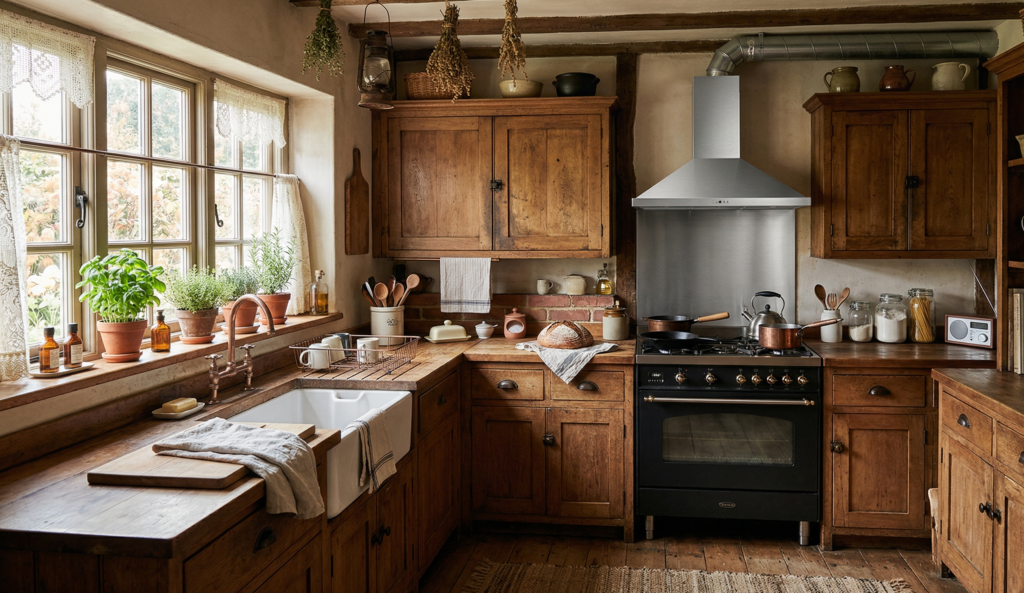
Honestly, it started with one of those quiet realizations you get while making tea or standing around waiting for onions to brown. I kept looking at my kitchen, and everything felt… almost right. The cabinets were fine. The countertops did their job. Even the lighting was decent.
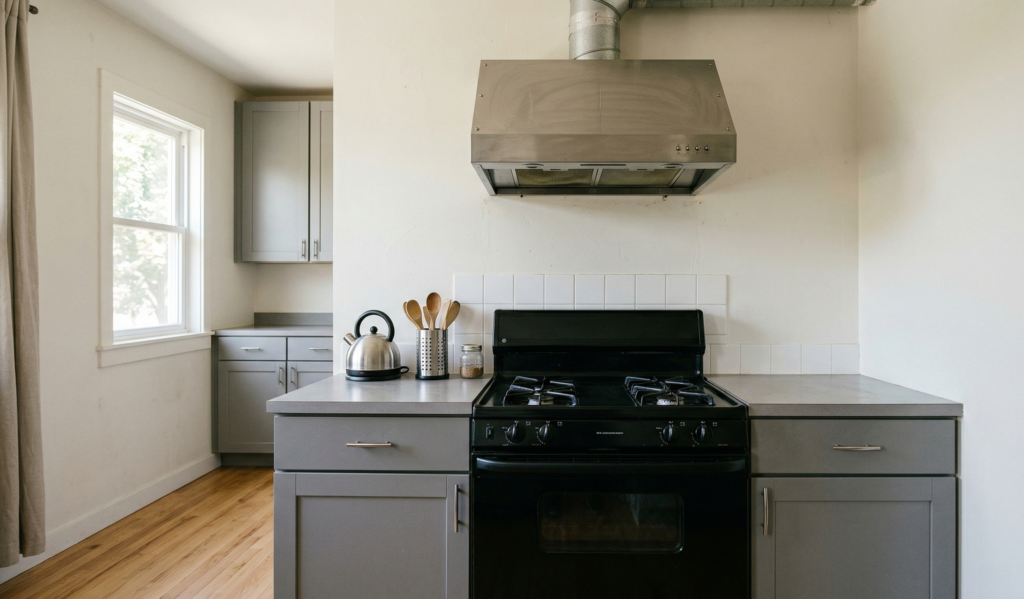
But that stainless steel vent hood? It stuck out like a sore thumb.
Too modern. Too cold. It didn’t belong in the warm, slightly imperfect, farmhouse-y vibe I was slowly trying to build.
At first, I thought about replacing it. Then I looked at prices… and immediately closed that tab.
That’s when the idea hit me — what if I just covered it?
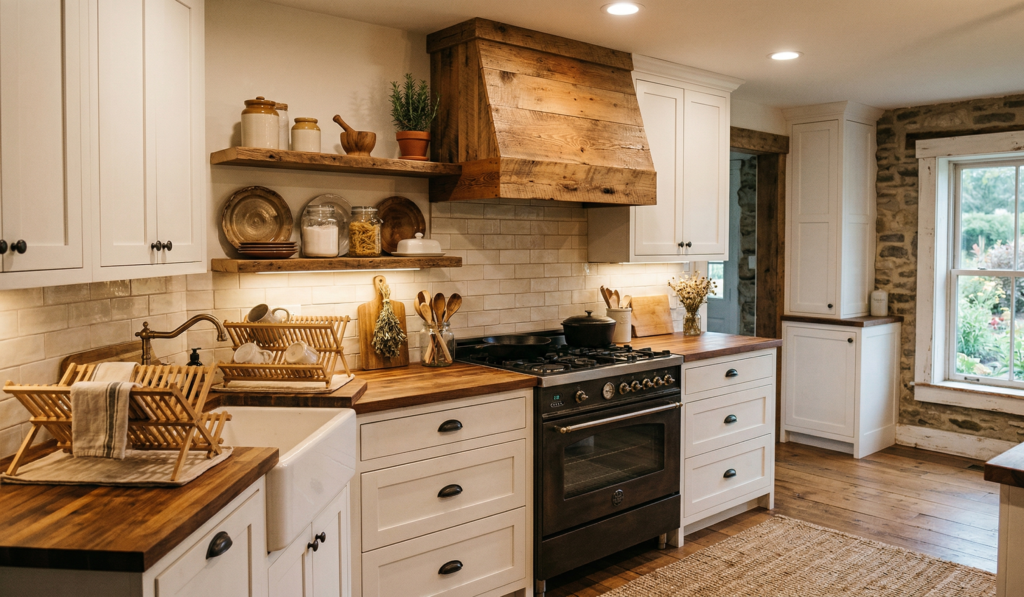
And not in a “hide it badly” way… but in a way that actually becomes the centerpiece of the kitchen.
That’s exactly what I ended up doing. And if you’re thinking about trying it too, I’ll walk you through everything I learned — including the small mistakes I wish someone had warned me about.
Why a DIY Vent Hood Cover Changes Everything
Before getting into the how, I think it helps to understand why this project is worth the effort.
For me, the biggest shift wasn’t functional — it was emotional.
The kitchen suddenly felt warmer. Softer. More “me.”
A few things I noticed right away:
- The space looked more custom, almost like a built-in feature
- The harsh metallic look disappeared
- It created a natural focal point above the stove
- It tied together my cabinets, shelves, and overall aesthetic
And the best part? It didn’t require ripping anything out.
What You’ll Need (Nothing Too Fancy)
I was honestly surprised by how simple the materials were. Most of this is basic hardware store stuff.
Materials:
- Plywood or MDF boards
- 1×2 or 2×2 wooden strips (for framing)
- Wood screws
- Wood glue
- Nails (or a nail gun, if you have one)
- Sandpaper
- Primer and paint (or stain, if you prefer wood tones)
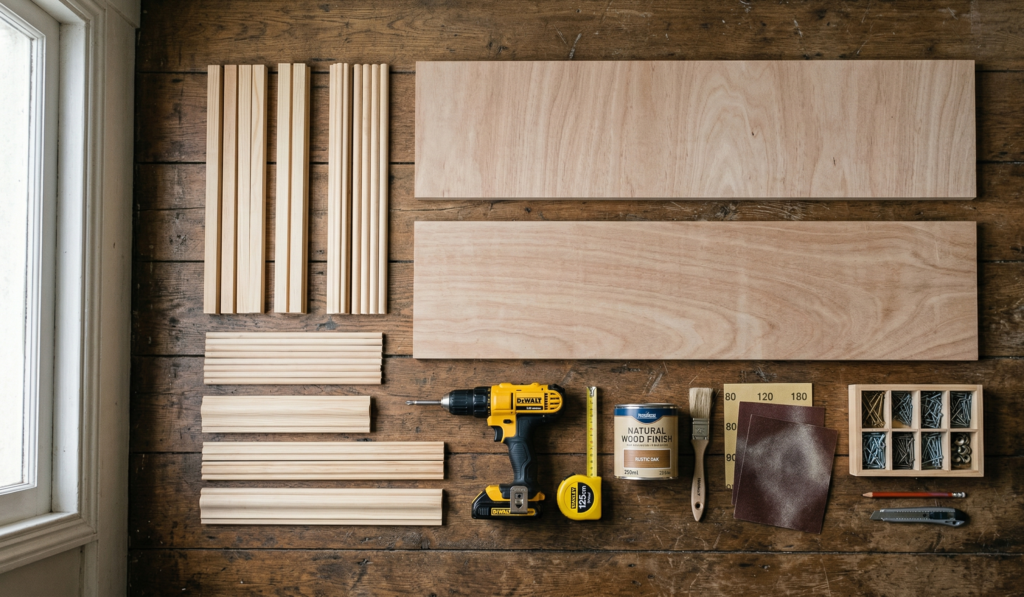
Tools:
- Drill
- Saw (hand saw works, but a circular saw is faster)
- Measuring tape
- Level
- Pencil (you’ll use this more than you think)
I kept my design pretty simple because I didn’t trust myself with anything too complicated — and honestly, simple farmhouse styles usually look better anyway.
Step 1: Measure… Then Measure Again
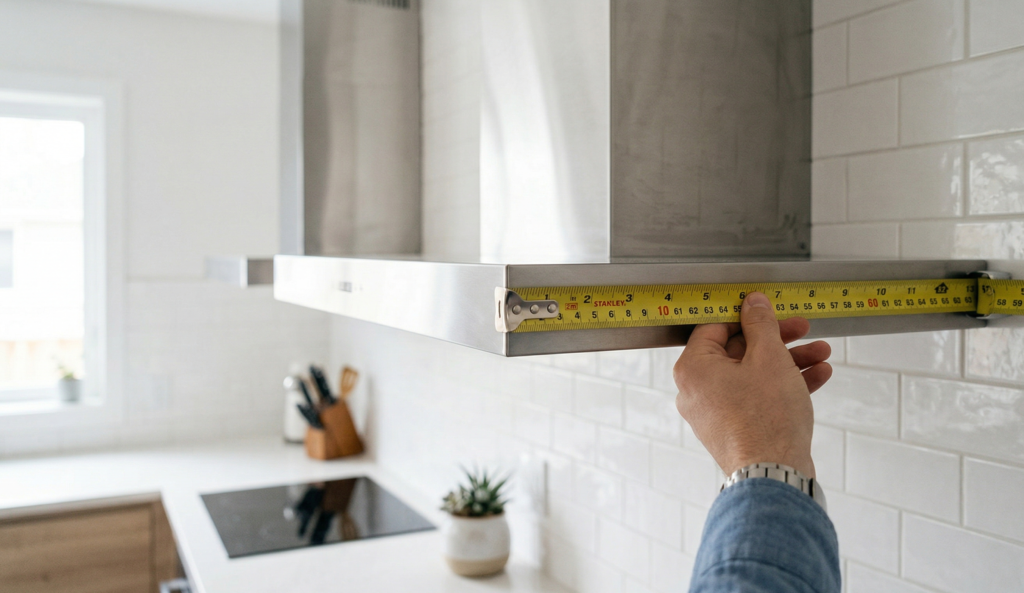
This is where I almost messed up.
I got a little overconfident and measured quickly the first time. Big mistake. When I rechecked, I realized I was off by almost an inch — which would’ve completely ruined the fit.
So yeah, take your time here.
What to measure:
- Width of your existing hood
- Height from stove to where you want the cover to end
- Depth (how far it sticks out from the wall)
Write everything down. Don’t rely on memory. I tried that once and instantly regretted it.
Step 2: Build the Basic Frame
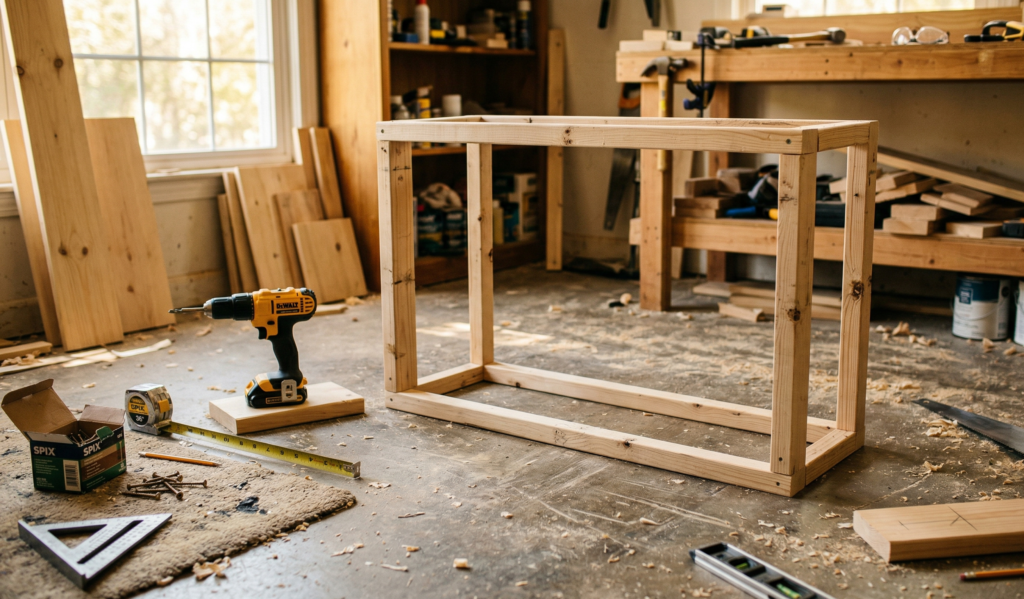
Think of this as the skeleton of your hood cover.
I used simple wooden strips to create a box-like frame that would sit around the existing vent.
What worked for me:
- I built a rectangular frame first (front-facing shape)
- Then added side supports to give it depth
- Secured everything with screws and wood glue
It doesn’t need to be perfect. Mine definitely wasn’t. Slight imperfections actually disappear once everything is covered.
One tip I learned the hard way:
- Use a level frequently — even small tilts become very noticeable later
Step 3: Attach the Frame to the Wall
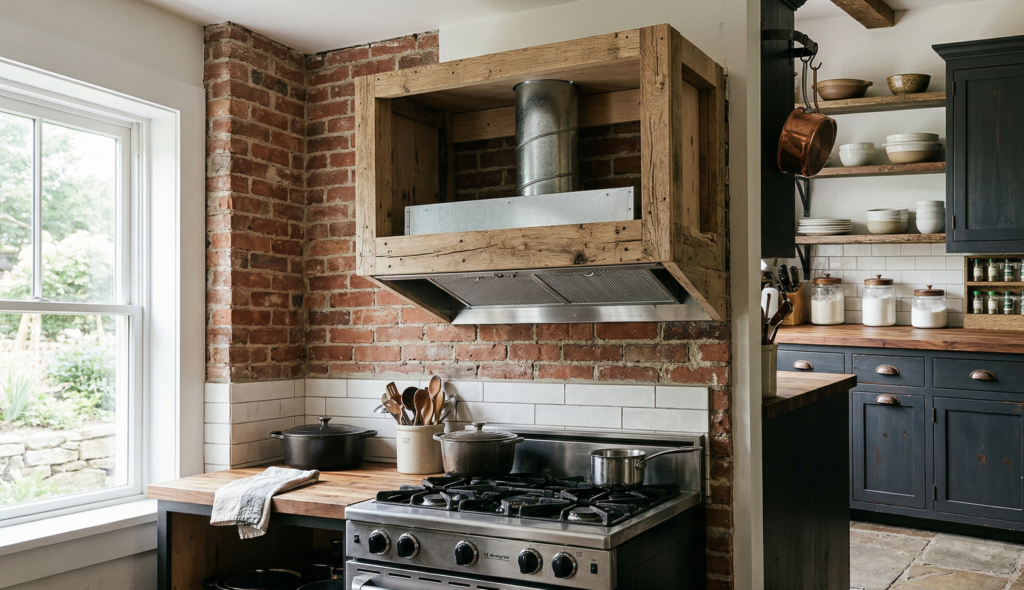
This part made me nervous, not gonna lie.
You’re basically committing at this stage.
I aligned the frame over the vent hood and secured it into wall studs where possible.
A few things to keep in mind:
- Make sure you’re not blocking ventilation
- Leave enough space for airflow
- Double-check alignment before drilling
I stepped back at least three times before actually tightening the screws. It felt dramatic at the time… but worth it.
Step 4: Add the Outer Panels
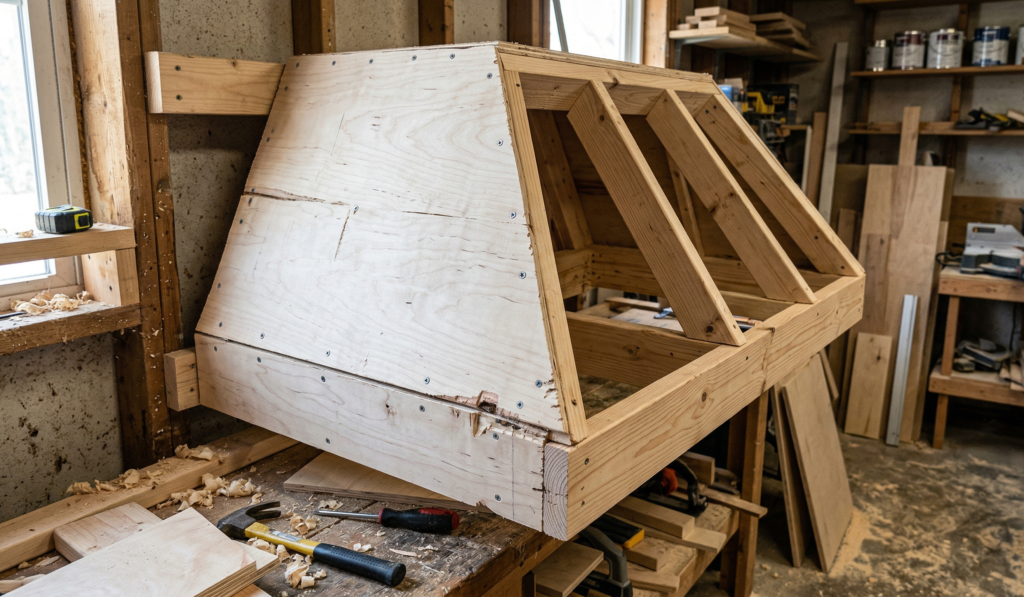
Now comes the part where it starts looking like something real.
I cut plywood panels to fit the front and sides of the frame.
My approach:
- Attach the front panel first
- Then add the side panels
- Secure everything with nails or screws
And this is where I had a small “ugh” moment — one of my cuts wasn’t perfectly straight. I almost redid it, but decided to continue.
Once everything was assembled and painted… I couldn’t even notice it anymore.
So if something isn’t flawless, don’t panic.
Step 5: Create That Farmhouse Shape
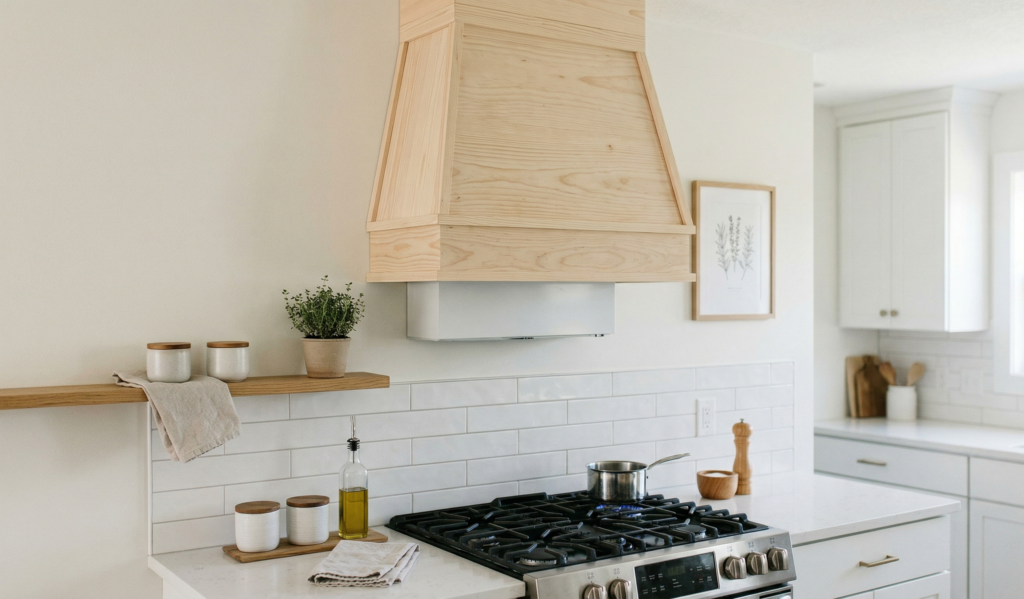
This step is optional, but it’s what gives the hood its character.
I slightly tapered the bottom part of my cover to give it that classic farmhouse silhouette. Nothing too dramatic — just a subtle inward angle.
Other design ideas you can try:
- Straight box style (clean and modern farmhouse)
- Curved edges (a bit more elegant, slightly harder)
- Trim or molding for detail
I kept mine simple because I didn’t trust my cutting skills… and honestly, I’m glad I did.
Step 6: Sand, Fill, and Smooth Everything
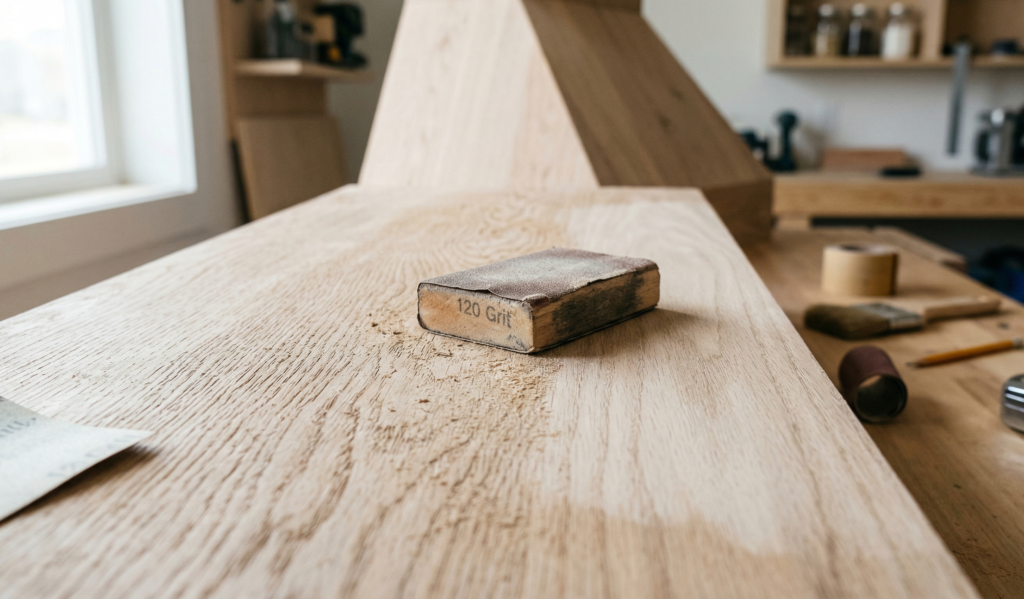
This part is boring. There’s no way around it.
But it makes a huge difference.
What I did:
- Filled small gaps with wood filler
- Sanded all surfaces until smooth
- Rounded out any sharp edges slightly
At this stage, it finally started feeling like a finished piece instead of a DIY experiment.
Step 7: Paint or Stain (This Changes the Whole Look)
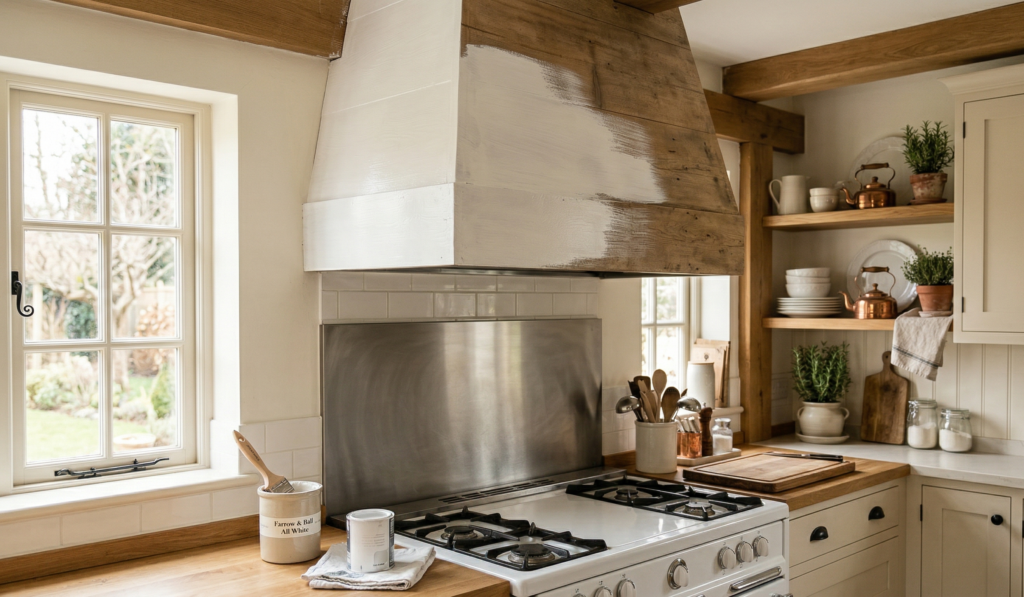
This is where your hood cover really comes to life.
I went with a soft white paint because I wanted that light, airy farmhouse feel. But I seriously considered a natural wood stain — that would’ve looked amazing too.
A few ideas depending on your style:
- White or off-white → classic farmhouse
- Light oak stain → warm and natural
- Dark stain → bold, rustic contrast
- Matte black → modern farmhouse vibe
I did two coats of paint, and that was enough. The transformation at this stage felt kind of satisfying… like, “okay, this actually worked.”
Step 8: Final Touches That Make It Feel Custom
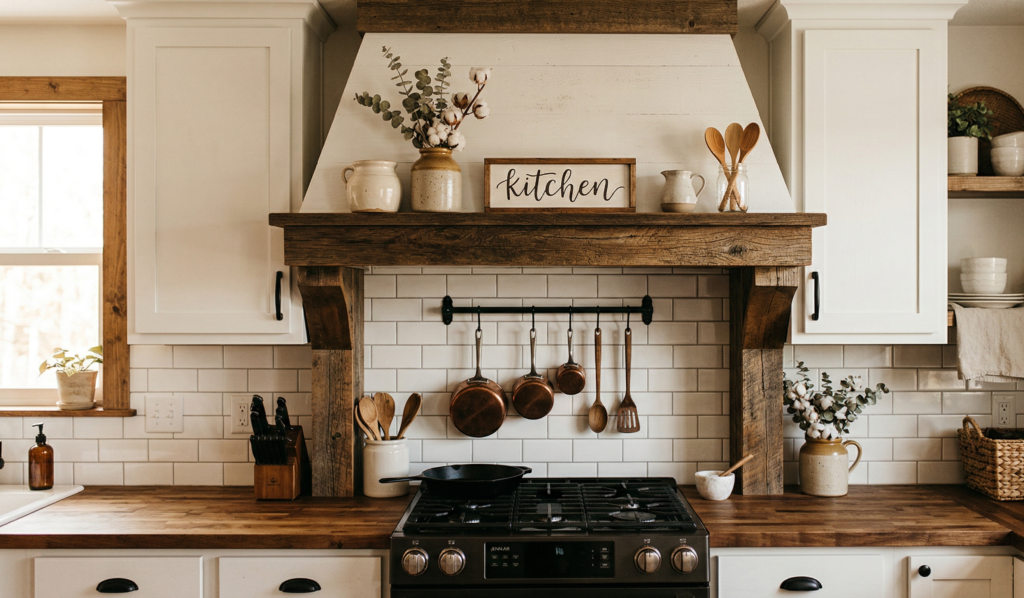
This is the part I didn’t think much about initially, but it ended up being my favorite.
Small details really elevate the whole thing.
Things you can add:
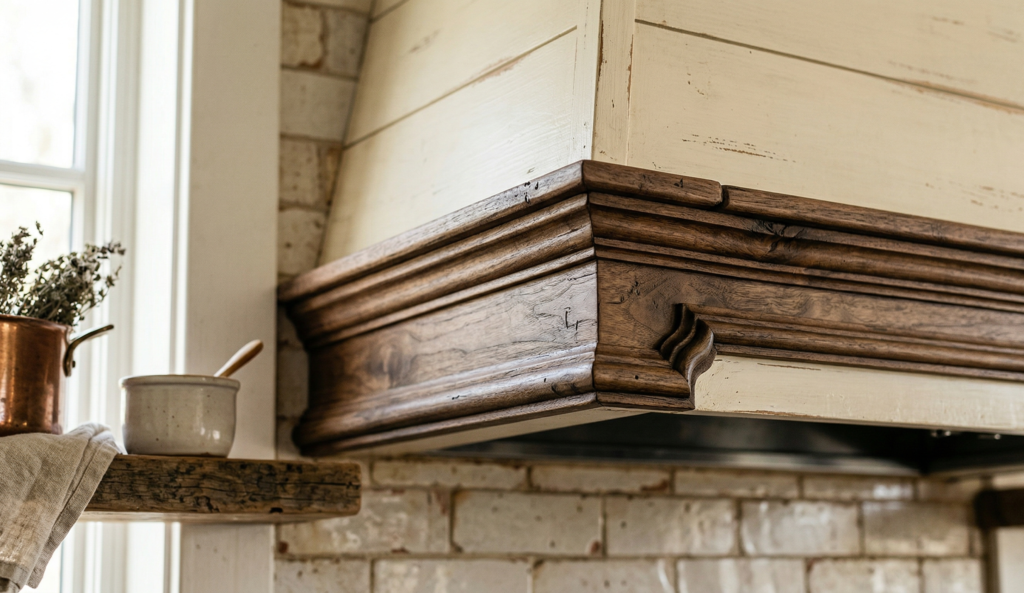
- A wooden trim at the bottom edge
- Decorative molding
- A small shelf ledge
- Even subtle distressing for a rustic look
I added a thin trim piece at the bottom, and it made everything feel more intentional.
A Few Mistakes I Made (So You Don’t Have To)
I think this part matters more than the steps.
Because tutorials often skip the messy bits.
Here’s what I’d do differently:
- I rushed measurements the first time — don’t
- I underestimated sanding — it’s more important than it seems
- I almost overcomplicated the design — simple actually looks better
- I worried too much about perfection — unnecessary
This project isn’t about precision woodworking. It’s about creating something that feels right in your space.
What It Changed About My Kitchen
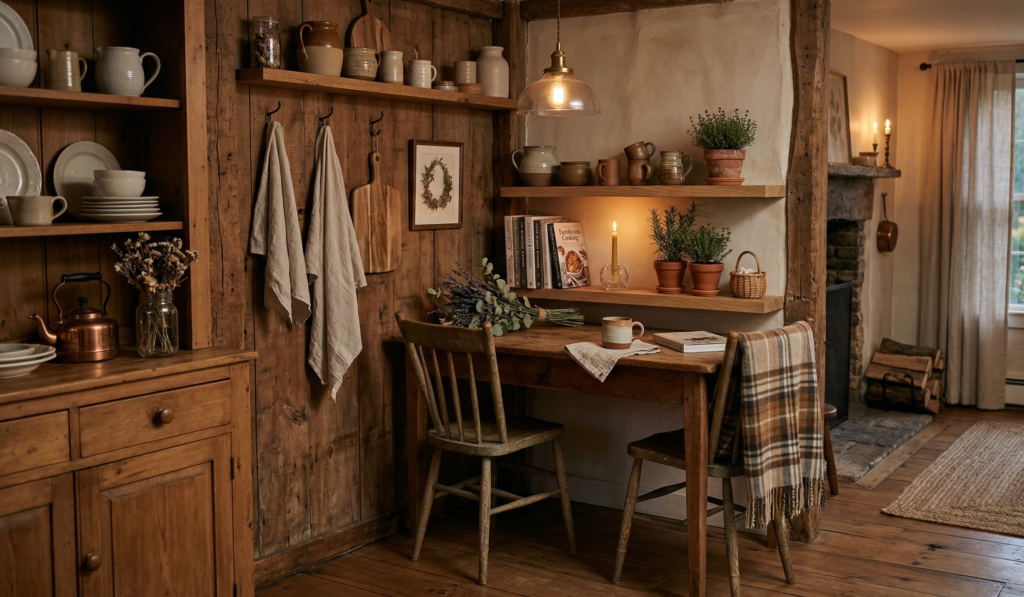
After finishing, I kept walking into the kitchen just to look at it.
Not in a dramatic way — just small moments where I’d notice how cohesive everything felt.
It’s funny… the vent hood used to be something I ignored. Now it’s probably the first thing people notice.
And the best part?
It didn’t cost much. It didn’t require professional help. And it didn’t take weeks.
Just a bit of patience… and a willingness to try.
Final Thoughts
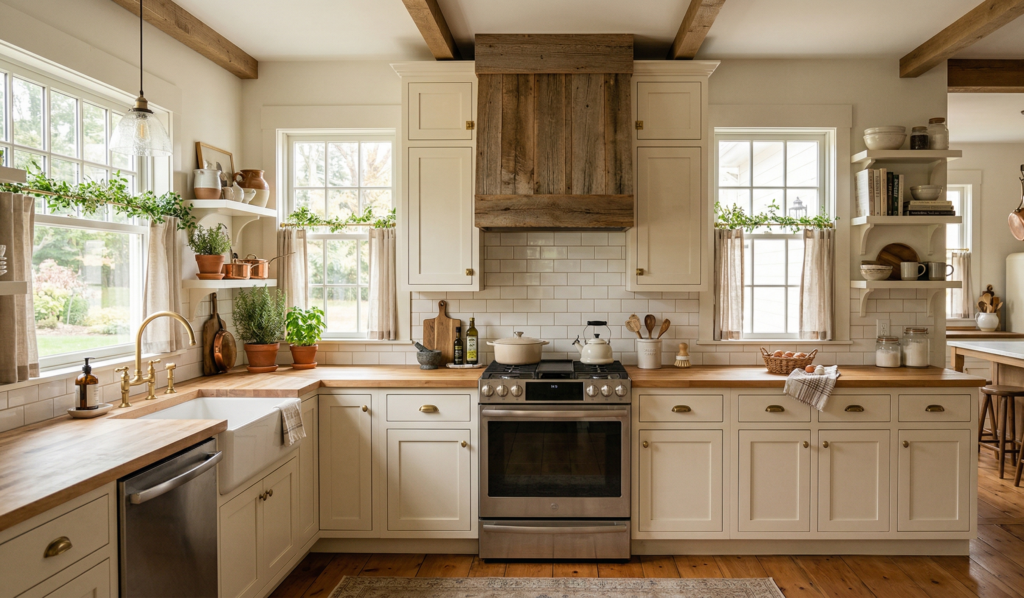
If you’ve been staring at your kitchen thinking something feels off, there’s a good chance it’s not the big things.
Sometimes it’s just one awkward element throwing everything out of balance.
For me, it was the vent hood.
Building a DIY cover wasn’t just a budget fix — it ended up being one of those projects that quietly transforms the whole space.
And if you’re even slightly considering it, I’d say go for it.
You don’t need perfect tools. You don’t need expert skills.
You just need a free weekend… and a little bit of curiosity.