I didn’t wake up one morning thinking, “You know what I need? Concrete.”
Honestly, it started with a patch of dirt that annoyed me more than it should have.
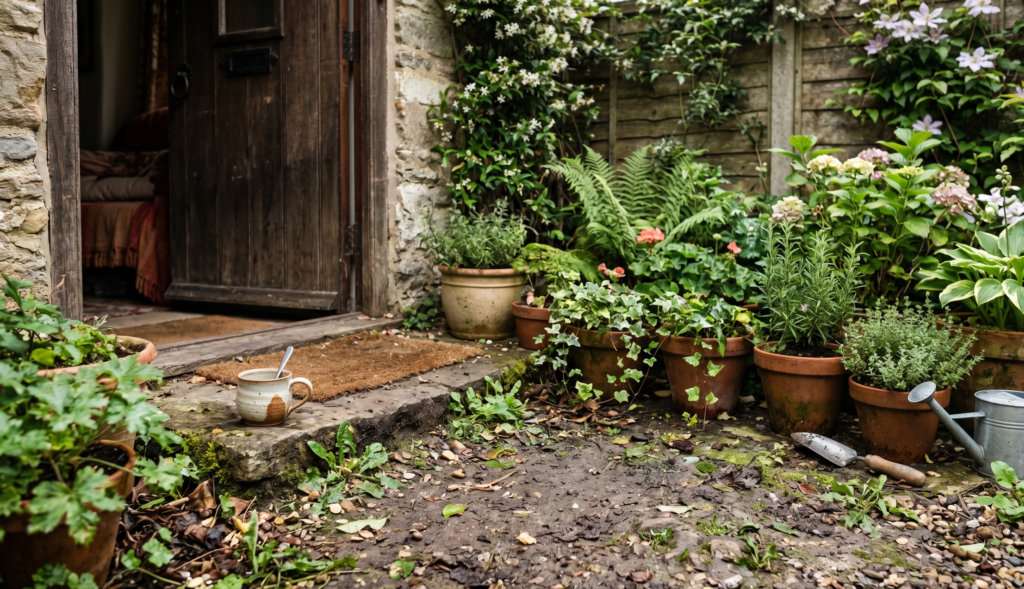
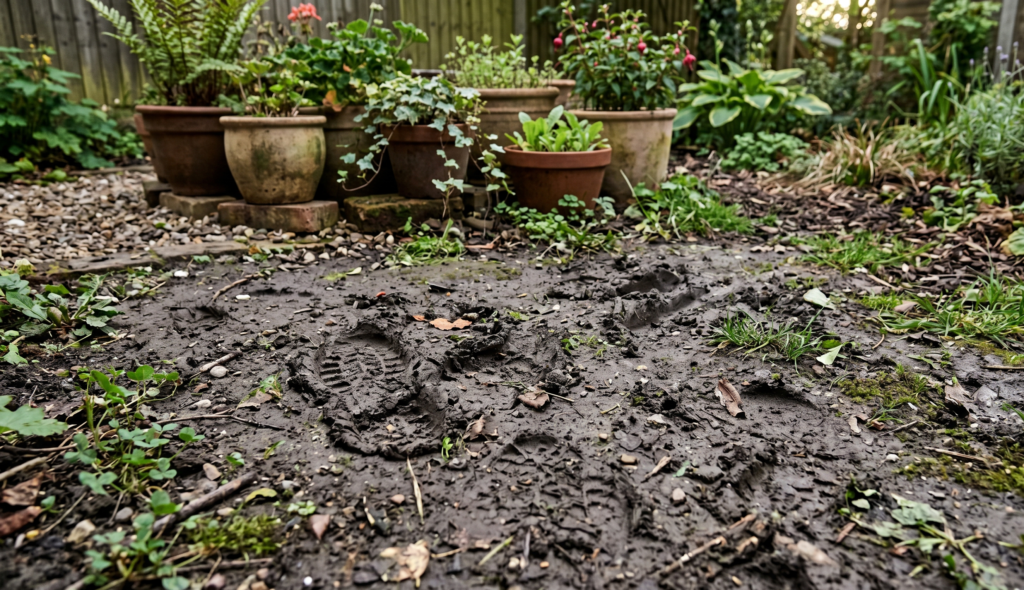
It sat right between my back door and the little area where I kept a couple of plants. Every time I walked across it—especially after watering or rain—it turned into this messy, uneven thing. Not quite mud, not quite solid. Just… awkward.
I remember stepping out one morning with tea in hand, nearly slipping, and thinking, Okay, this needs fixing. Not a full renovation. Not a huge budget project. Just something simple. Clean. Maybe even a little pretty.
That’s when I stumbled into the idea of DIY concrete pavers. And I’ll be honest—at first, it sounded more complicated than it actually turned out to be.
If you’ve been thinking about upgrading your backyard (or even just a small corner of it), this might be one of those projects that feels intimidating… but really isn’t.
Let me walk you through how I did it, what worked, what didn’t, and what I’d do differently if I started over.
Why I Chose Concrete Pavers (Even Though I Wasn’t “DIY Skilled”)
I looked at a lot of options before landing on this. Gravel paths, stepping stones from stores, wooden planks… even tiles at one point.
But concrete pavers had a few things going for them:
- They’re budget-friendly compared to buying ready-made stones
- You can customize the shape and size
- They last… like, really long
- And maybe most importantly—they look surprisingly high-end when done right
Also, I liked the idea of making something myself. There’s something satisfying about that. Even if the first one turns out a bit wonky (mine definitely did).
What You’ll Need (Nothing Fancy, I Promise)
I kept things pretty basic. You don’t need professional tools for this.
Here’s what I used:
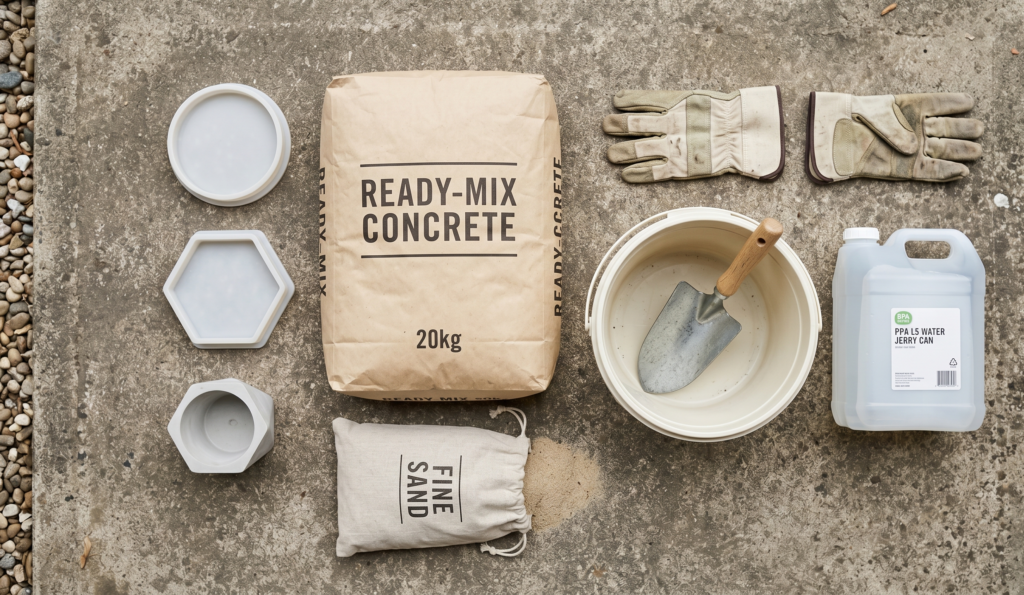
- Ready-mix concrete (the kind you just add water to)
- A mixing bucket or tub
- Water
- A shovel or stick for mixing
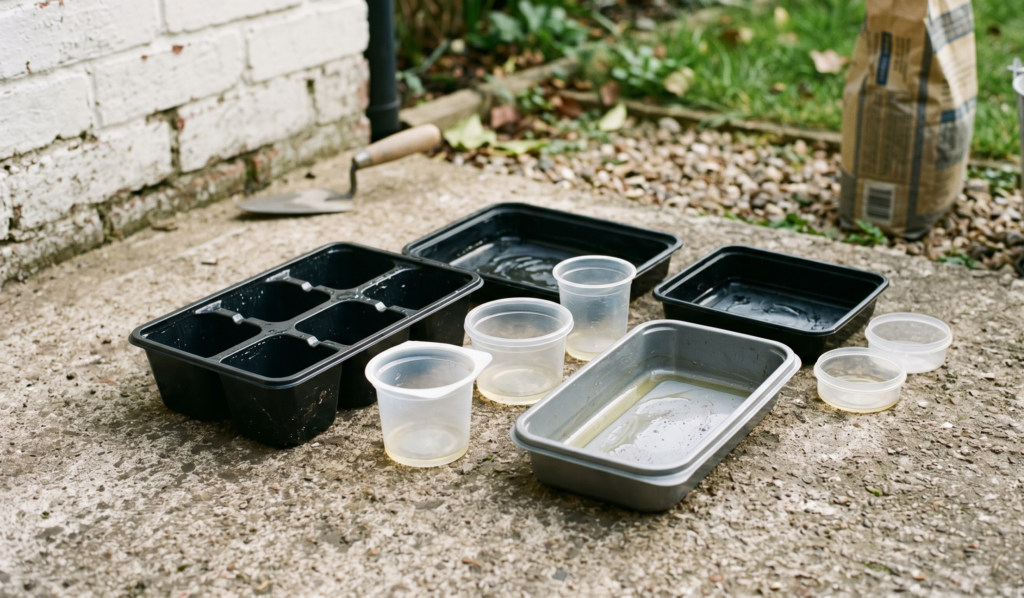
- Molds (I used simple plastic trays and a few old containers I already had)
- Cooking oil or mold release spray
- Gloves (please don’t skip this—learned the hard way)
- Sand or gravel for the base
- A level (or honestly… just your eye and patience)
That’s it. No expensive equipment. No complicated setup.
Step-by-Step: How I Made My First Pavers
1. Preparing the Area (This Part Matters More Than You Think)
At first, I thought I could just place the pavers directly on the ground and call it a day.
Bad idea.
The ground needs to be a little stable, or your pavers will shift over time. I learned this after my first one tilted slightly after a week.
What worked better:
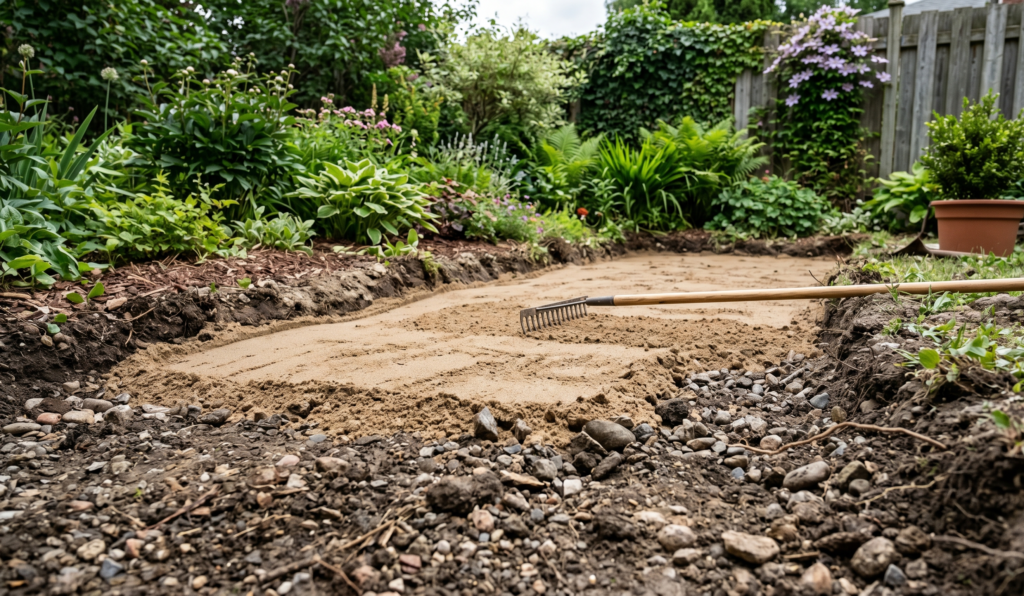
- Clear the area of weeds and loose soil
- Dig down a few inches (about 2–3 inches is enough)
- Add a layer of sand or gravel
- Level it out as best as you can
It doesn’t have to be perfect. Mine definitely wasn’t. But even a little prep makes a big difference.
2. Mixing the Concrete (Messy but Weirdly Fun)
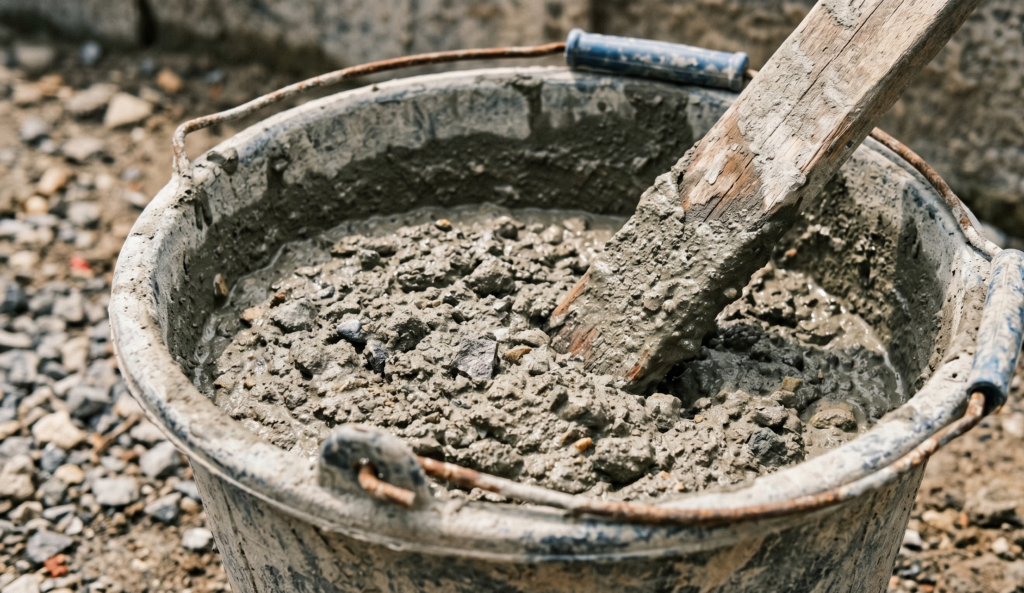
I poured the dry mix into a bucket and slowly added water.
If I could give one tip here:
Don’t rush the water.
The first time, I added too much too quickly and ended up with a soupy mess. It still worked, but the finish wasn’t as nice.
What you’re aiming for is a thick, paste-like consistency. Not dry, not runny.
Kind of like… heavy pancake batter, maybe?
3. Prepping the Molds
This step is easy to overlook, but it saves a lot of frustration.
Before pouring the concrete:
- Lightly coat your molds with oil (I just used a bit of cooking oil)
This helps the pavers release easily once they’re dry. The one time I skipped this… yeah, the paver stuck and cracked while removing.
Lesson learned.
4. Pouring and Shaping
Once the mix is ready, just pour it into your molds.
Tap the sides a little to release air bubbles. I didn’t do this the first time, and I ended up with tiny holes on the surface.
Not a disaster, but tapping helps give a smoother finish.
You can also:
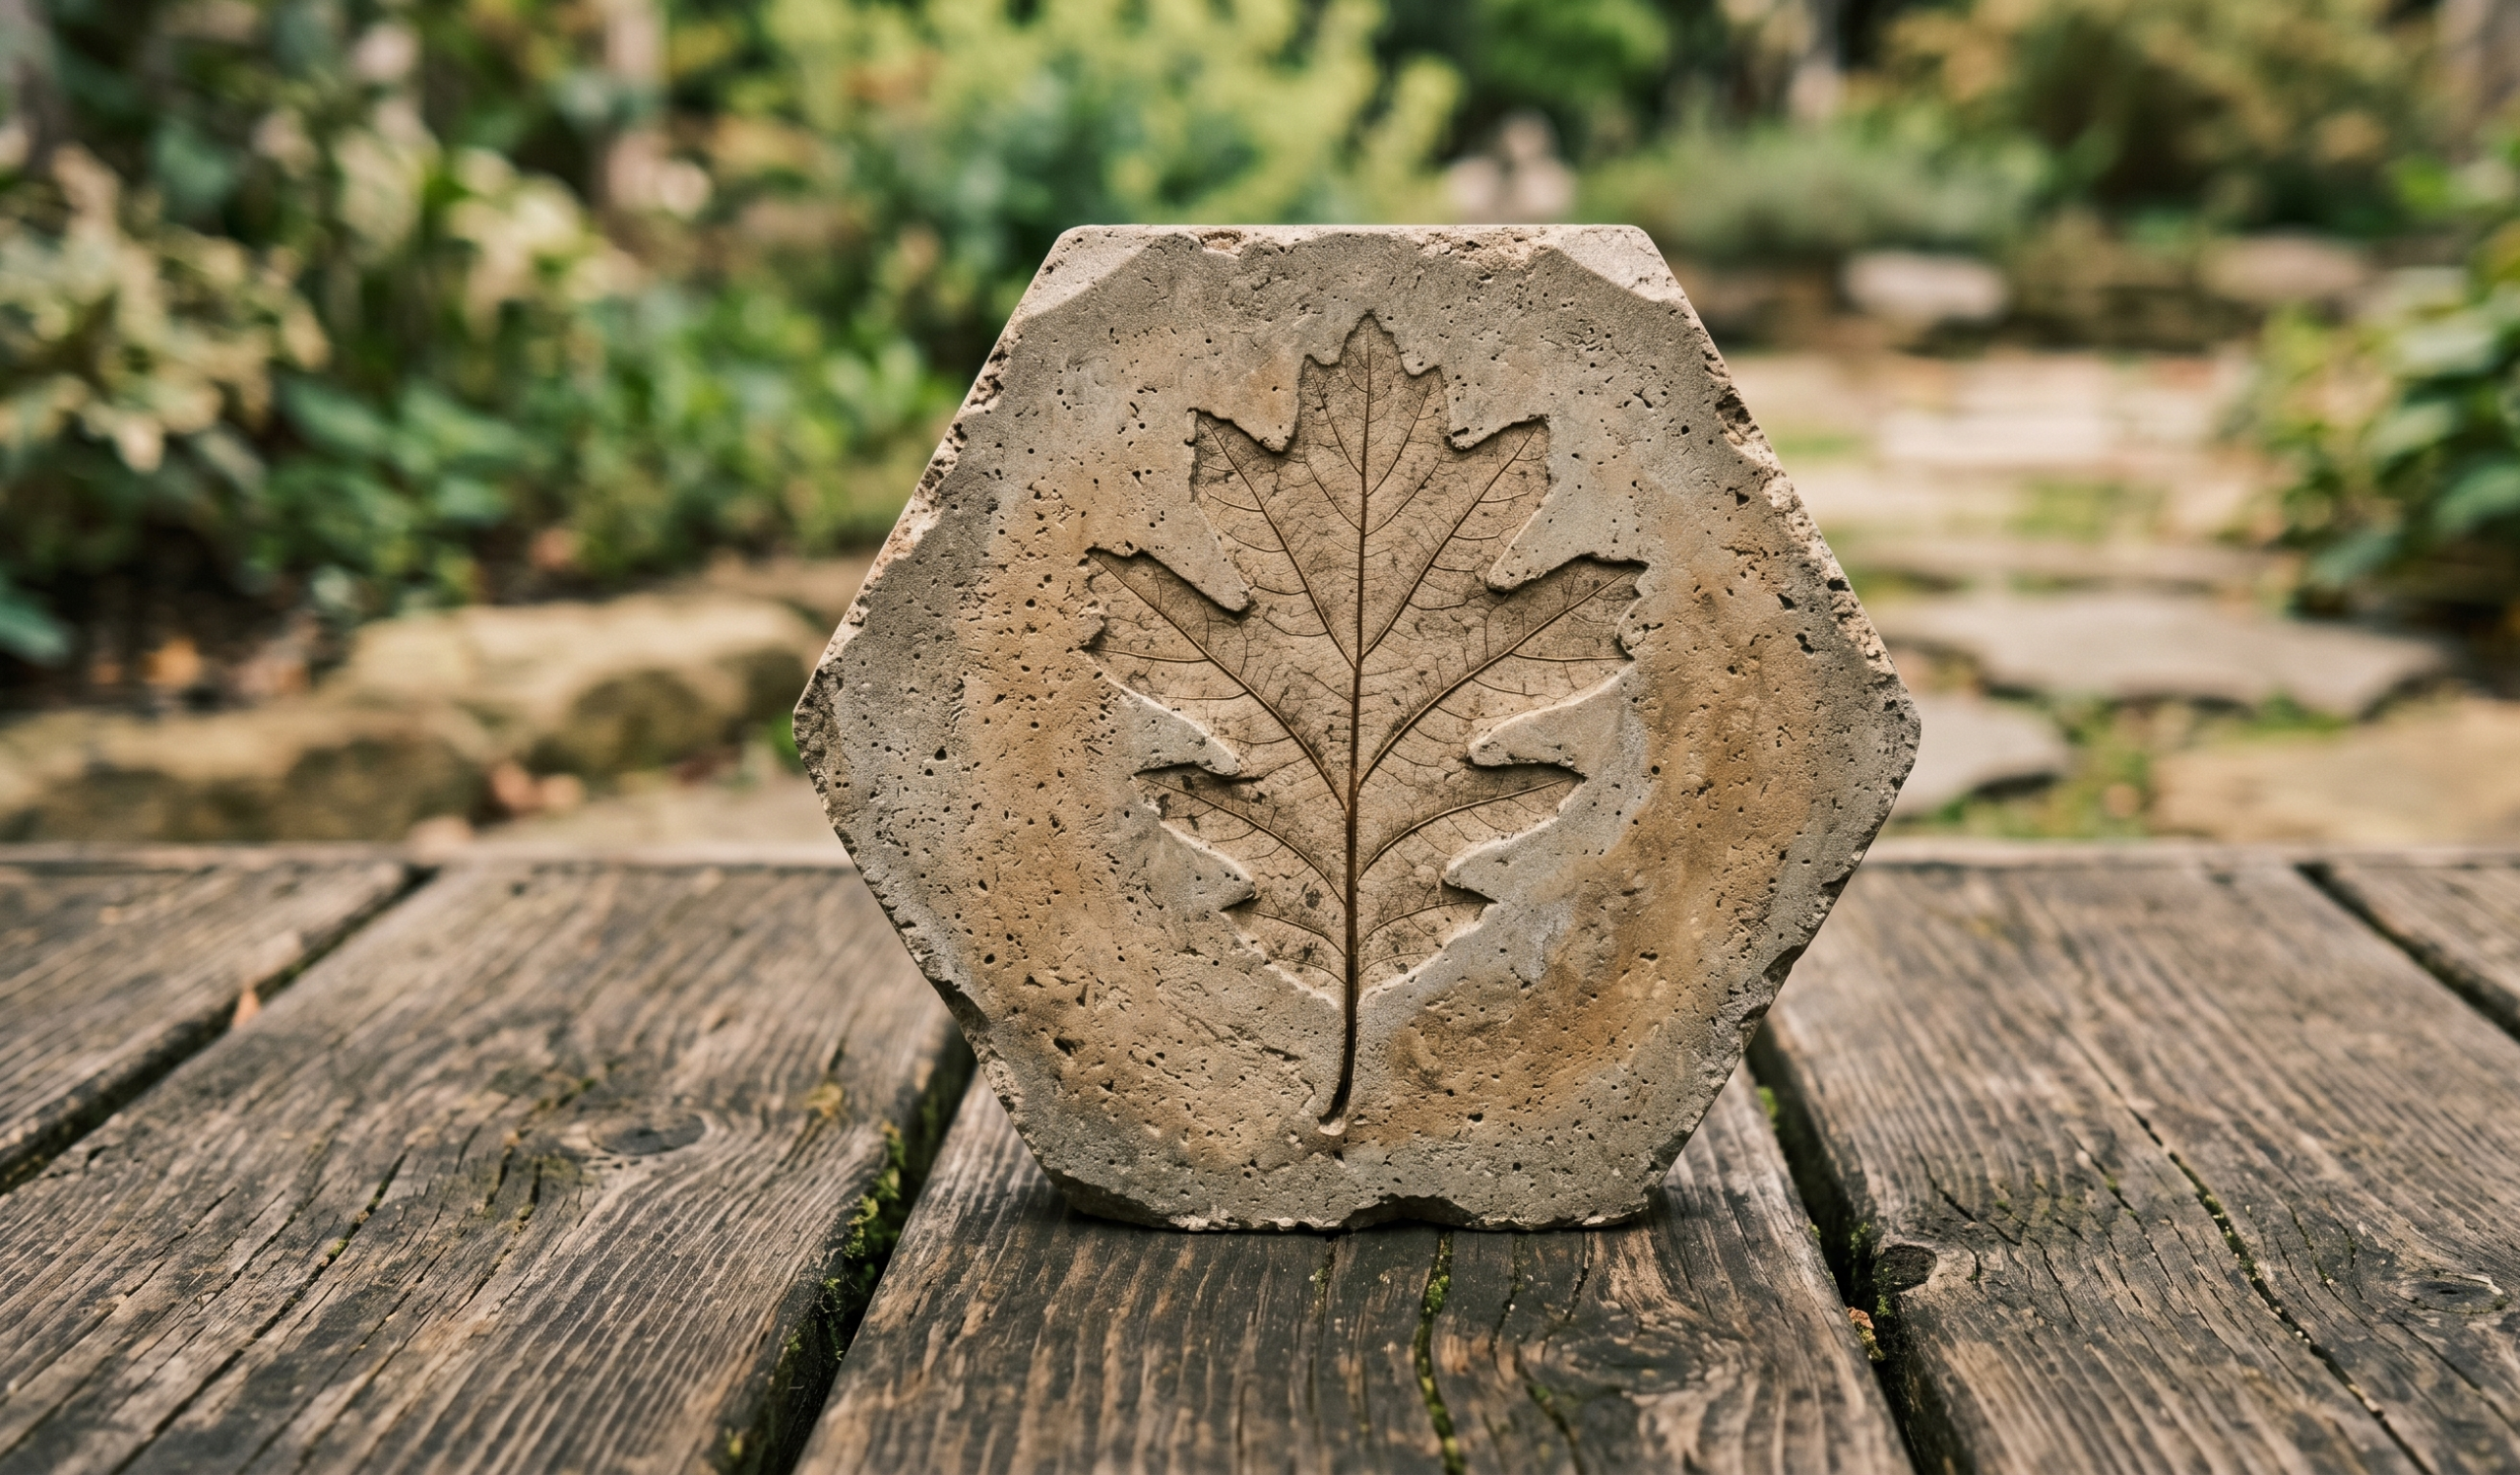
- Press leaves, stones, or patterns into the surface
- Smooth the top with a flat tool or even your hand (with gloves)
This is where it gets fun. I tried a leaf imprint on one, and even though it wasn’t perfect, it gave the paver a nice, natural look.
5. Letting Them Set (Patience… unfortunately)
This was the hardest part for me.
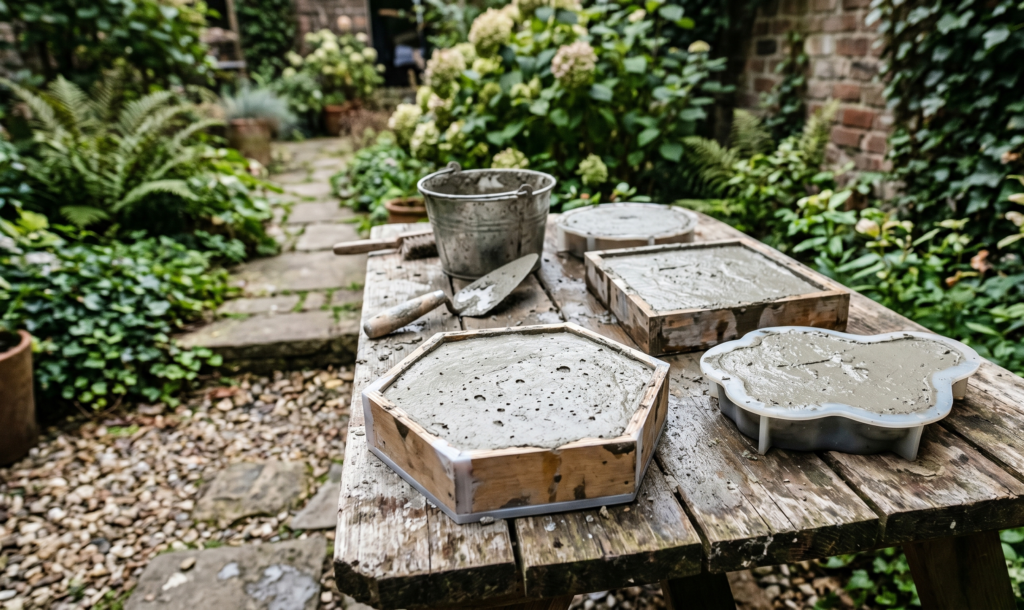
You’ll need to let the pavers sit for at least 24–48 hours before removing them from the molds.
And then… ideally, give them a few more days to fully cure.
I got impatient and removed one too early. It held together, but the edges were softer than they should’ve been.
So yeah, waiting is worth it.
6. Placing the Pavers
Once they’re ready:
- Lay them out along your path
- Press them gently into the prepared ground
- Adjust spacing as you go
I didn’t measure anything perfectly. I just stepped back every few minutes and adjusted based on what looked right.
Sometimes that’s better than overthinking it.
Small Mistakes I Made (So You Don’t Have To)
I won’t pretend everything went smoothly. It didn’t.
Here are a few things I’d do differently:
- Mix smaller batches of concrete
I tried doing too much at once and rushed the process - Use sturdier molds
Some of my thinner containers bent slightly, affecting the shape - Plan the layout beforehand
I kind of improvised, which worked… but took longer - Wear proper gloves from the start
Concrete is rough on your skin
None of these ruined the project. But they’re worth keeping in mind.
Making It Look “Pinterest-Worthy” (Without Trying Too Hard)
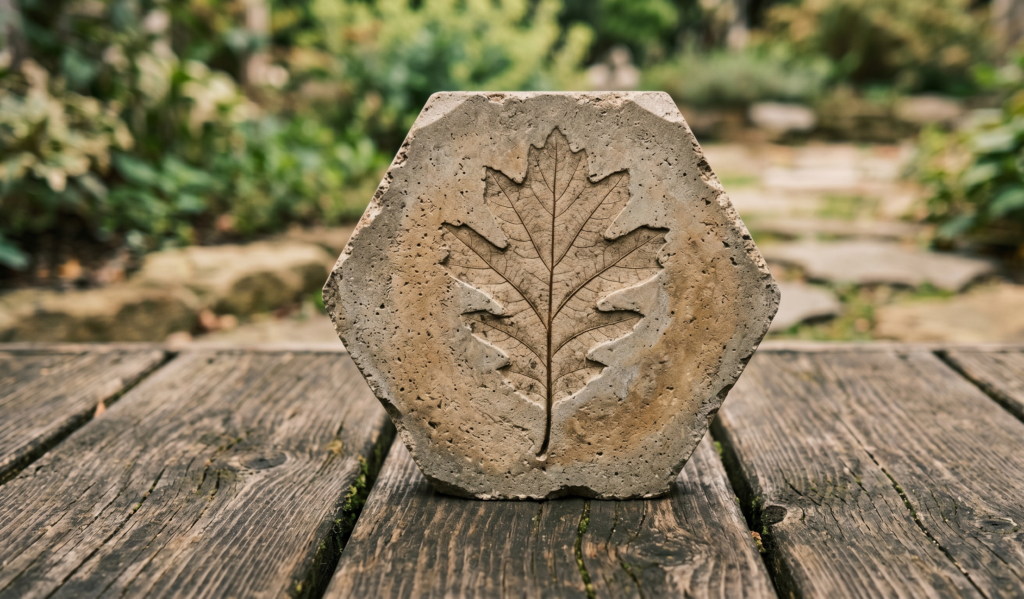
This part surprised me the most.
You don’t need perfection for it to look good. In fact, slightly uneven, handmade pavers often look better.
A few things that helped elevate the look:
Use Natural Spacing
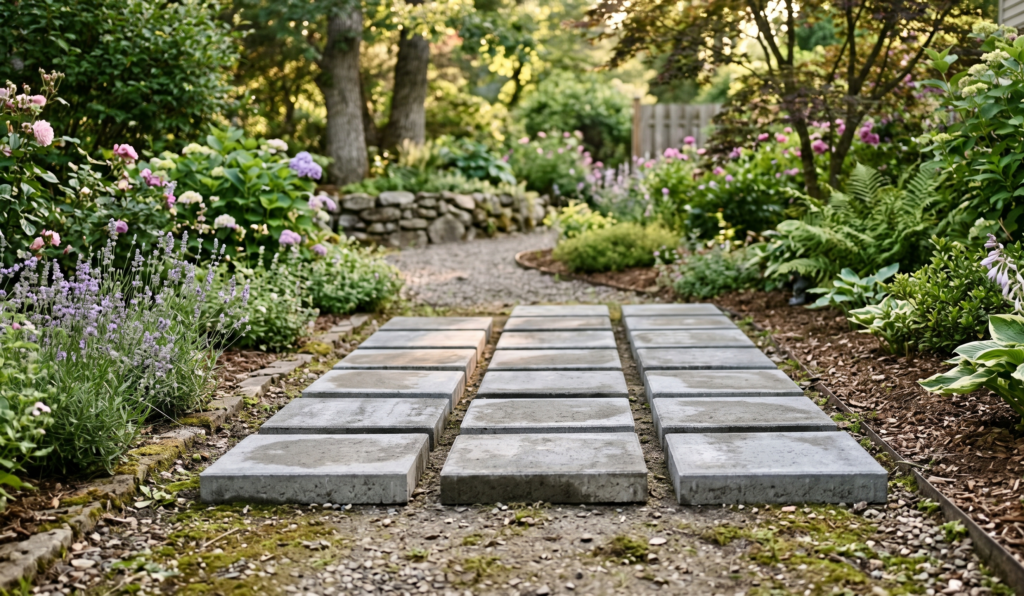
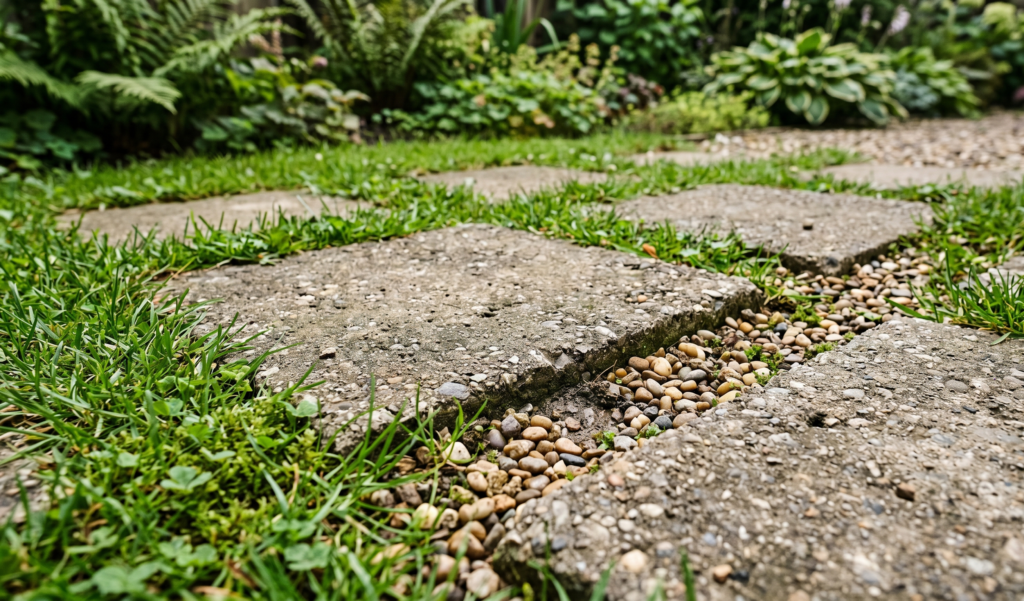
Instead of placing pavers tightly together, I left small gaps and added:
- Grass
- Moss
- Or even small pebbles
It softens the whole path.
Mix Shapes and Sizes
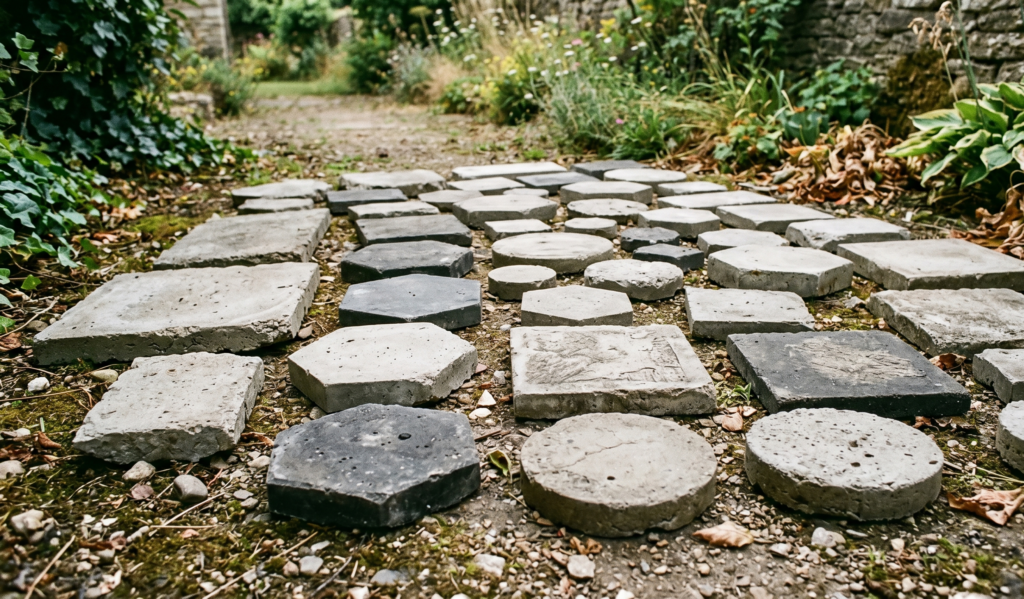
Not every paver has to match exactly. I ended up liking the variation more than uniform ones.
Add a Border
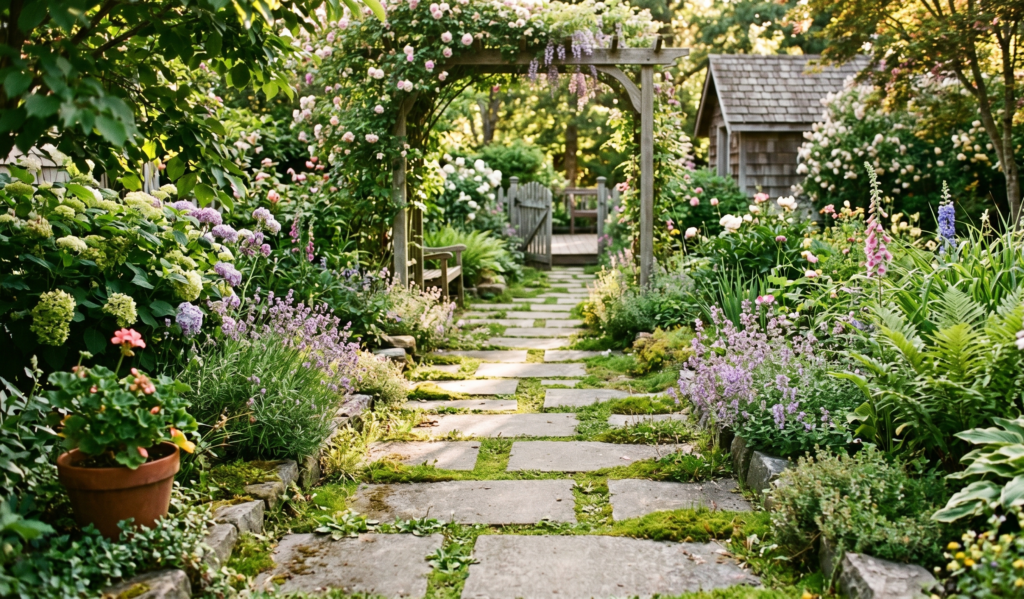
Later on, I lined the edges with small stones. It made the path feel more “intentional.”
Budget Reality (Because That Matters)
This project was honestly cheaper than I expected.
Concrete mix isn’t expensive, and since I used basic molds (some reused from home), the total cost stayed low.
If I had to estimate:
- Concrete: modest cost depending on area
- Sand/gravel: minimal
- Molds: free (in my case)
Compared to buying pre-made pavers? Easily half the cost. Maybe less.
Would I Do It Again?
Yeah… I actually would.
Not because it turned out perfect (it didn’t), but because it changed how that little space felt.
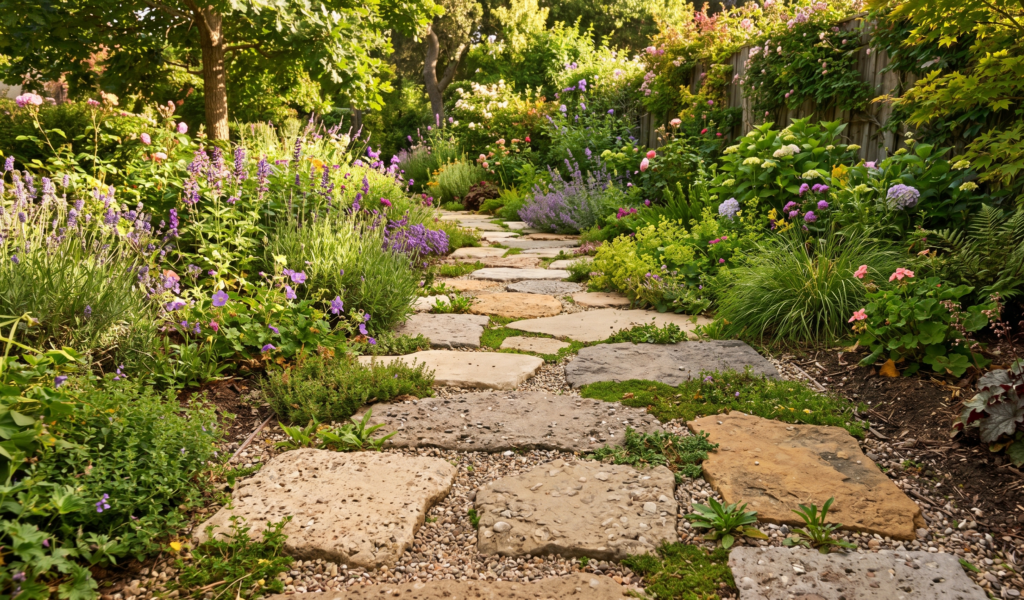
Now, when I step outside, there’s a path. A real one. Something that feels finished. Thought through.
And every time I walk on it, I kind of remember the process—the mixing, the waiting, even the mistakes.
It feels… personal.
Final Thoughts (If You’re On the Fence)
If you’re thinking about trying this, here’s what I’d say:
You don’t need to be skilled. You don’t need expensive tools. And you definitely don’t need a huge backyard.
Start small.
Maybe just a few pavers leading to a plant corner. Or a short path near your entrance.
It’s one of those projects where the effort shows, but not in a stressful way. More in a quiet, satisfying way.
And honestly? Even if it’s not perfect… it still works. It still looks good. Maybe even better than perfect.
That’s kind of the charm of it.