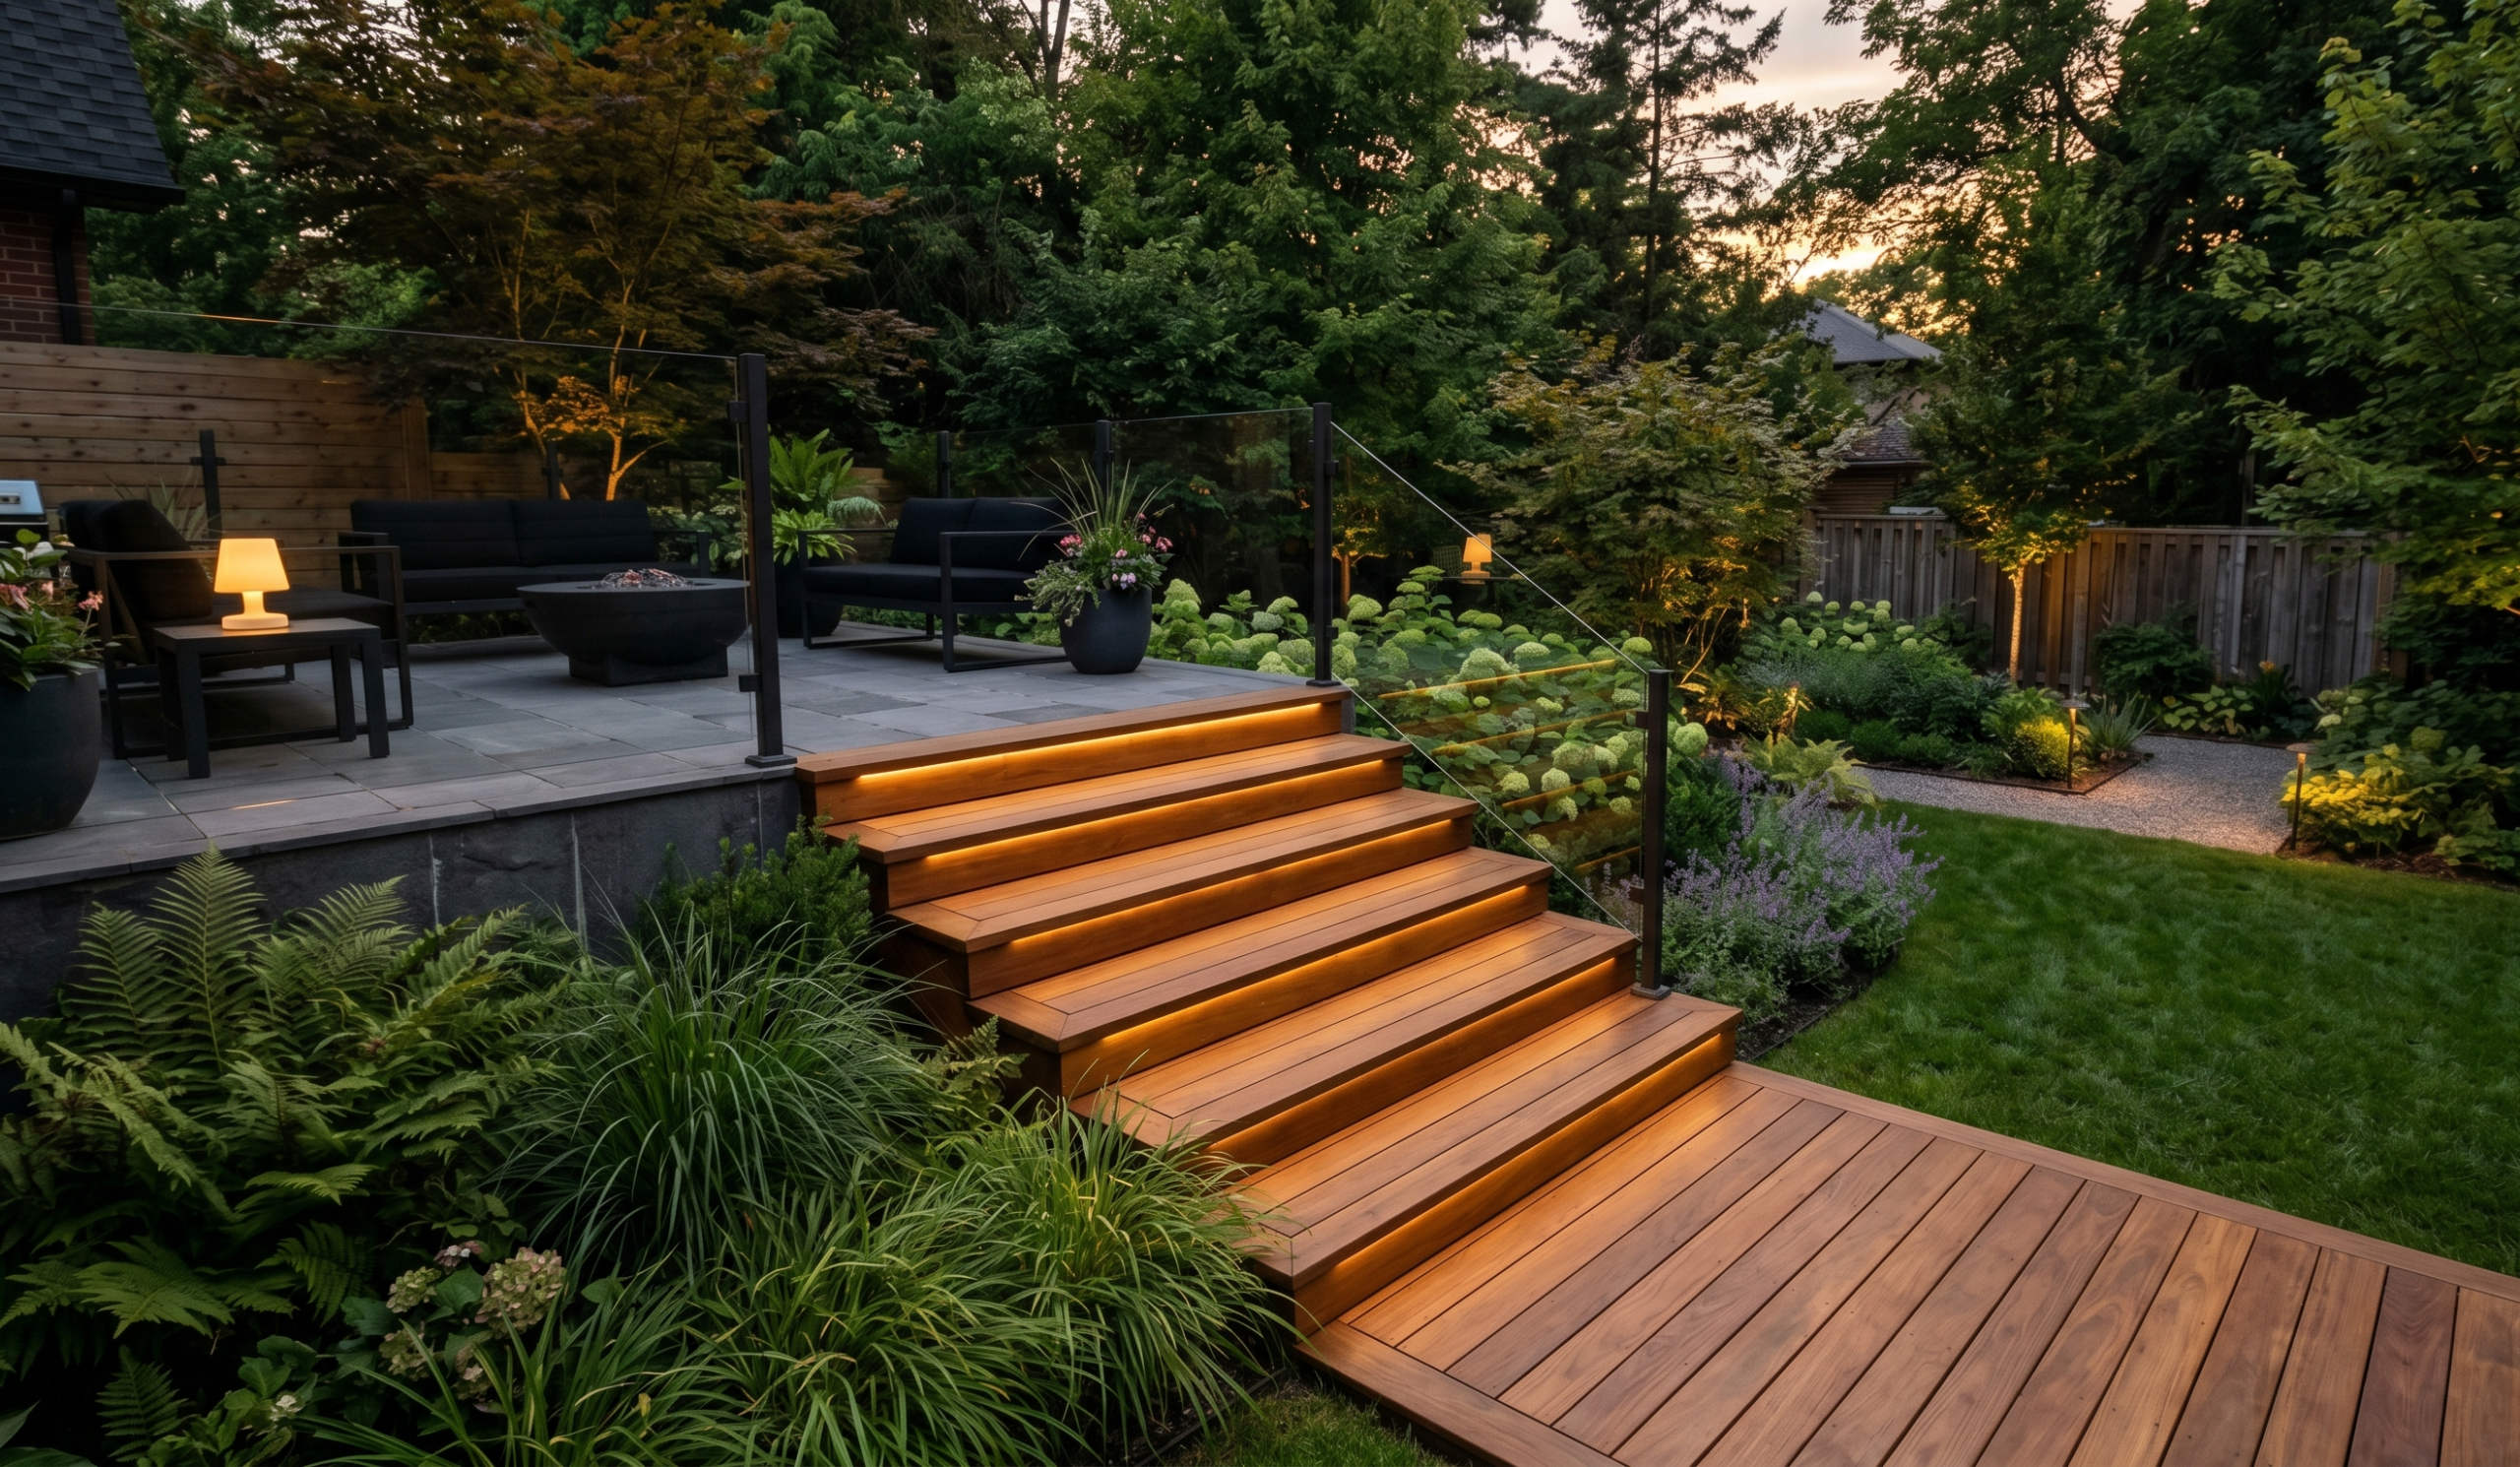
It started with a slope I kept ignoring…
I didn’t plan on building outdoor stairs.
Honestly, for the longest time, I just worked around that awkward slope in my backyard. You know the kind — not steep enough to feel like a hill, but just annoying enough to make walking feel… slightly inconvenient. After one too many almost-slips during the monsoon, I finally thought, okay, this needs fixing.
At first, I assumed it would be expensive. Contractors, materials, planning… it felt like one of those “maybe next year” projects.
But then I started digging (literally and figuratively), and I realized something surprising — outdoor stairs can actually be one of the most budget-friendly upgrades you can make. And not just practical… they completely transform how your backyard looks and feels.
What surprised me most? Once I added even a simple set of steps, the whole space felt intentional. Like it was designed, not just… there.
So if you’re staring at a messy slope, uneven ground, or just a boring backyard corner — this might be the upgrade you didn’t know you needed.
Why Outdoor Stairs Make Such a Big Difference
Before getting into ideas, I think it helps to understand why this project feels so impactful.
For me, it wasn’t just about making walking easier. It changed how I used the space.
- The backyard suddenly had structure
- Different areas felt “connected”
- It looked more polished without trying too hard
It’s kind of like adding a frame to a painting. The space was always there… it just needed definition.
And the best part? You don’t need fancy materials to get that effect.
1. Simple Gravel and Timber Steps (My First Attempt)
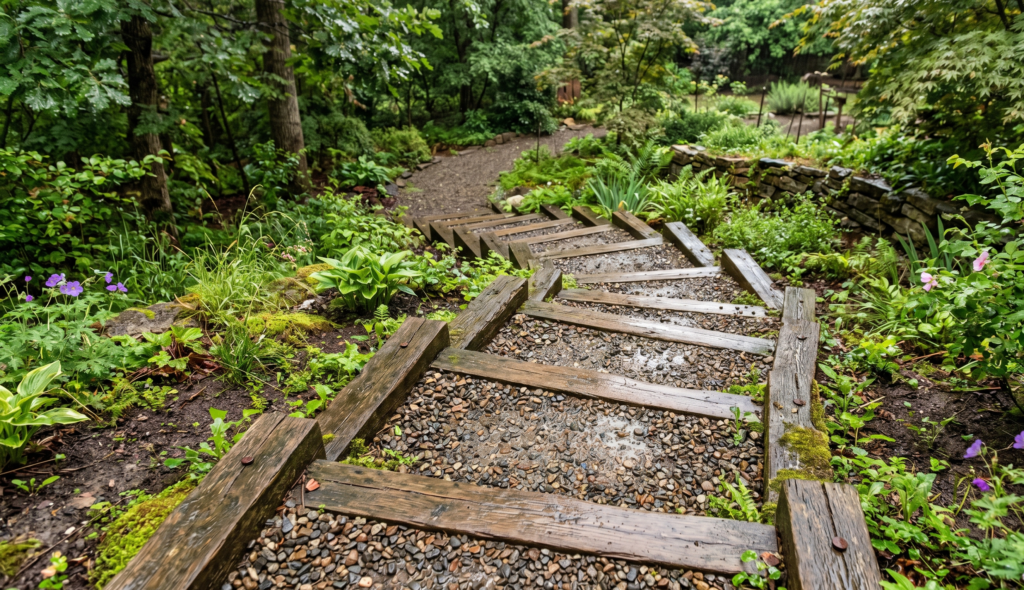
This is where I started — mostly because it felt the least intimidating.
I used basic wooden planks (nothing fancy) to create step frames, then filled them with compacted gravel. It wasn’t perfect, but it worked. And it looked surprisingly good.
What I liked:
- Super budget-friendly
- Easy to adjust if you mess up (which I did… twice)
- Great drainage during rainy days
A few things I learned the hard way:
- Compact the gravel properly (seriously, don’t skip this)
- Use thicker wood if possible — thin boards warp faster
- Slightly angle each step for water runoff
If you’re nervous about DIY projects, this is a great starting point. It’s forgiving. And honestly, a bit messy in a charming way.
2. Stone Slab Steps (The “Effortless” Look)
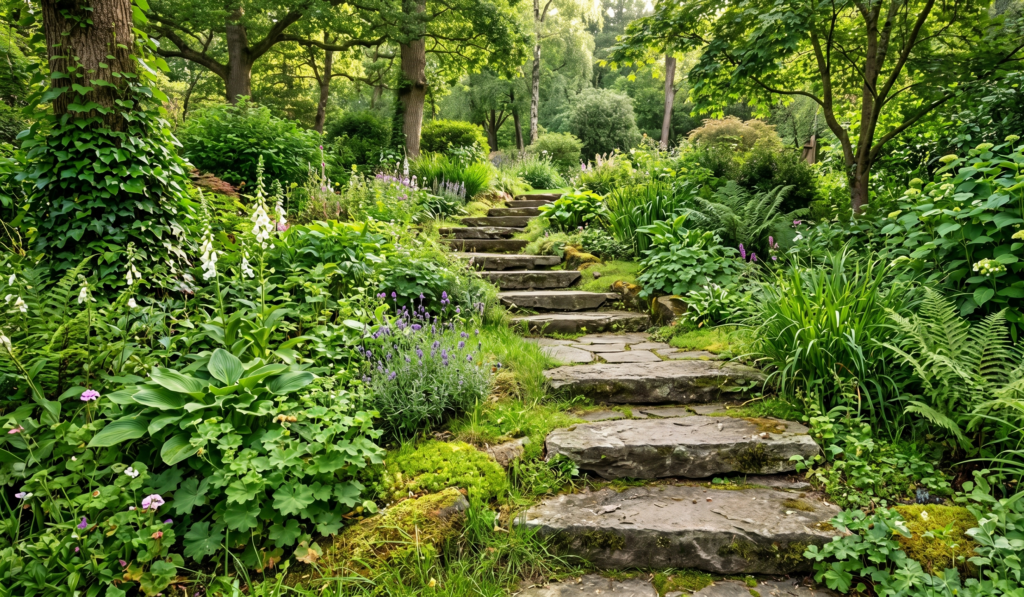
After my first project, I got a little more confident and decided to try something that looked… less DIY and more intentional.
Stone slab steps have this quiet elegance. They don’t scream for attention, but they instantly elevate the space.
Why they work so well:
- They blend naturally with greenery
- Each step feels unique (no two stones are identical)
- Low maintenance once set properly
My experience:
I sourced irregular stone pieces locally, which saved money. Placing them, though… took patience. I spent a full afternoon just adjusting one section because it didn’t feel right when stepping on it.
That’s something no one tells you — stairs aren’t just visual. They need to feel comfortable underfoot.
Tip:
- Test each step as you go. Walk it multiple times. Your feet will notice what your eyes miss.
3. Wooden Deck-Style Steps (Clean and Modern)
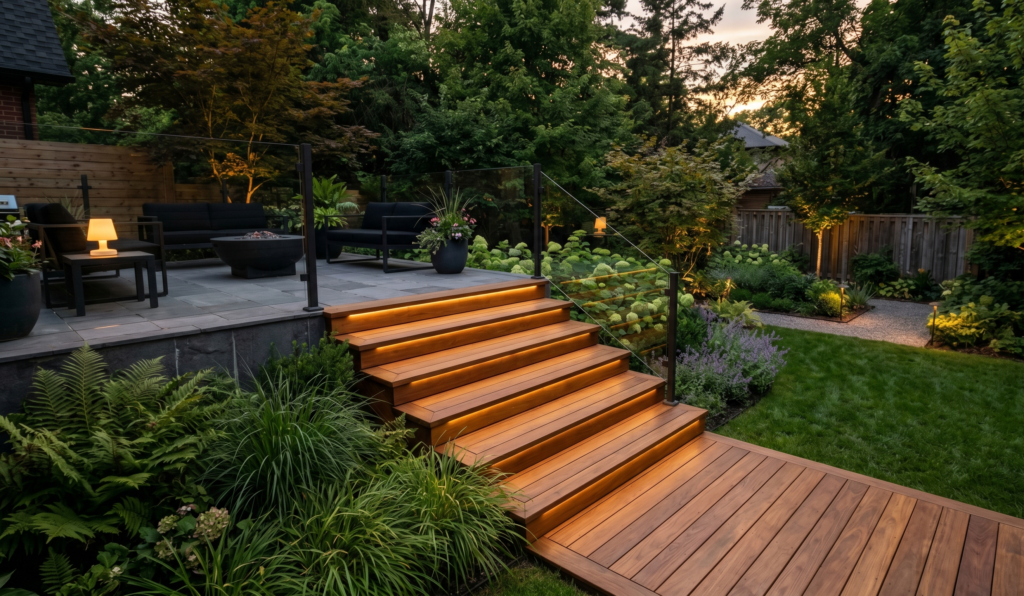
If your backyard leans more modern (or you want it to), this style works beautifully.
Think of it like extending a deck into the yard — structured, clean lines, very intentional.
What I noticed:
- It instantly made the space look “finished”
- Great for entertaining areas or patios
- Works well with outdoor lighting
Budget tip:
You don’t need premium hardwood. Treated wood works fine if sealed properly.
One small regret:
I wish I had added built-in lighting while building it. Retrofitting lights later is… not fun.
4. Brick Steps (Classic and Surprisingly Affordable)
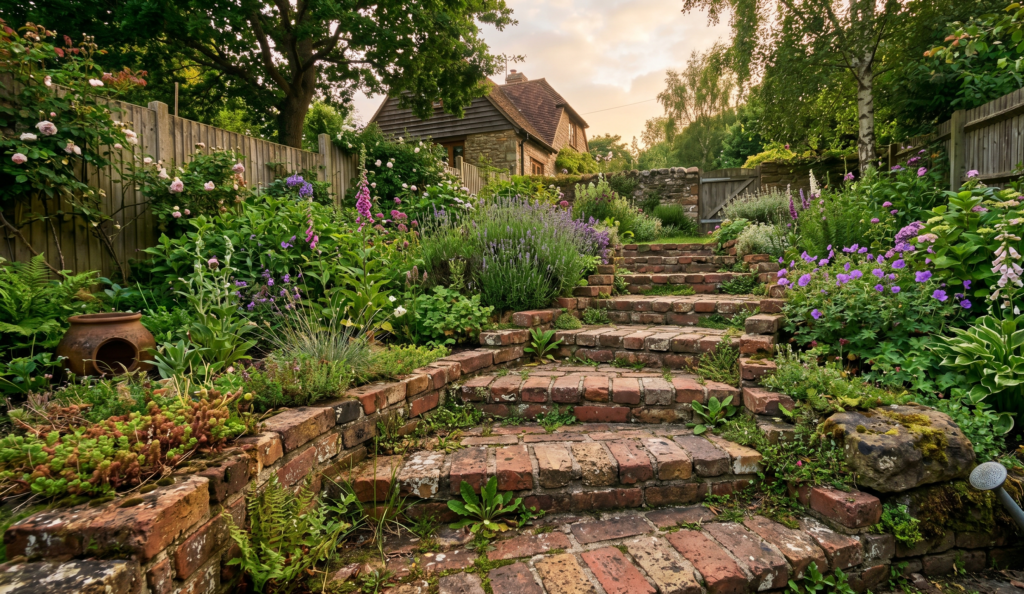
I didn’t expect to like brick as much as I did.
There’s something about it — warm, slightly rustic, and very timeless.
Why it’s a solid choice:
- Bricks are often easy to find locally
- Durable and weather-resistant
- Works with both traditional and modern homes
My small experiment:
I used leftover bricks from another project (mixed colors, slightly imperfect), and weirdly… that made it better. It had character.
Tip:
- Use a proper base layer (sand + gravel) to prevent shifting
- Don’t stress about perfection — slight imperfections add charm
5. Sleeper Wood Steps (Bold and Structured)
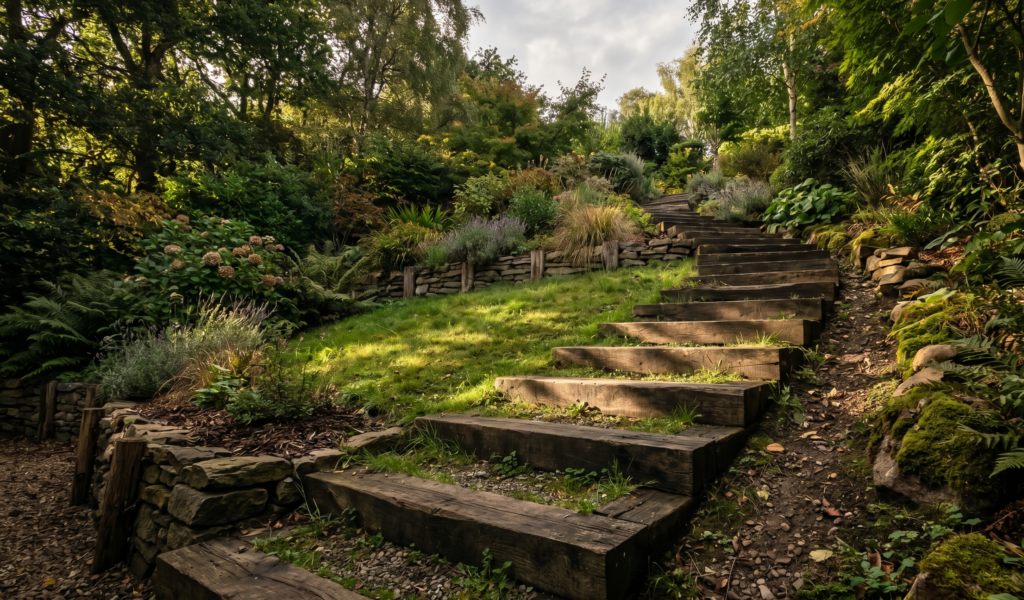
This one feels a bit more “designed” — like something you’d see in a landscaping magazine.
Using thick timber sleepers creates bold, defined steps that almost reshape the entire yard.
What stands out:
- Strong visual impact
- Great for steeper slopes
- Feels sturdy and permanent
My observation:
This style made my backyard feel bigger somehow. I think it’s because the structure creates clear levels.
Important note:
These are heavy. Like… really heavy. Not a one-person job unless you enjoy suffering.
6. Concrete Steps (Minimal but Powerful)
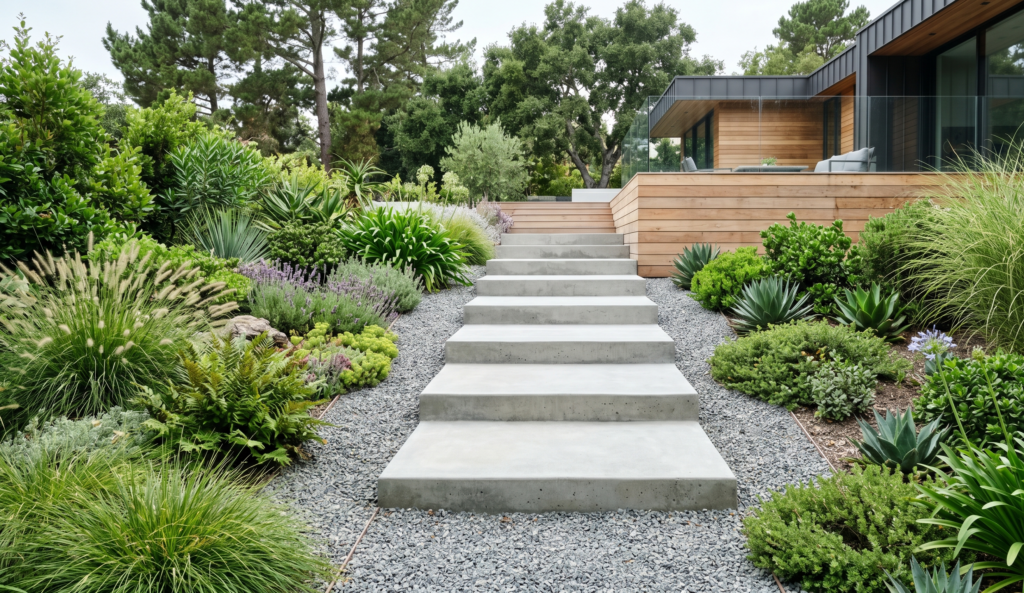
I used to think concrete = boring.
I was wrong.
When done right, concrete steps look incredibly sleek and modern.
Why people love this style:
- Clean, minimal aesthetic
- Extremely durable
- Works well with lighting and greenery
My honest take:
This is not the easiest DIY option. It requires planning, molds, and patience. But if you’re willing to learn (or partially outsource), the results are worth it.
Things I Wish I Knew Before Starting
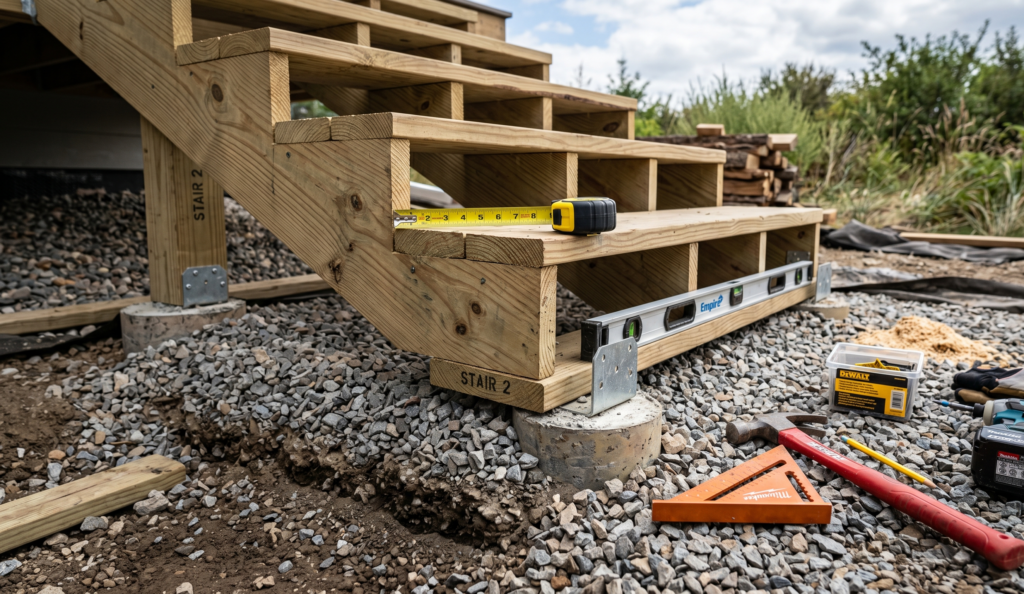
No matter which style you choose, there are a few things I learned through trial, error, and a couple of frustrating afternoons.
1. Measure more than you think you need to
I miscalculated step height once, and it made the whole staircase feel awkward. Small differences matter.
2. Drainage is everything
Water will find its way. Plan for it.
3. Don’t rush the foundation
The visible part is the fun part, but the base determines how long your stairs last.
4. Comfort matters more than looks
If a step feels off, it is off.
Budget-Friendly Tips That Actually Help
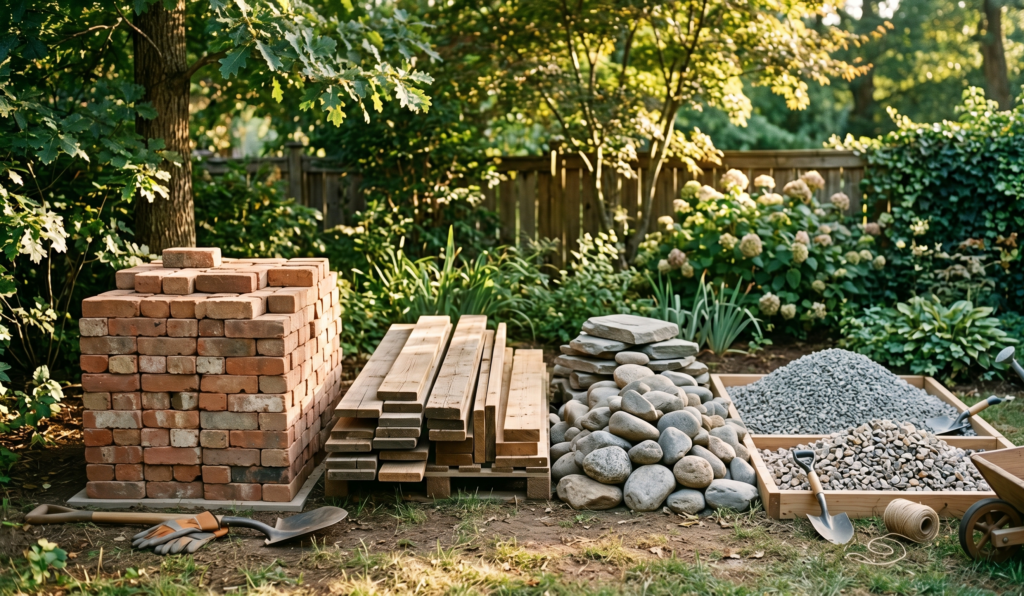
If you’re trying to keep costs low (like I was), these made a real difference:
- Use locally sourced materials whenever possible
- Mix materials instead of going all-in on one
- Repurpose leftover bricks, wood, or stones
- Start small — even 3–4 steps can transform a space
And honestly? Imperfection helps. It makes the space feel lived-in, not staged.
Final Thoughts: It’s More Than Just Stairs
I started this project thinking I was fixing a slope.
But somewhere along the way, it became something else.
The backyard became easier to use, yes. But more than that, it became a place I actually wanted to spend time in. Morning tea felt nicer. Evenings felt calmer. It’s strange how something as simple as stairs can shift how a space feels.
If you’re on the fence about trying this — I get it. I was too.
But you don’t need a huge budget or perfect skills. Just a bit of patience, some trial and error, and a willingness to start.
Because once those first steps go in (even if they’re not perfect), everything else starts to fall into place.